
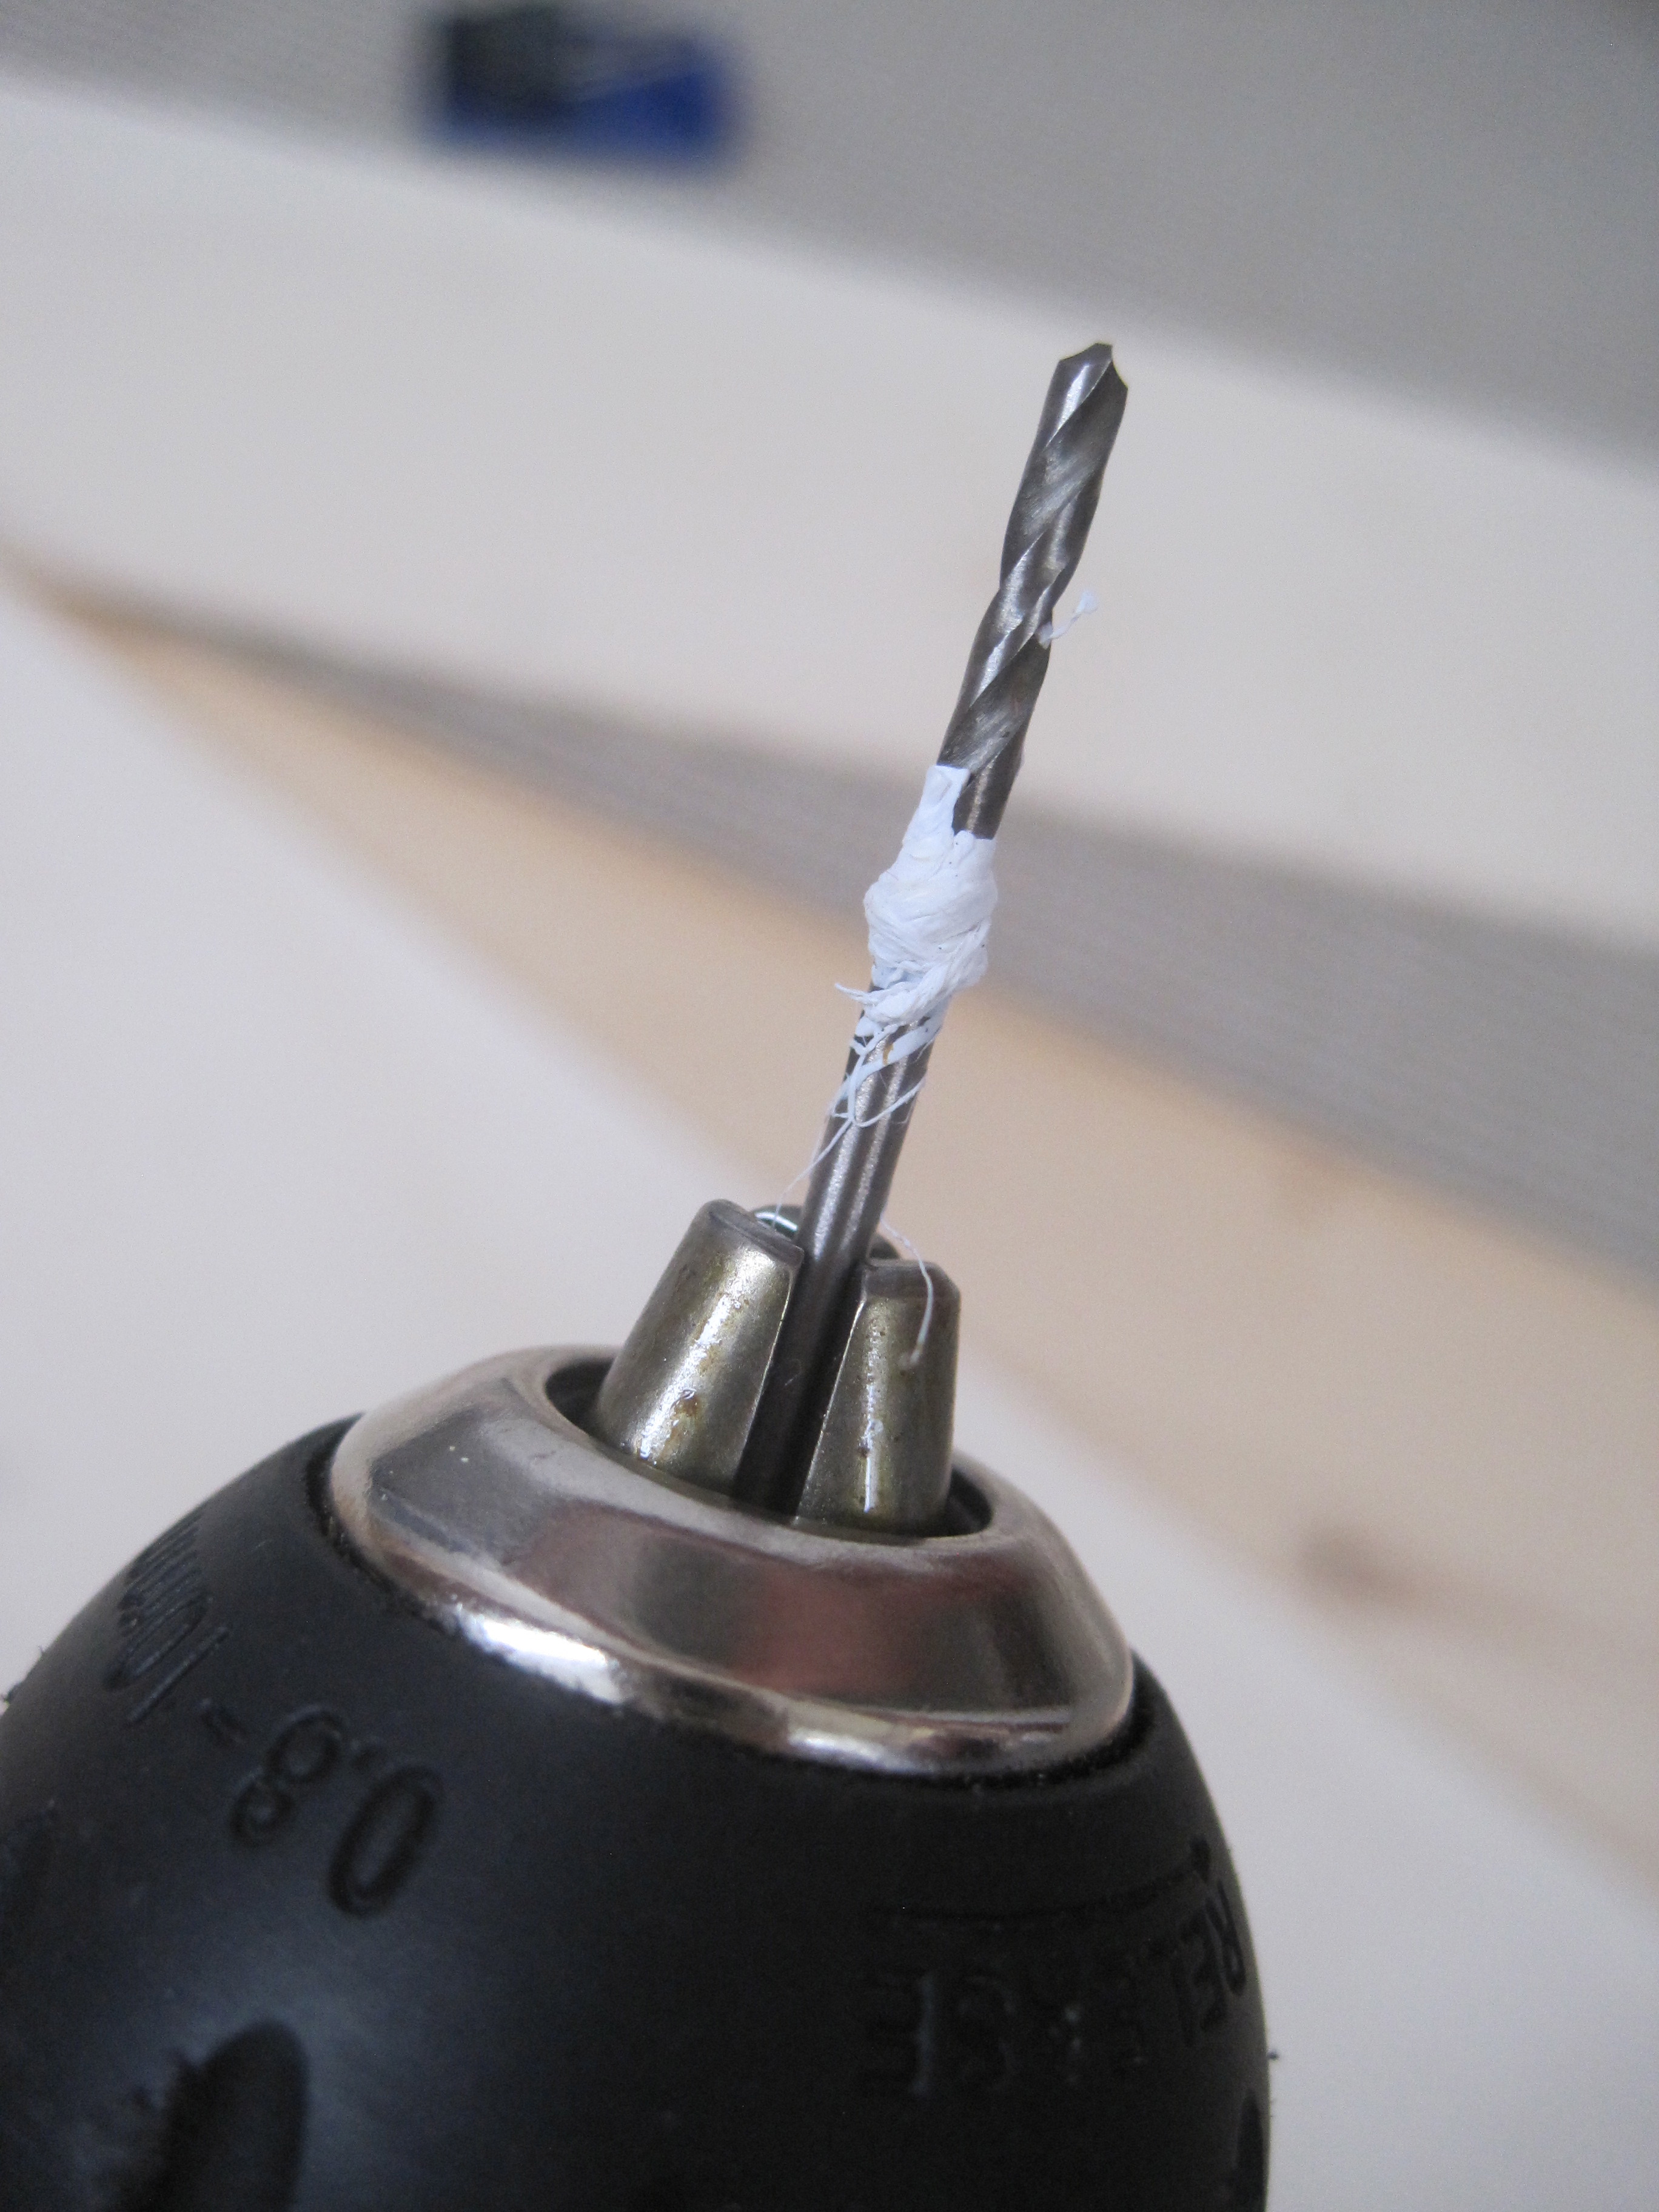
I am spending only 3-4 hours per week on model railway. Not a progress I would like to see especially if I am going to build a large layout. Last week, I marked all the drilling positions on the plywoods and determined the track centres on the baseboard. This week, I drilled the holes for the marked positions and completed the frame. As I am using 6mm thick, poplar plywood for my diorama, I had to use 2.5mm thick wood screws. I taped a small piece of sticker on the drill bit to mark the 16mm depth.
And the finished product is as below. I managed to get the frame at the right angle except for the bottom left side. The side was slightly larger and hence, pushing the frame off a little. I could fix this problem by removing the pine baseboard but I decided to leave it for now.

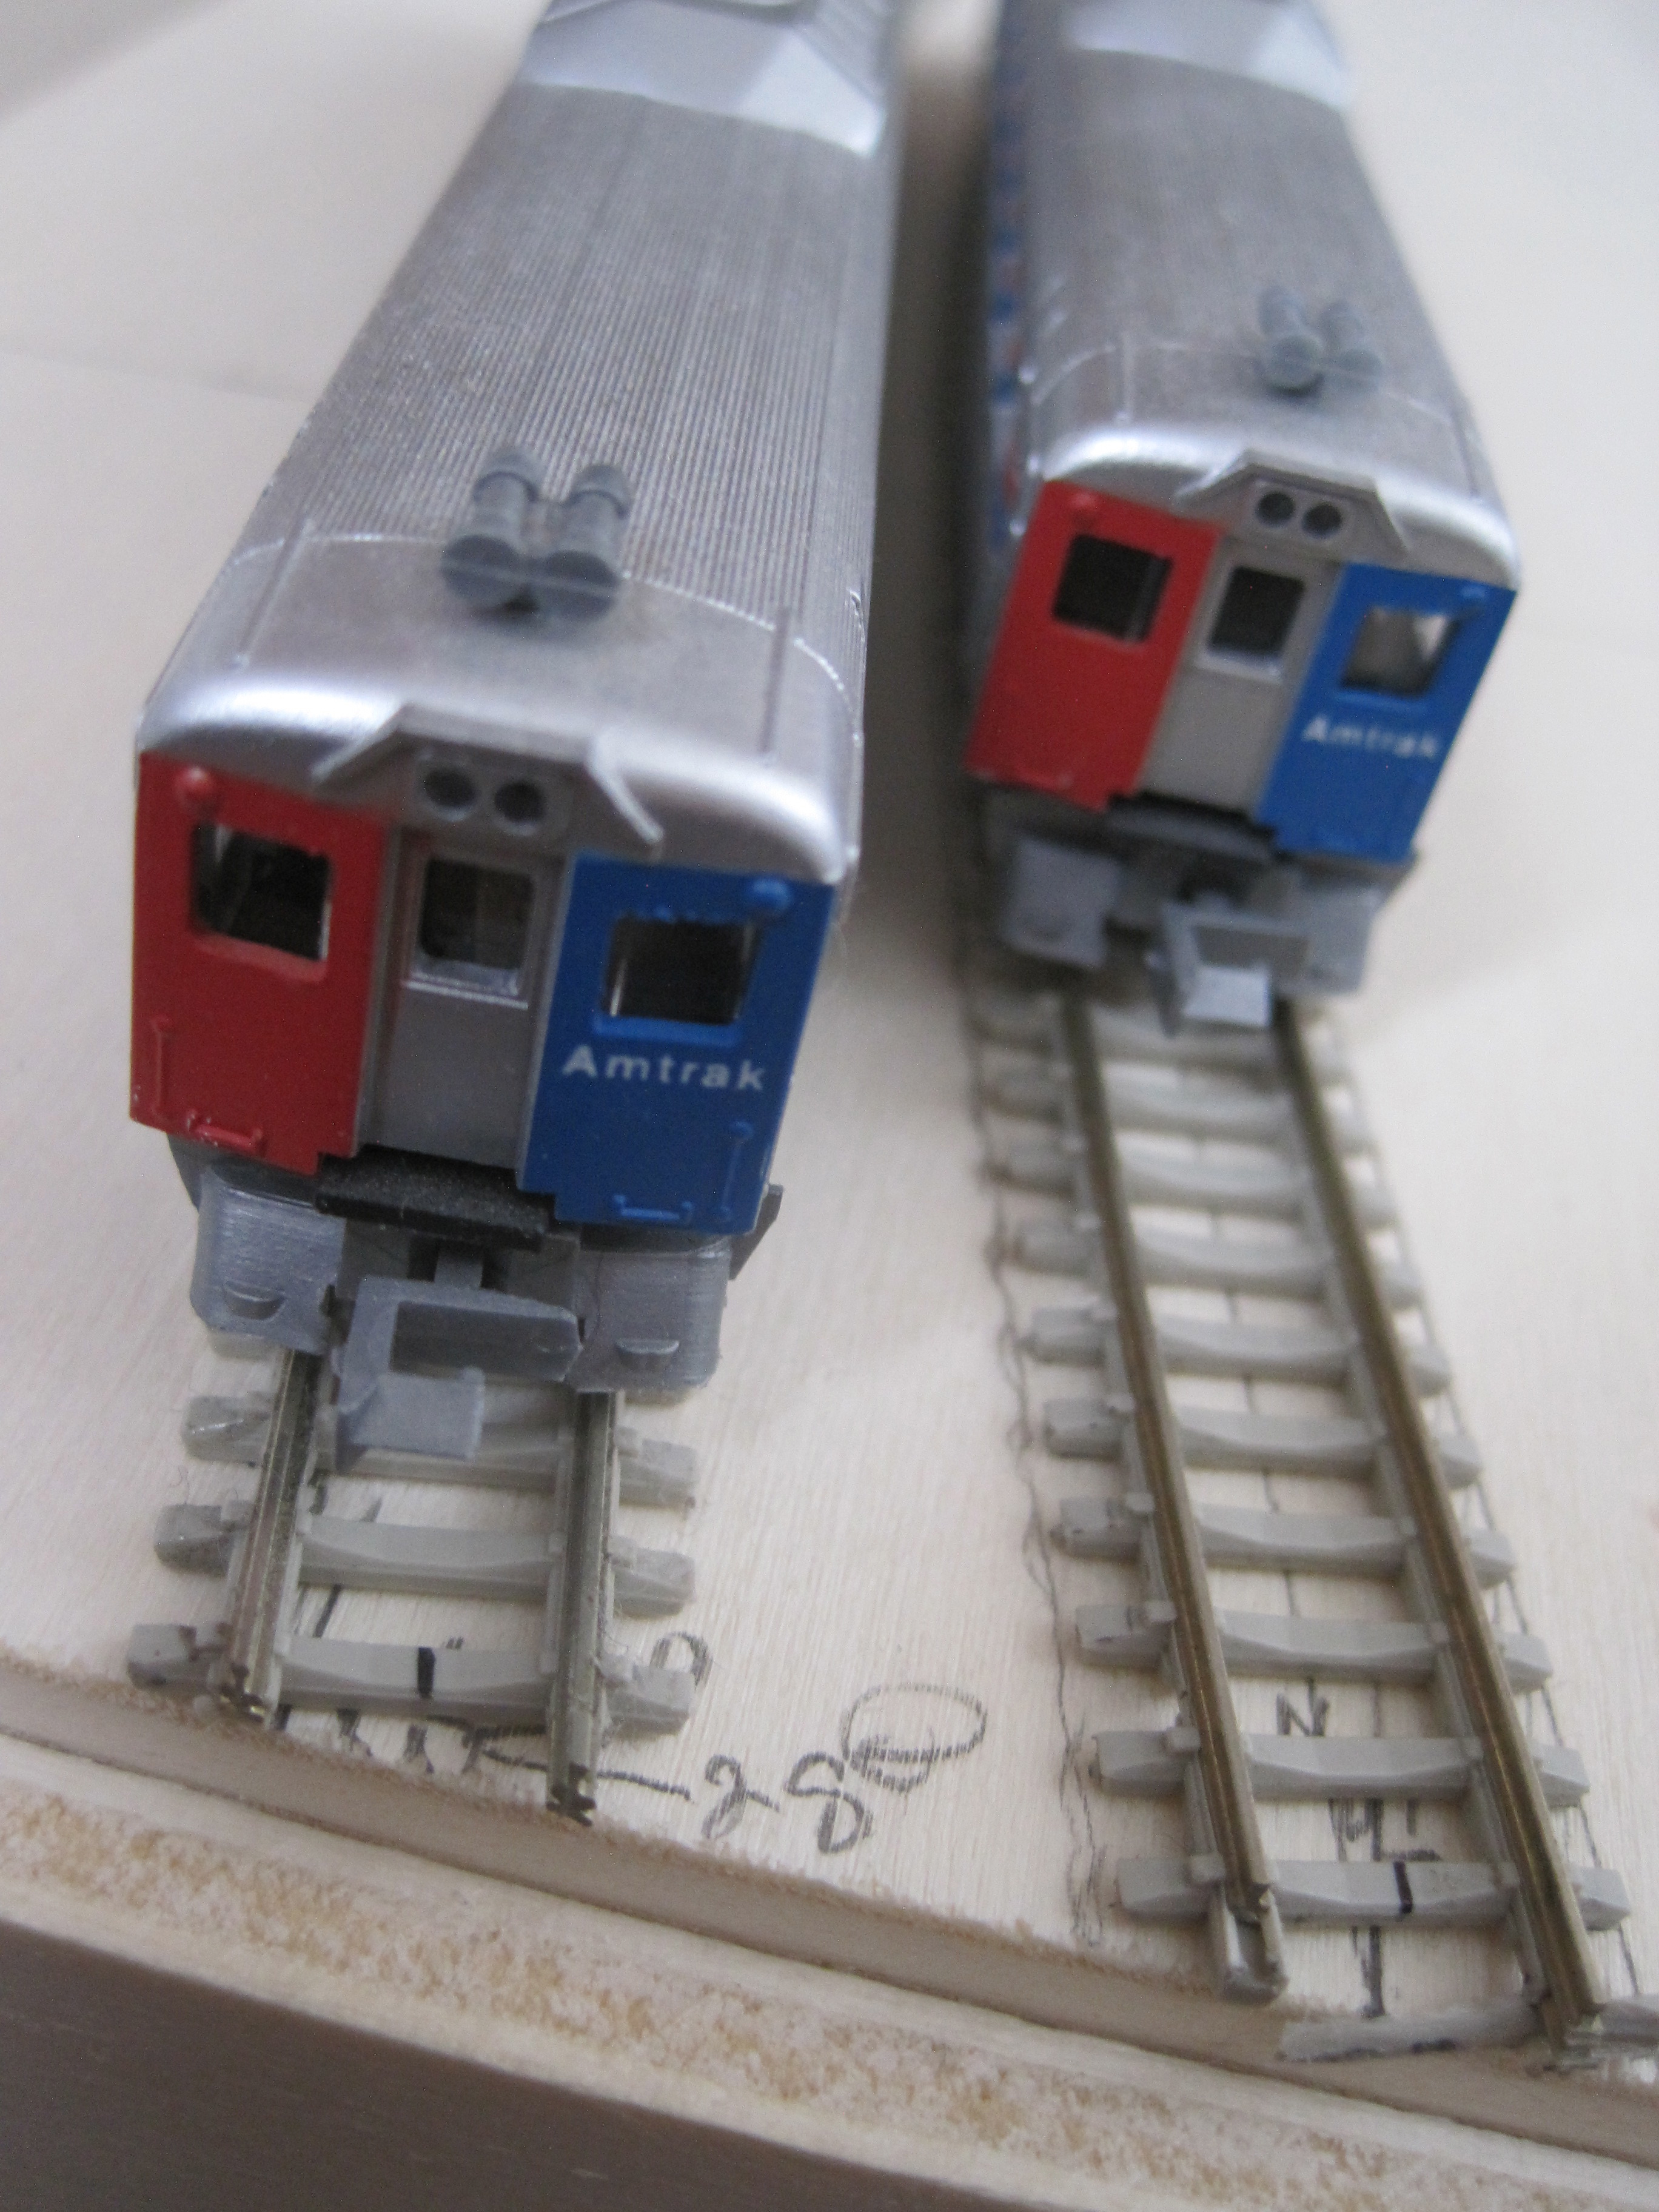
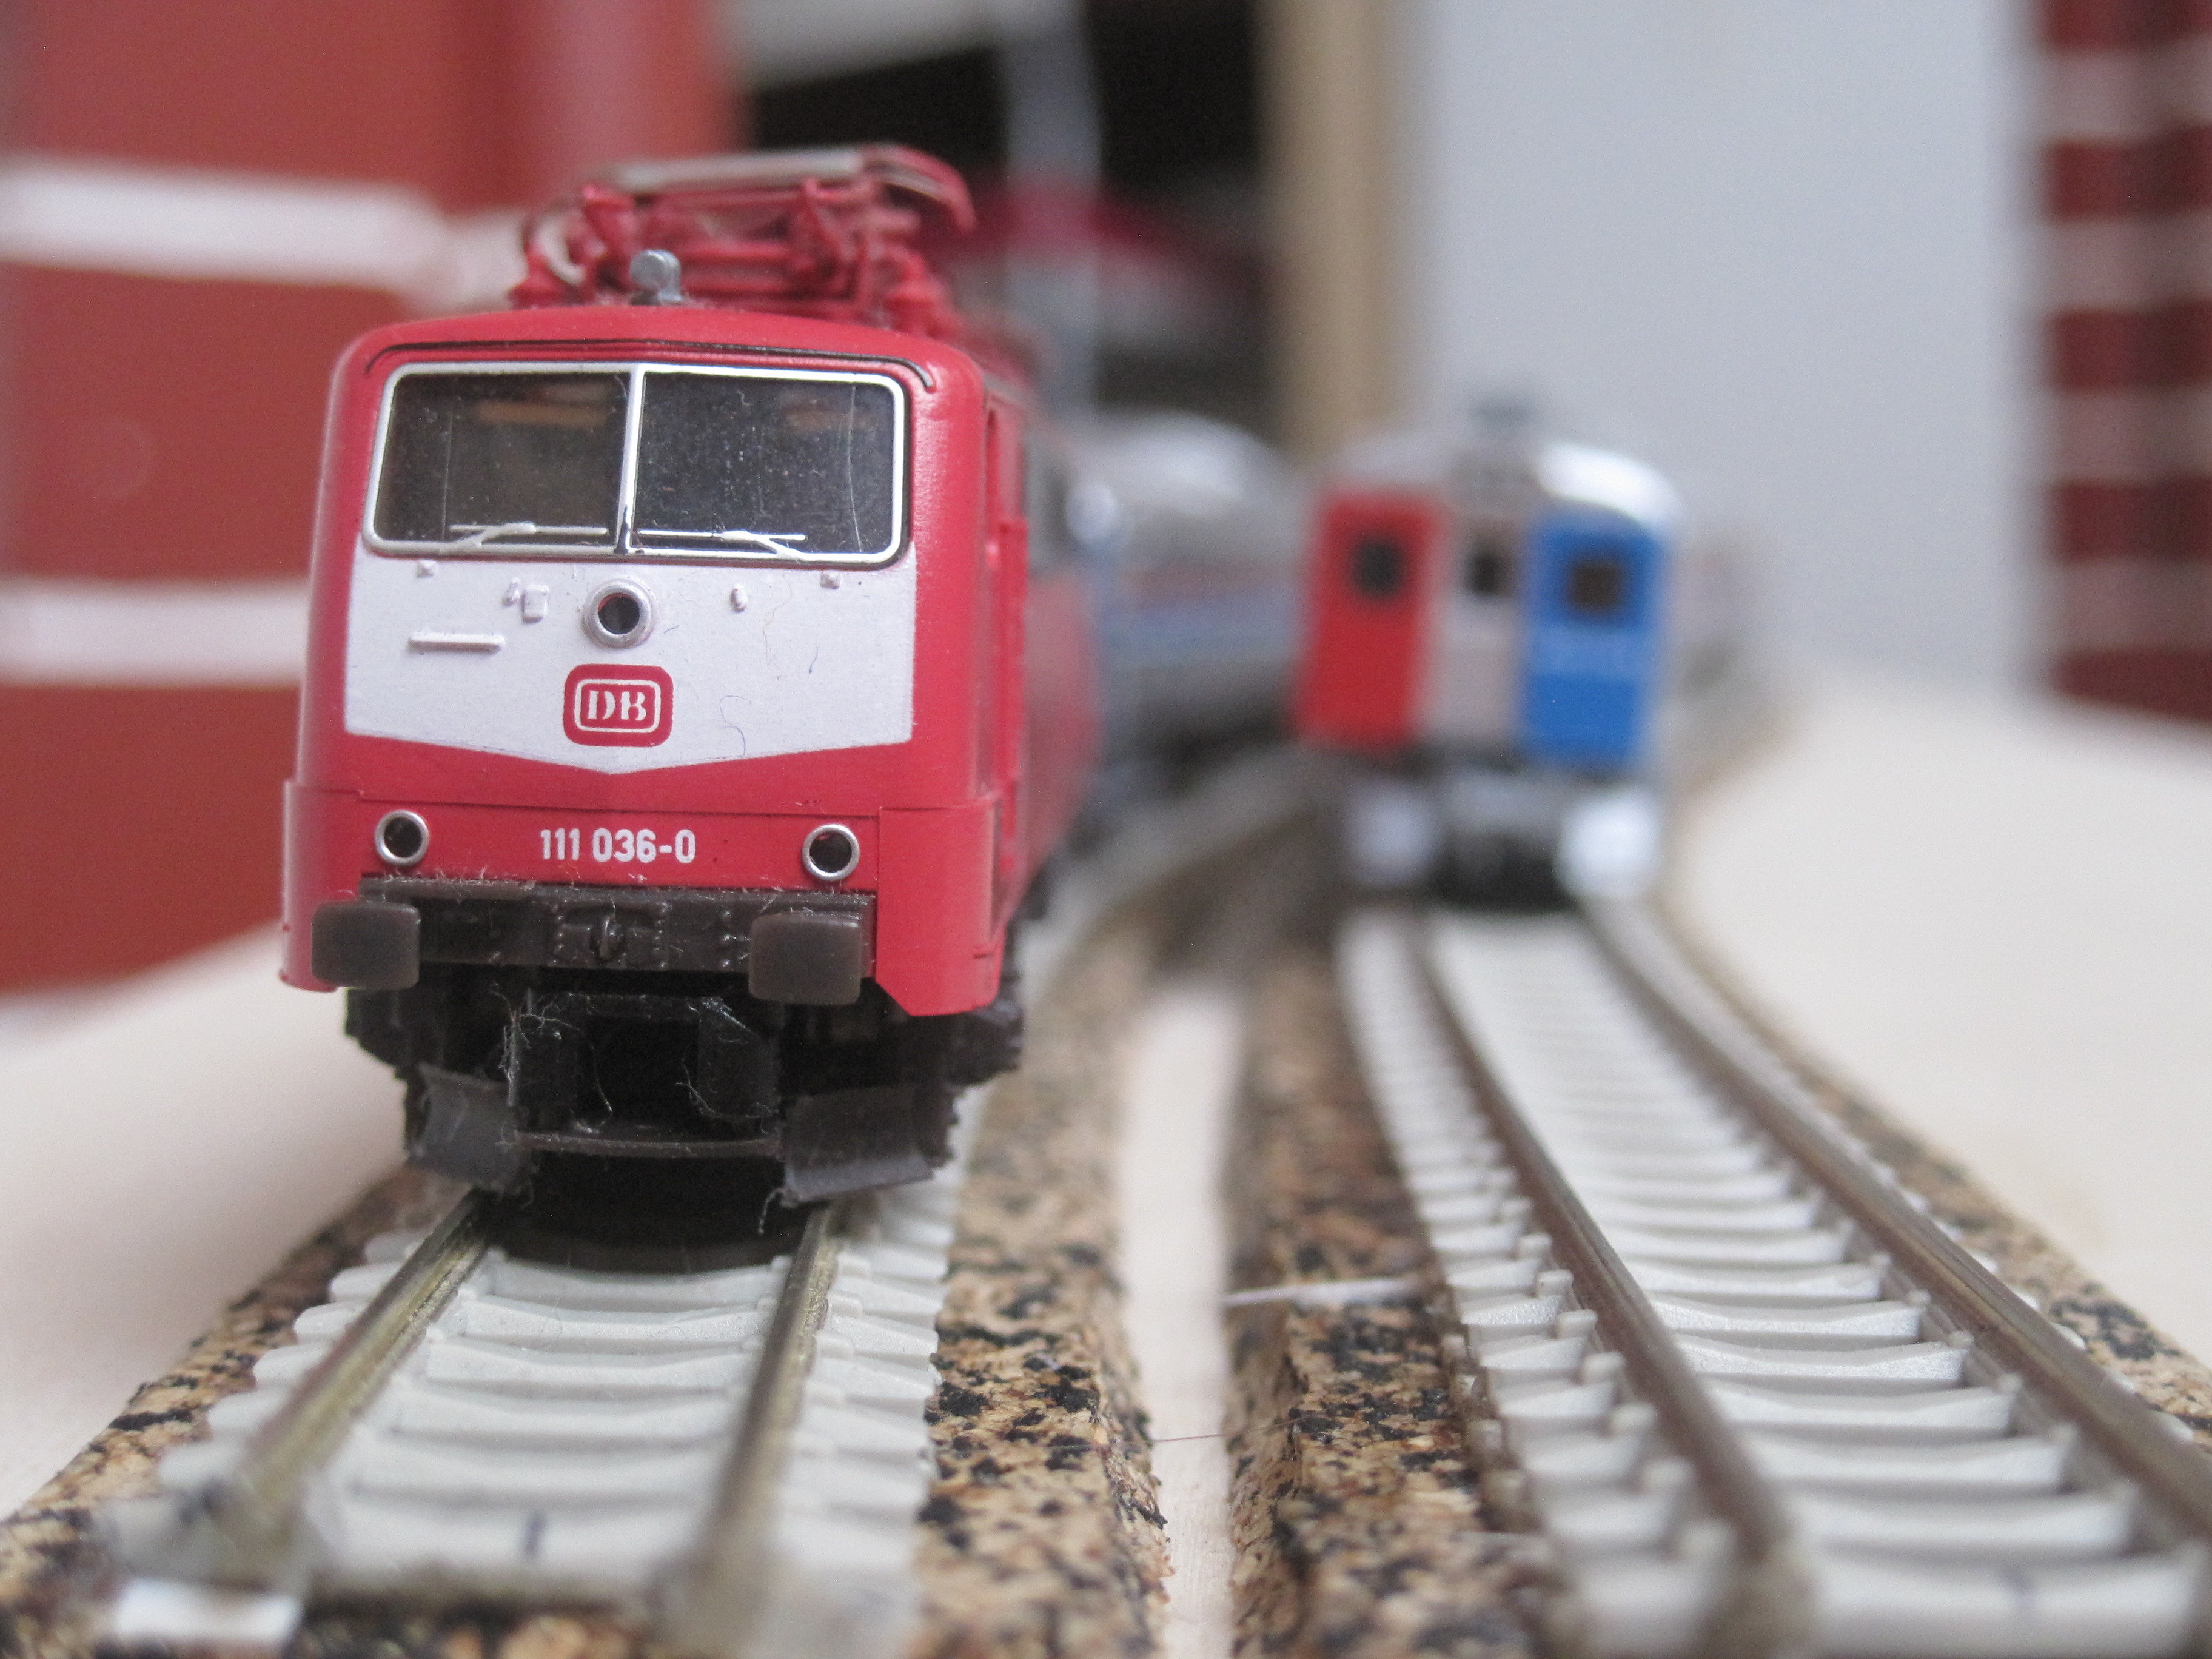
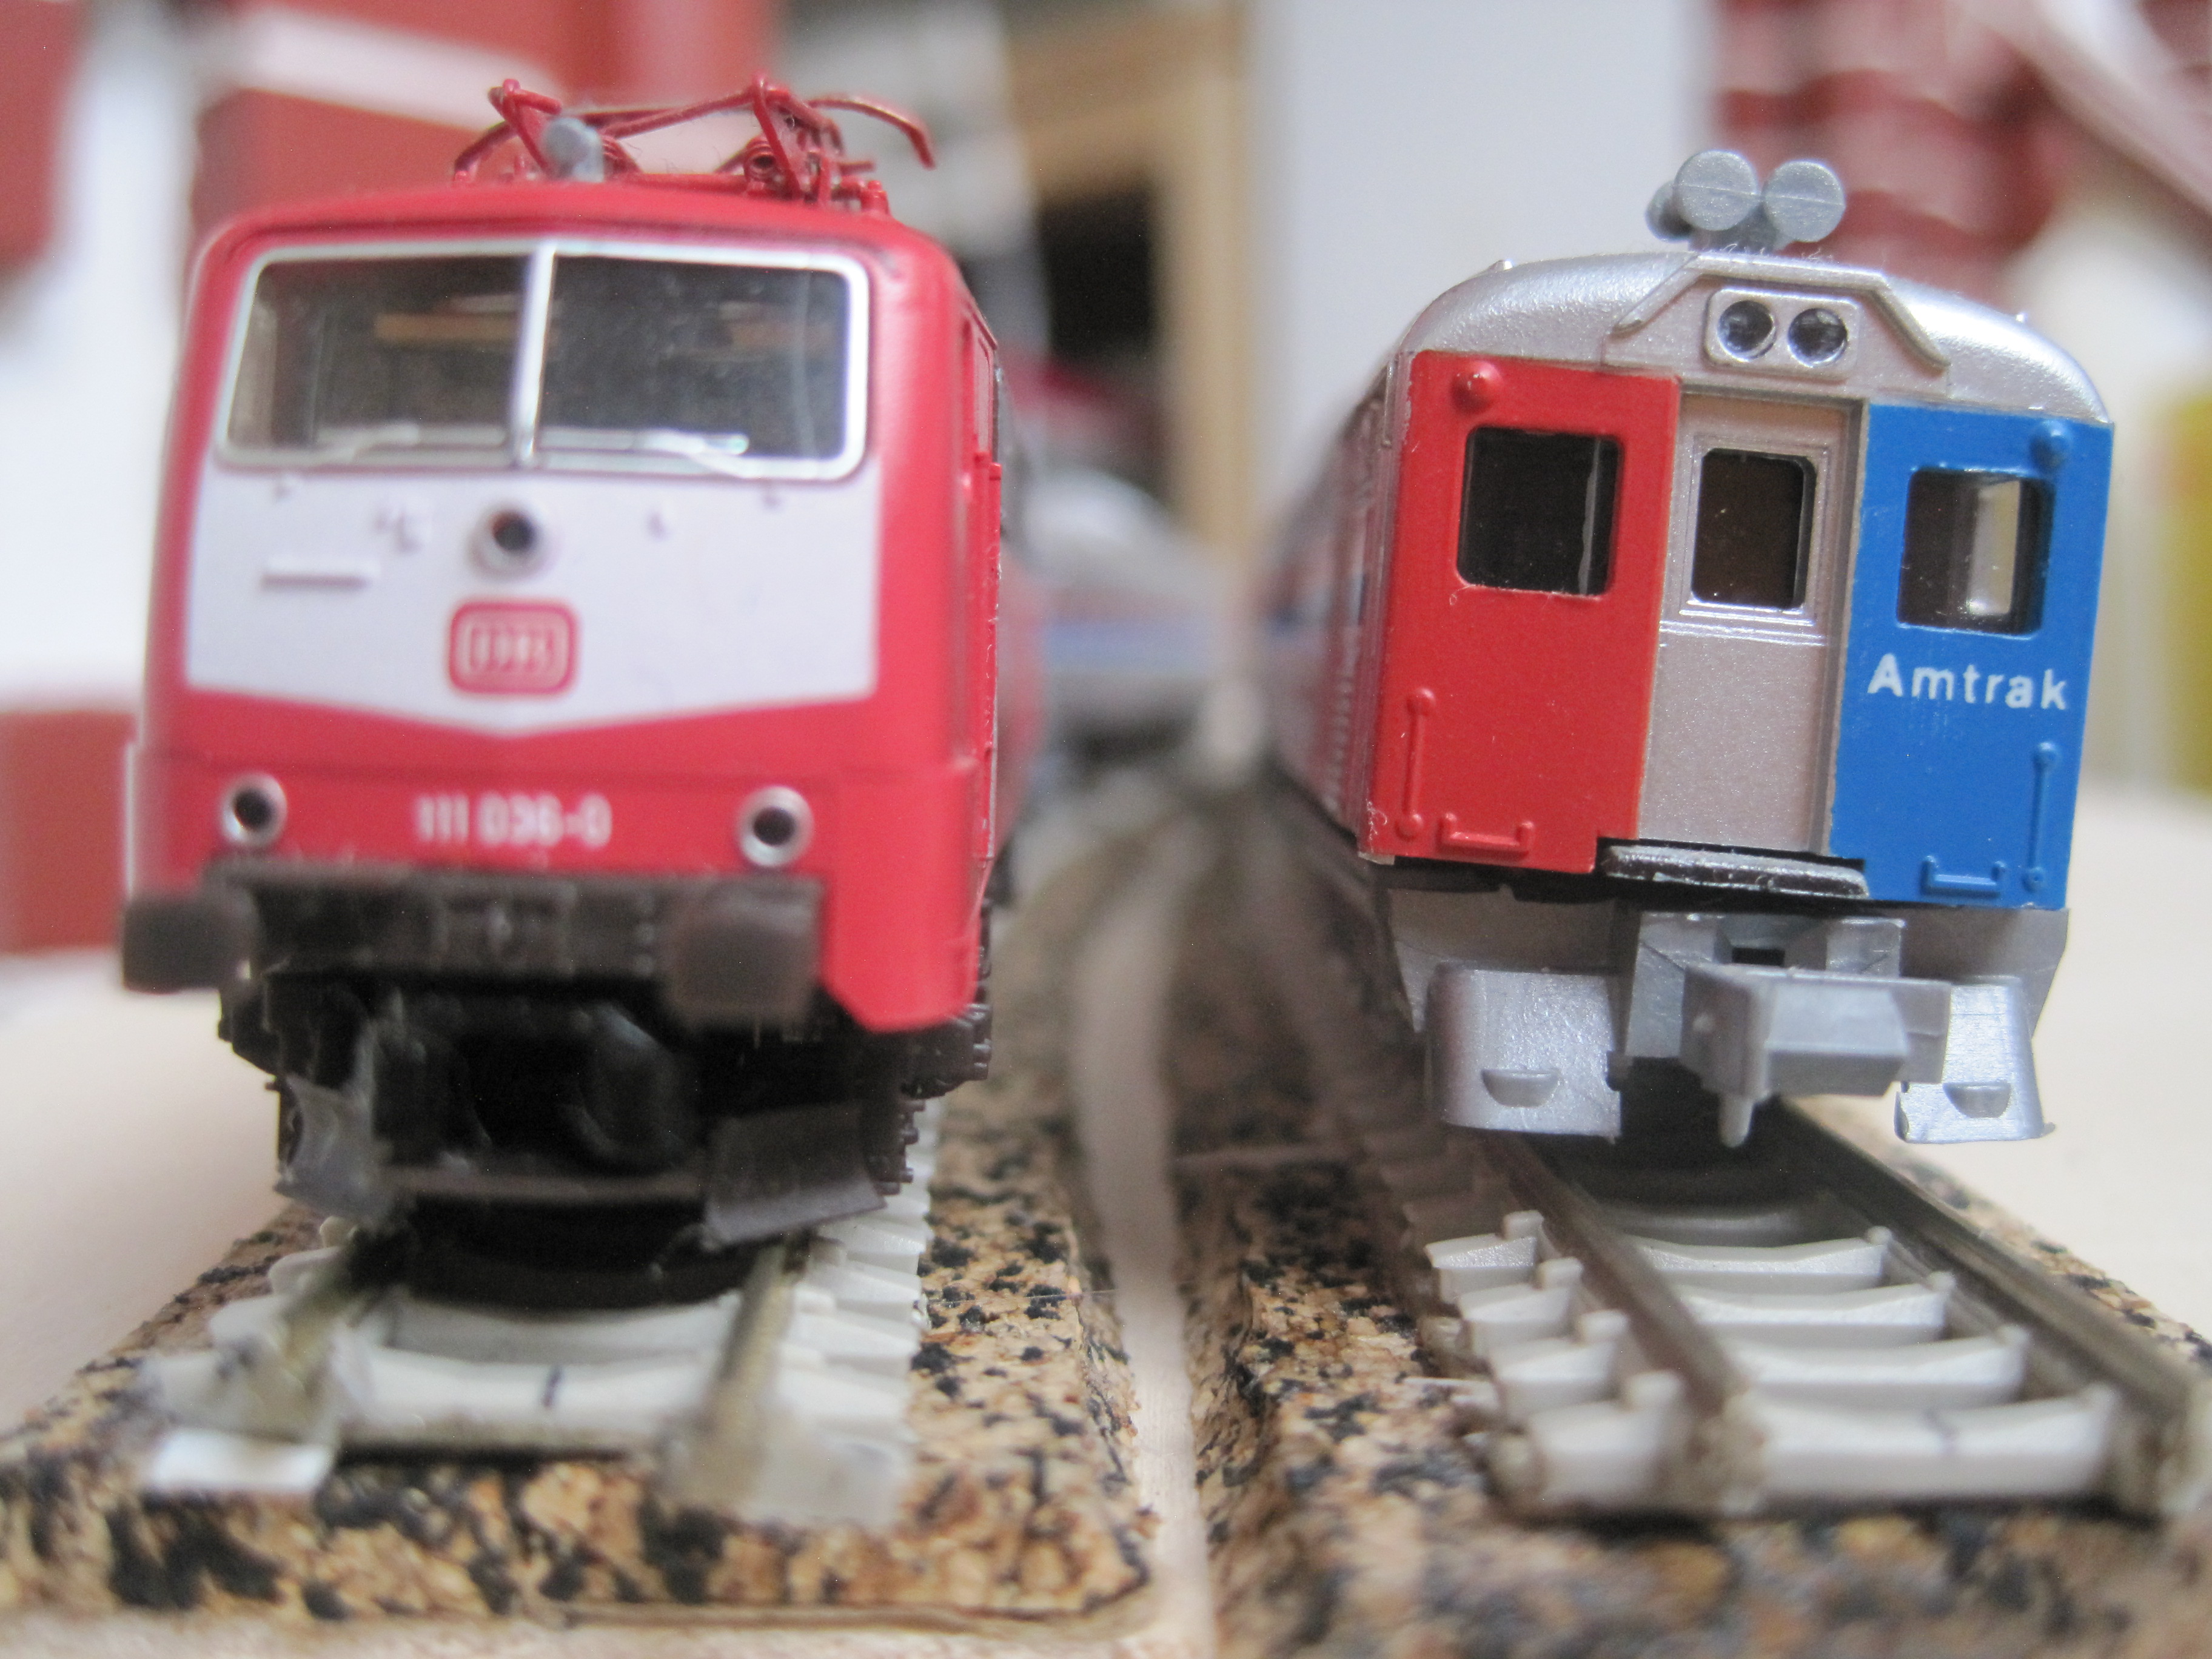
The test trains sit temporarily on top of the Peco code 55 tracks while I adjusted the track centre distance.
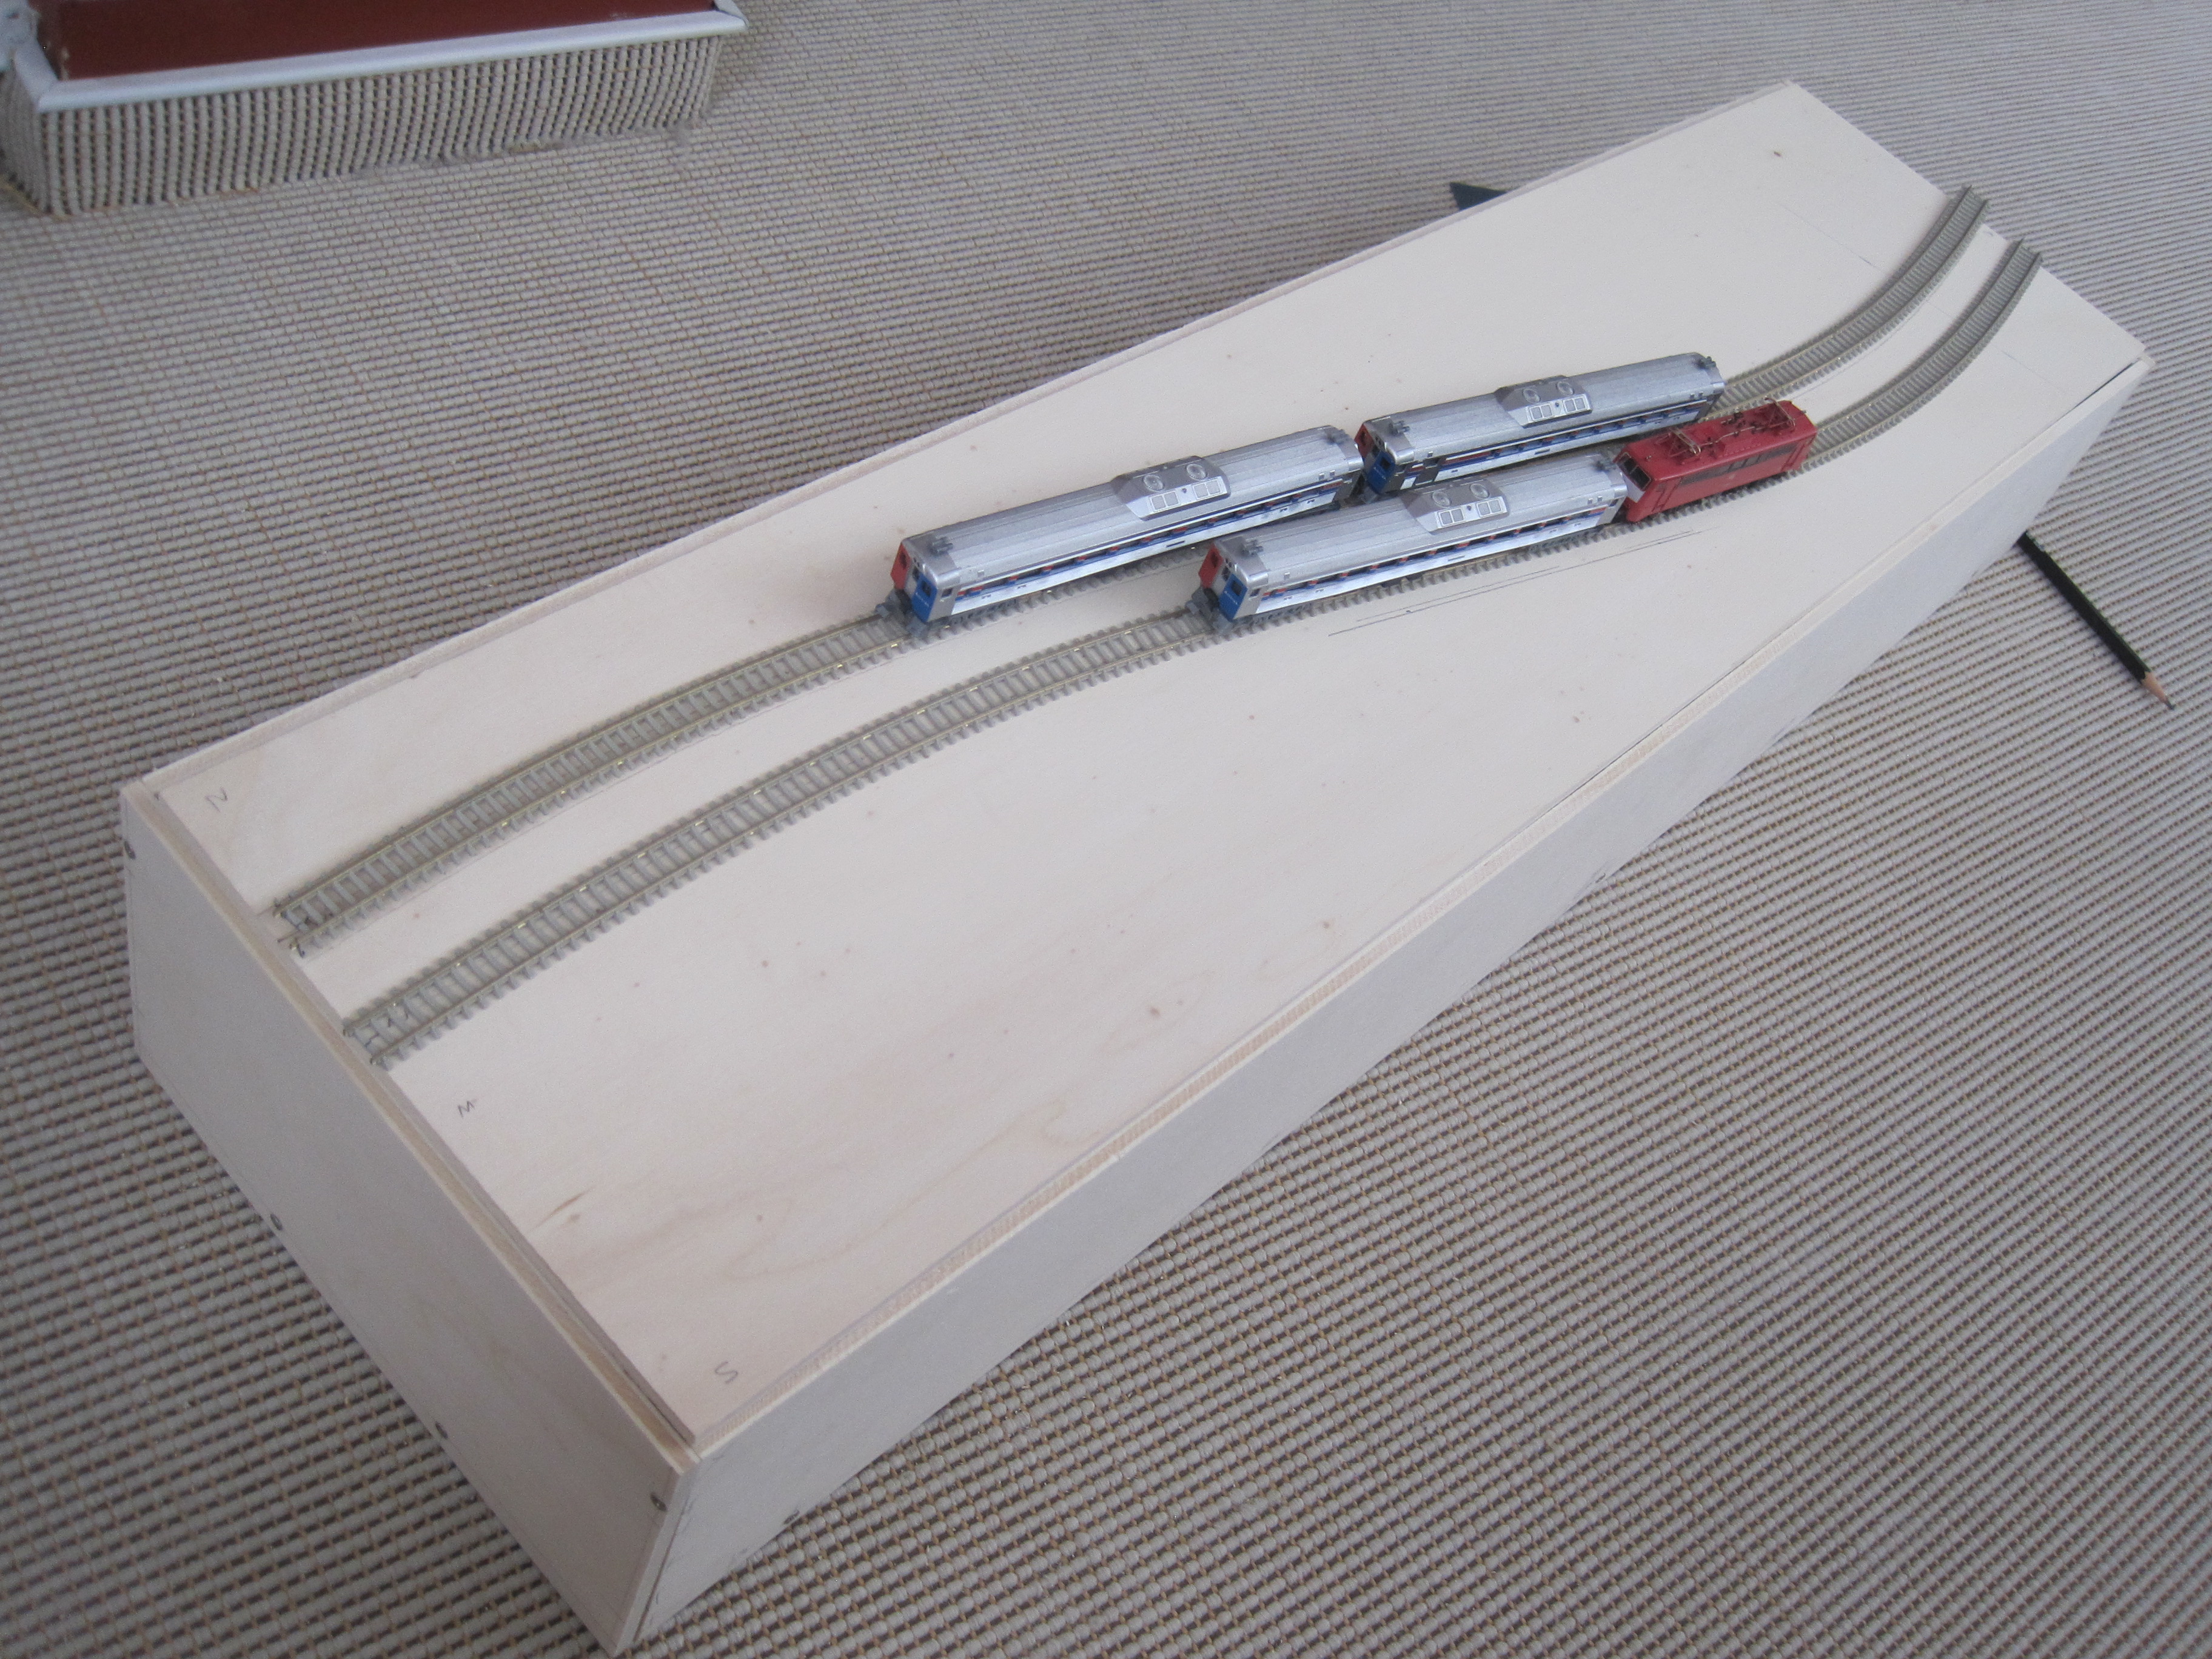
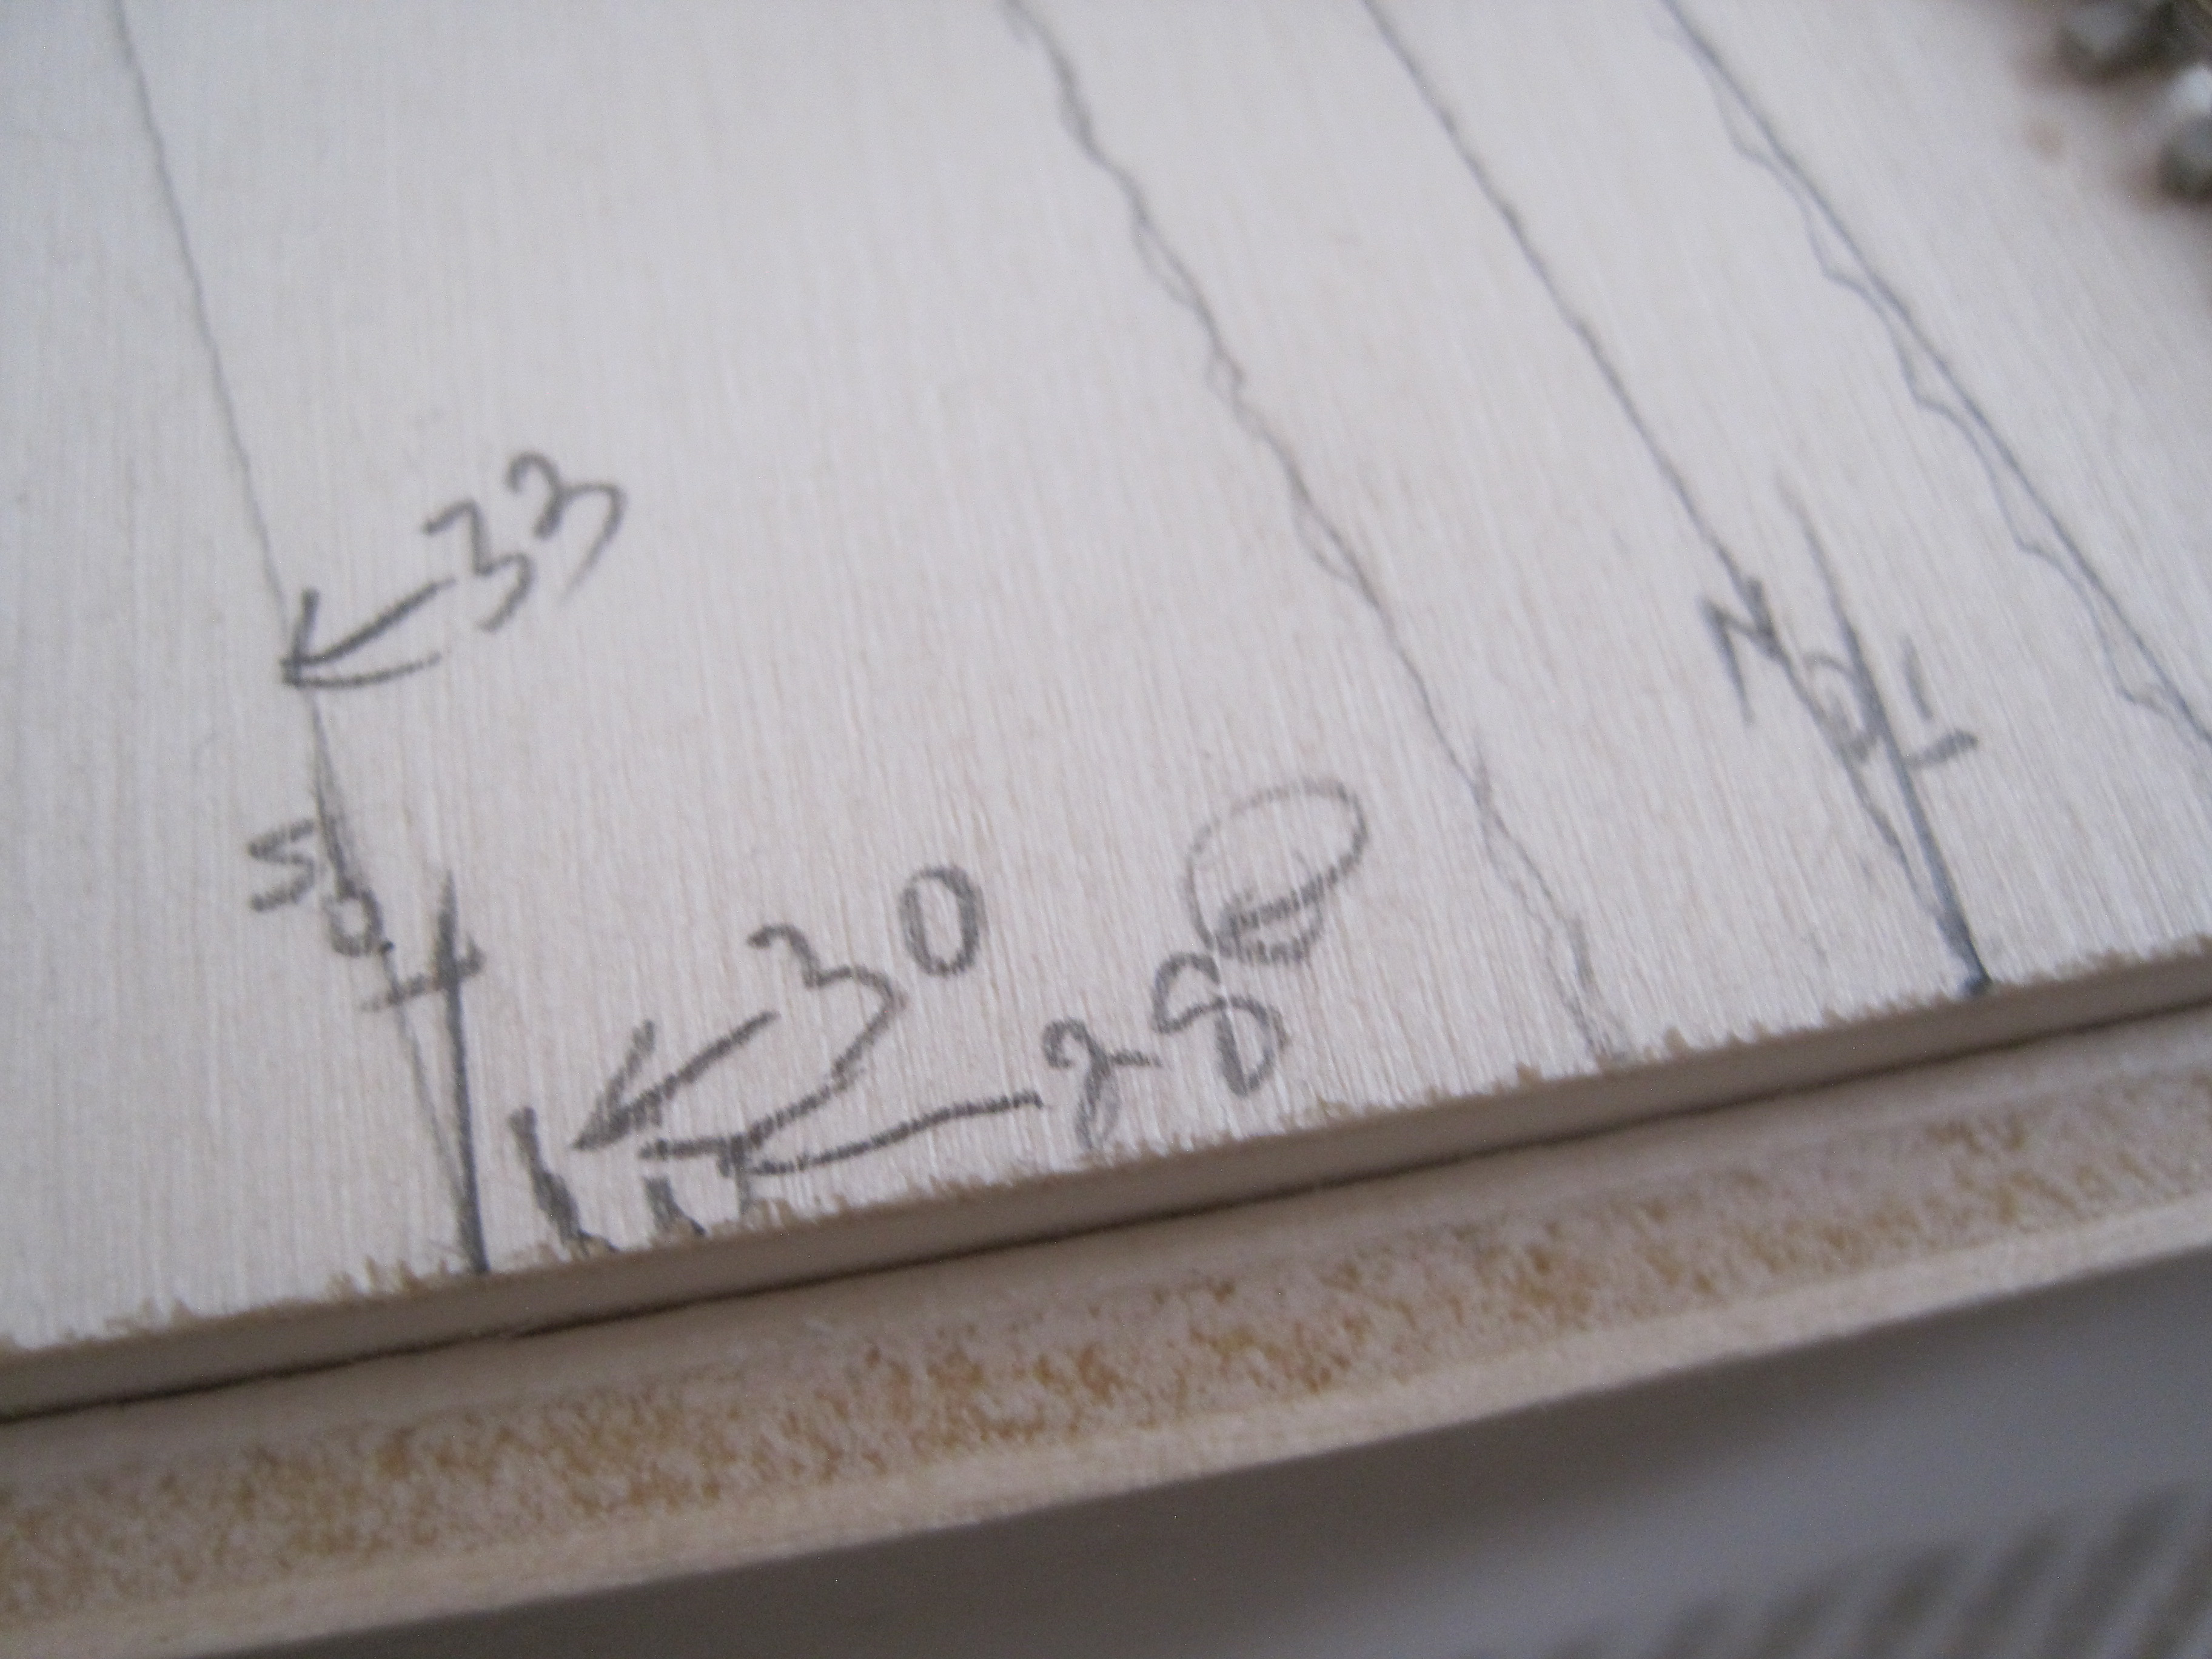
I was thinking whether to use 33mm track centre distance. In fact I tested with 30mm and even 28mm. Eventually, I settled for 30mm at each end and 33mm at the curves. This gives more horizontal space for the trains especially long wagons to pass each other without colliding.
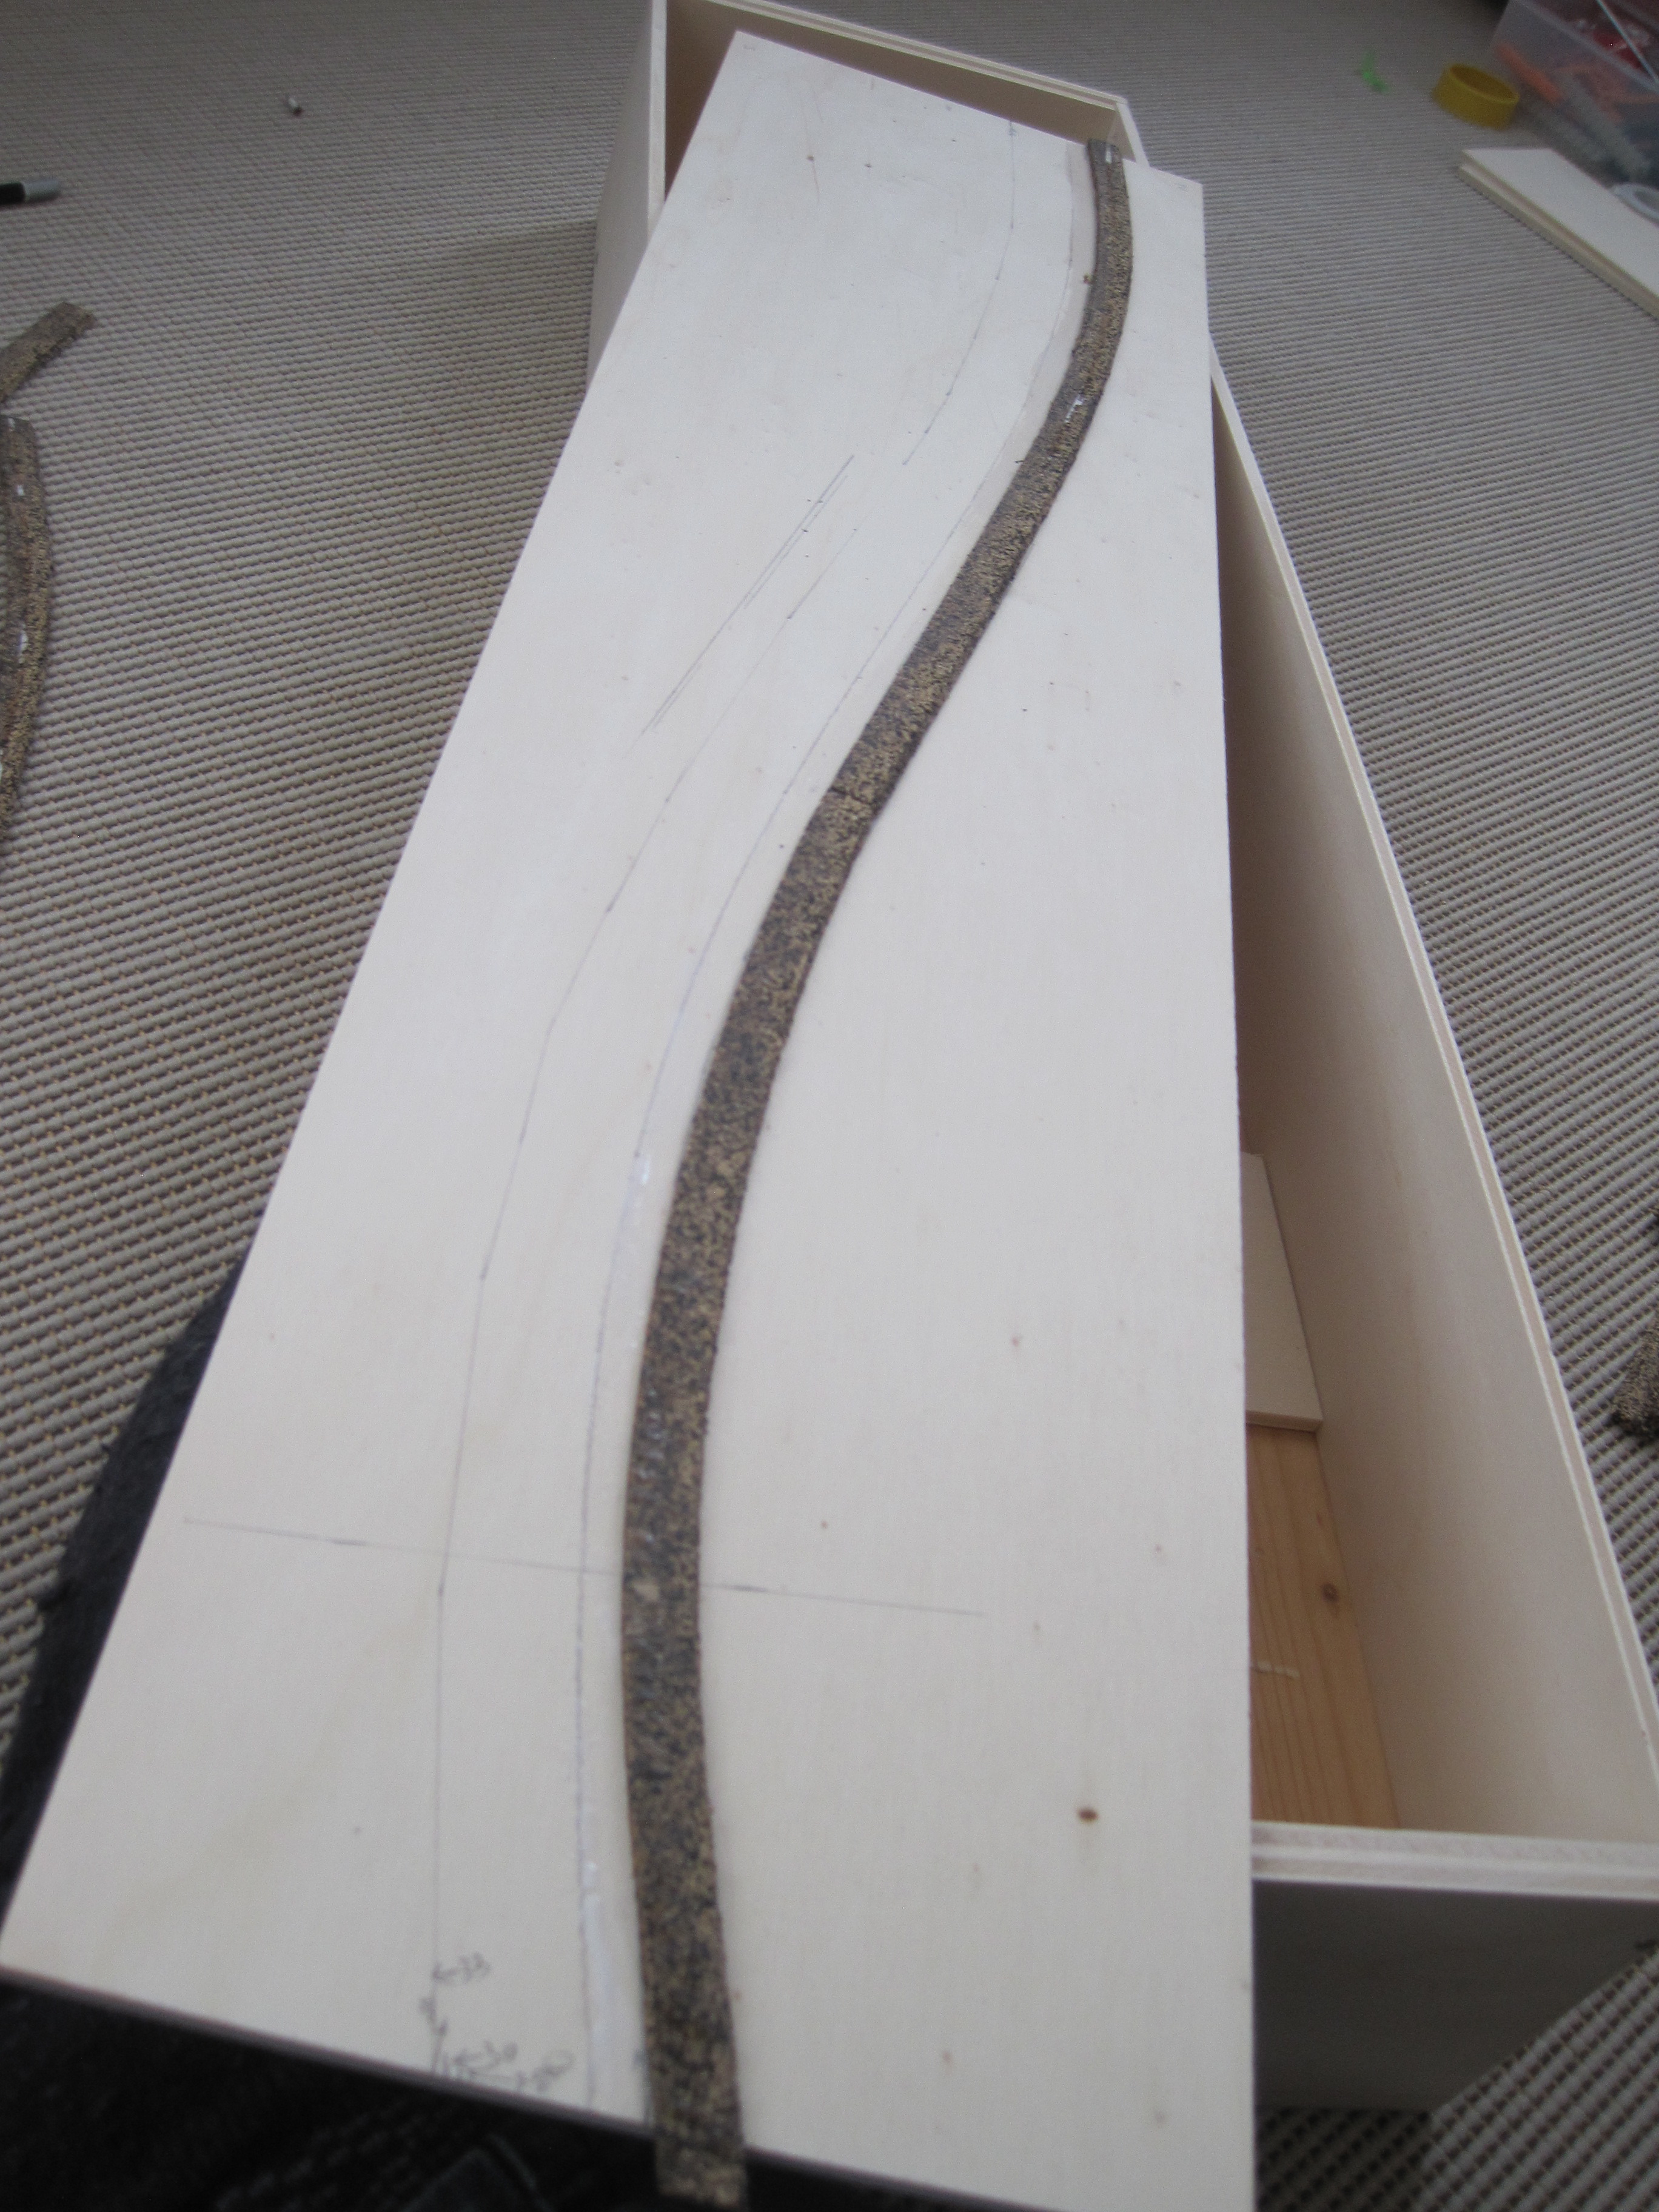
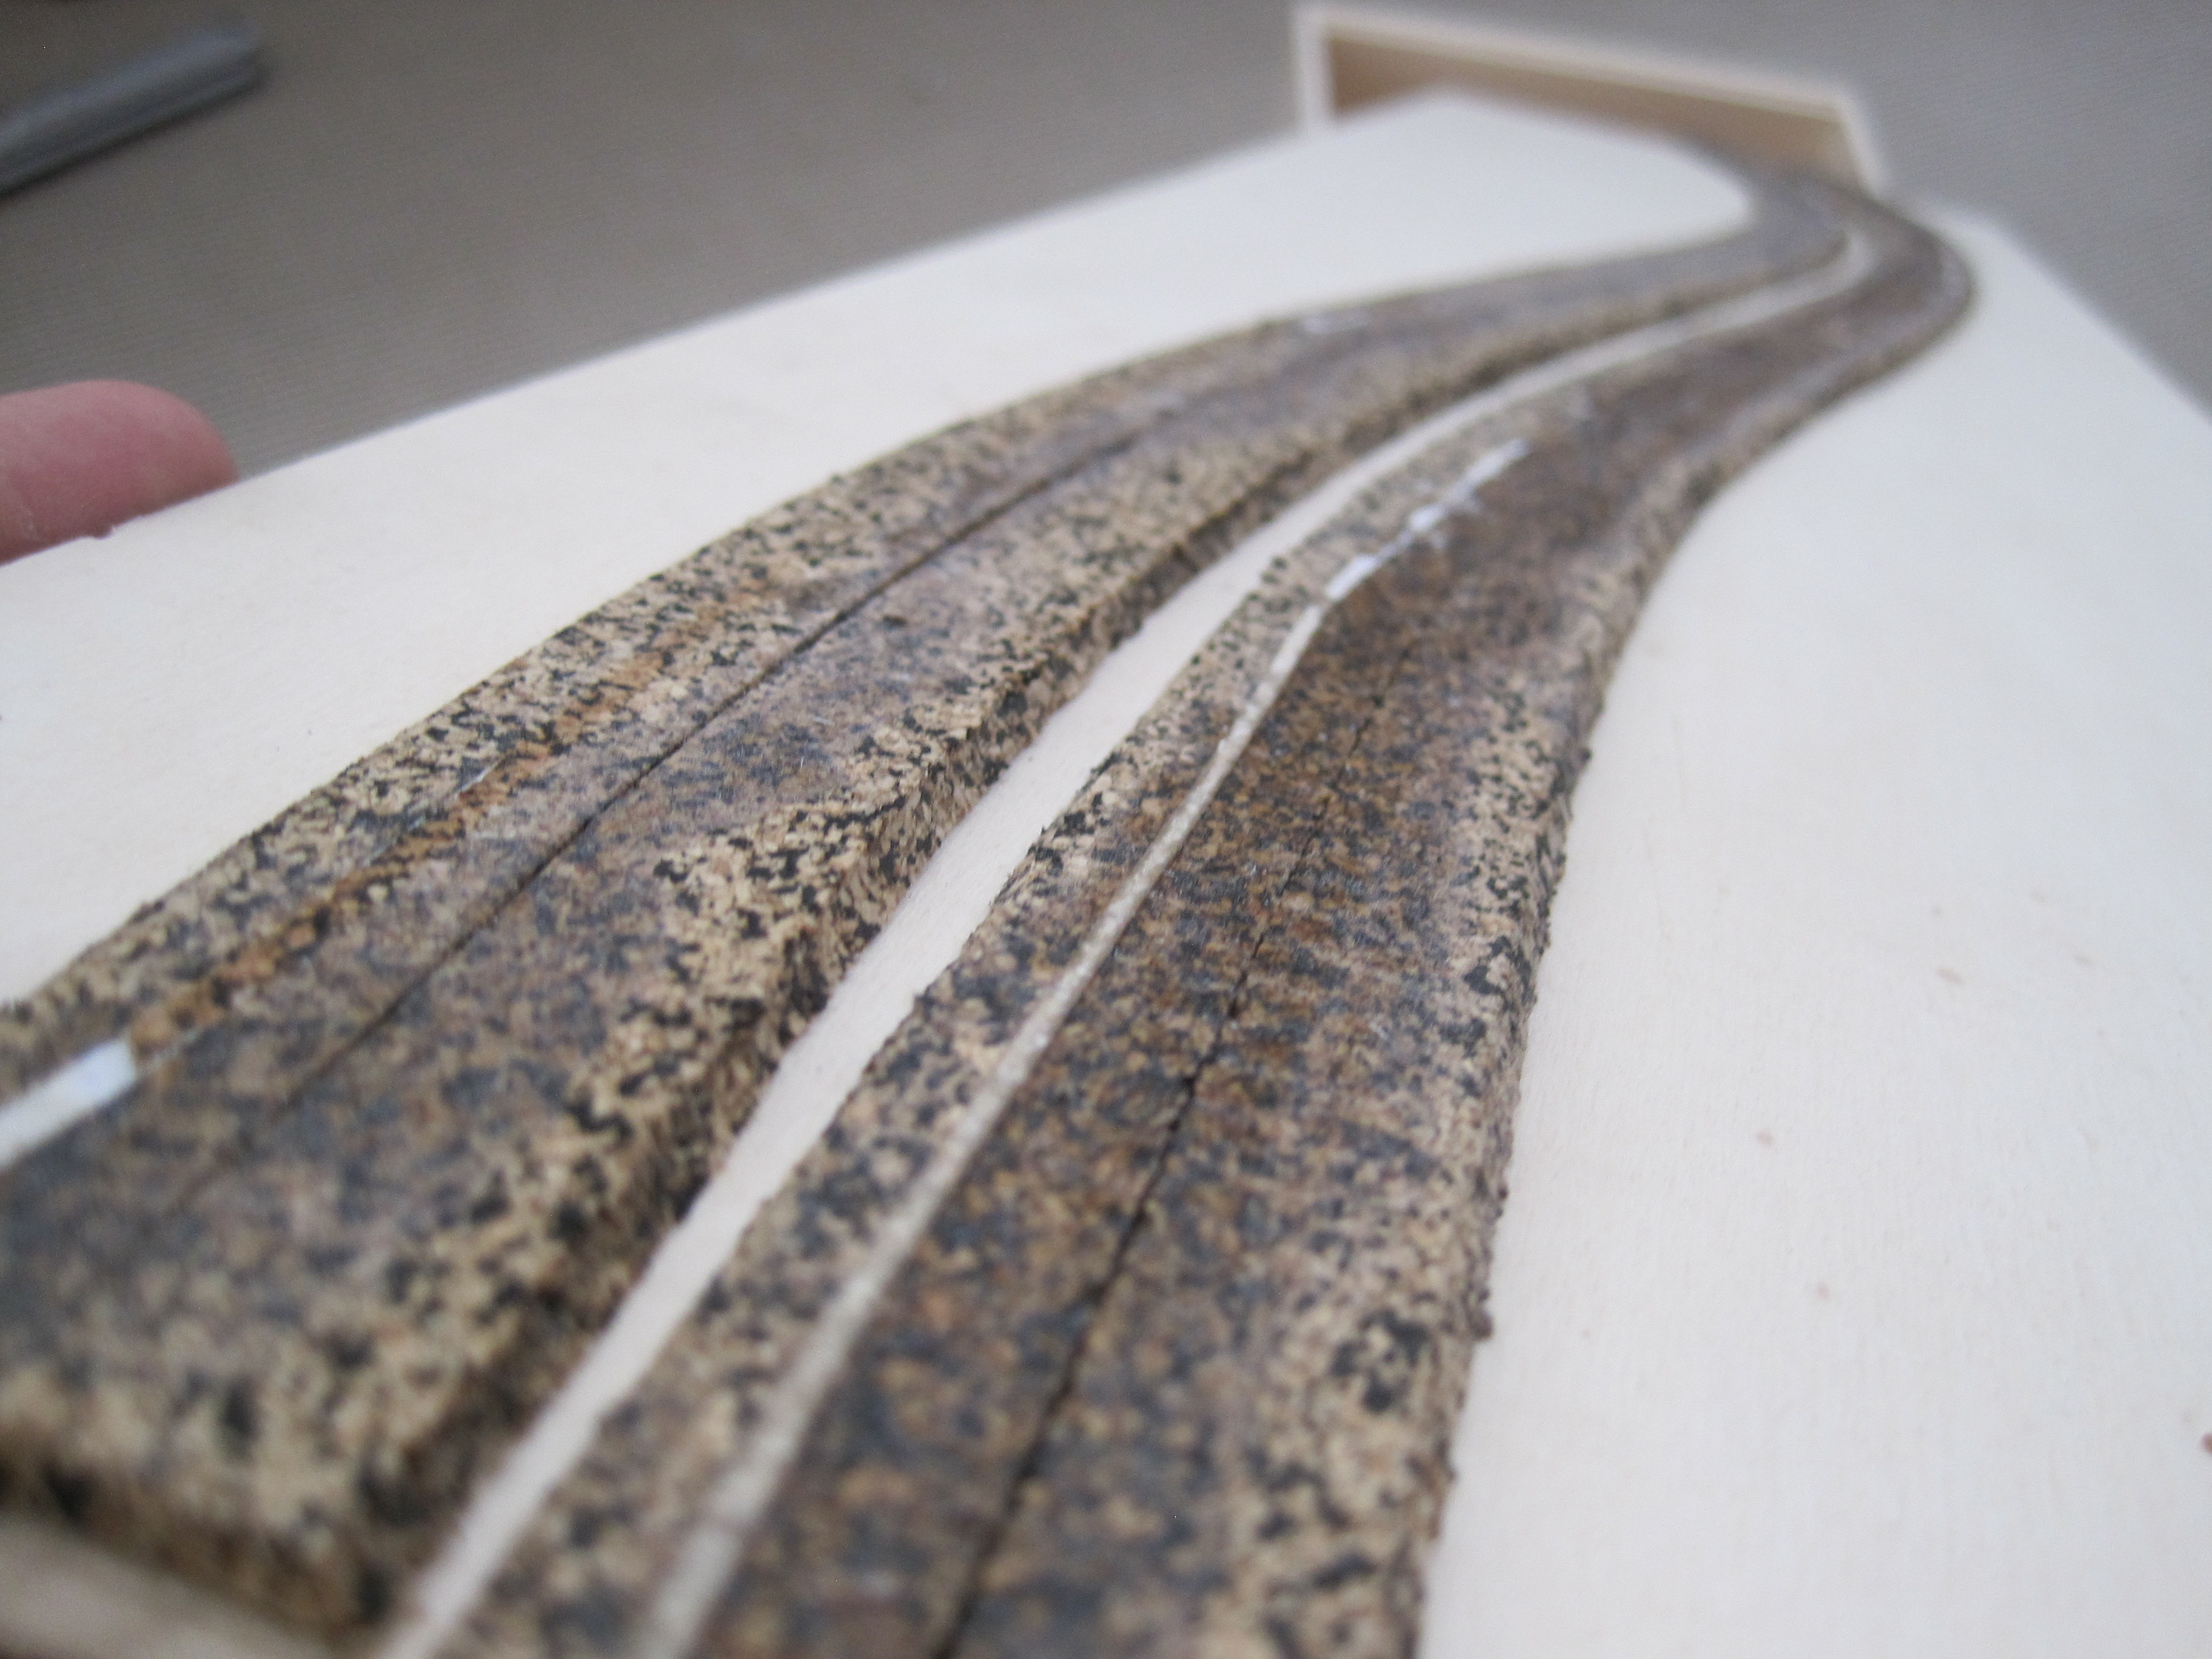
I started by working on one track. I managed to save the cork from my previous diorama and using diluted wood glue, I traced the track centre of that track when I laid the first half of the cork. In the future I would mark every 2-4 ties the track centre to guide me with the alignment.
The end product is below
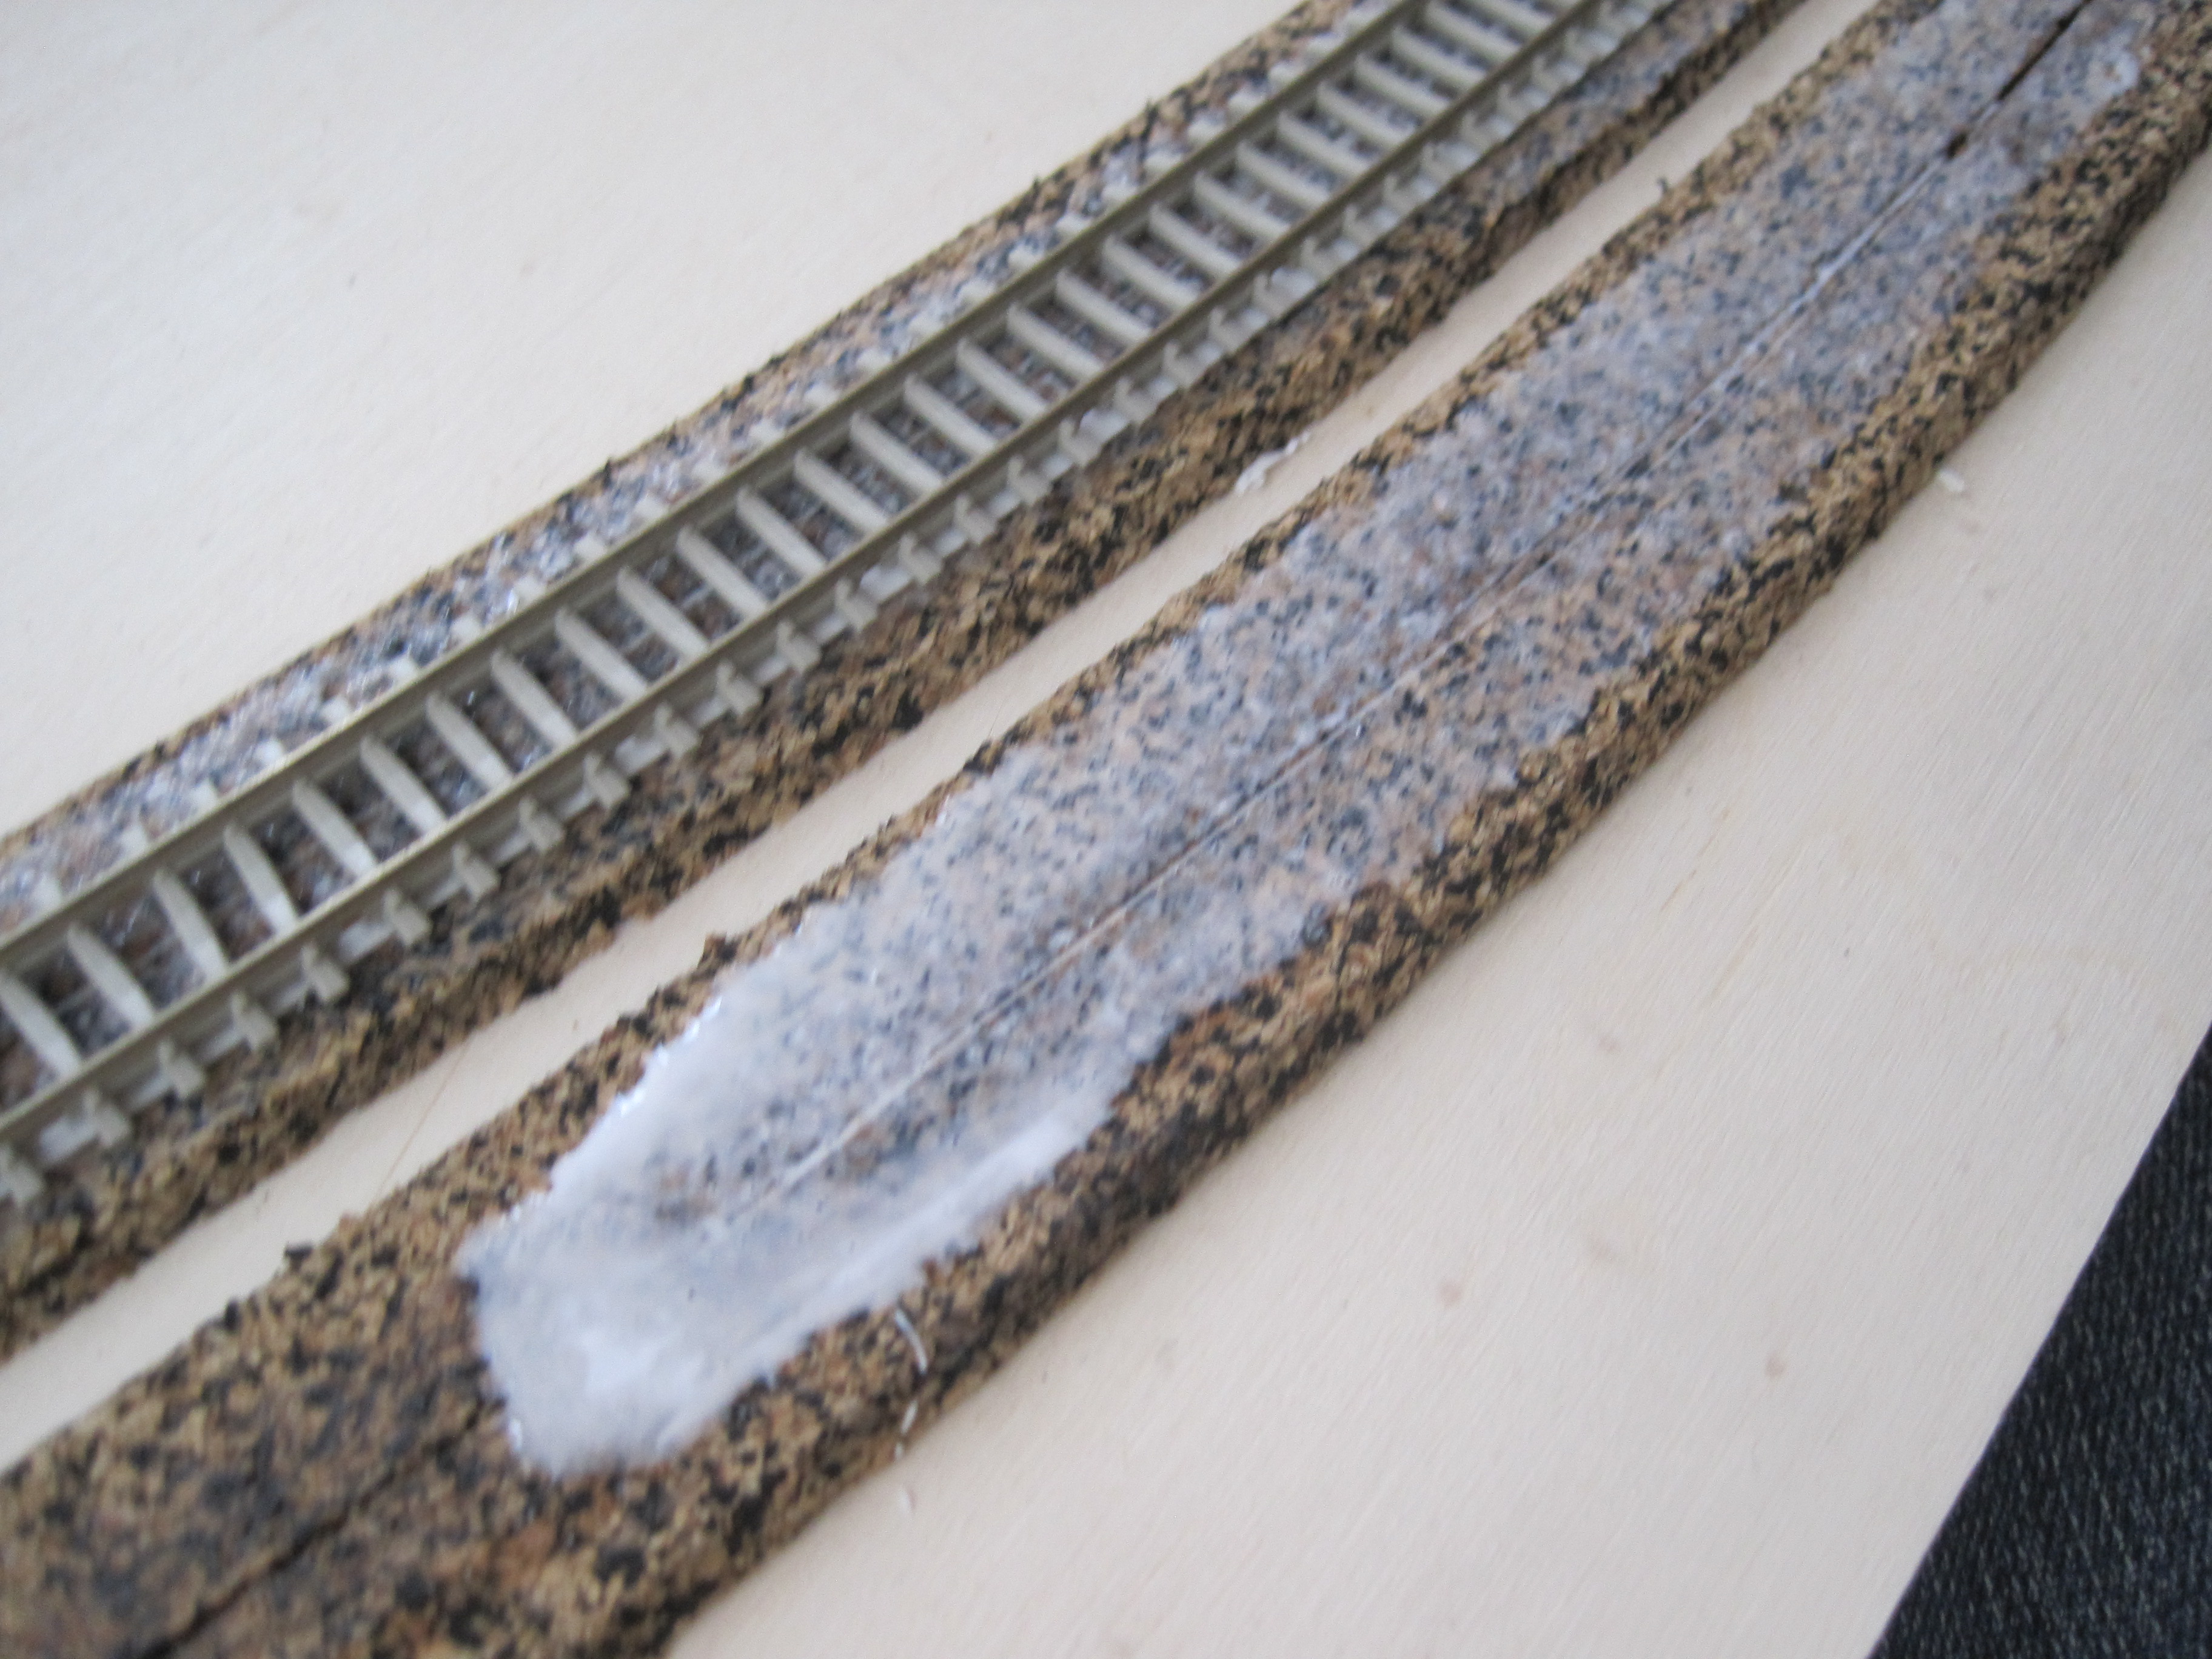
I decided to superelevate my tracks especially on the bend with 0.5mm thick styrene stripes. This should lift the outer rail to the desired 0.5mm, as per NEM114. I cut 4 3mm-wide stripes, each strip for the outer rail. Using plastic model glue (aka superglue), I laid each strip directly below each outer rail. I start from the straight part since there should be a transition in the superelevation too. You must shape the tracks to your need before you add these strips as the strips would permanently hold them into position. After ballasting, the stripes will not be visible.

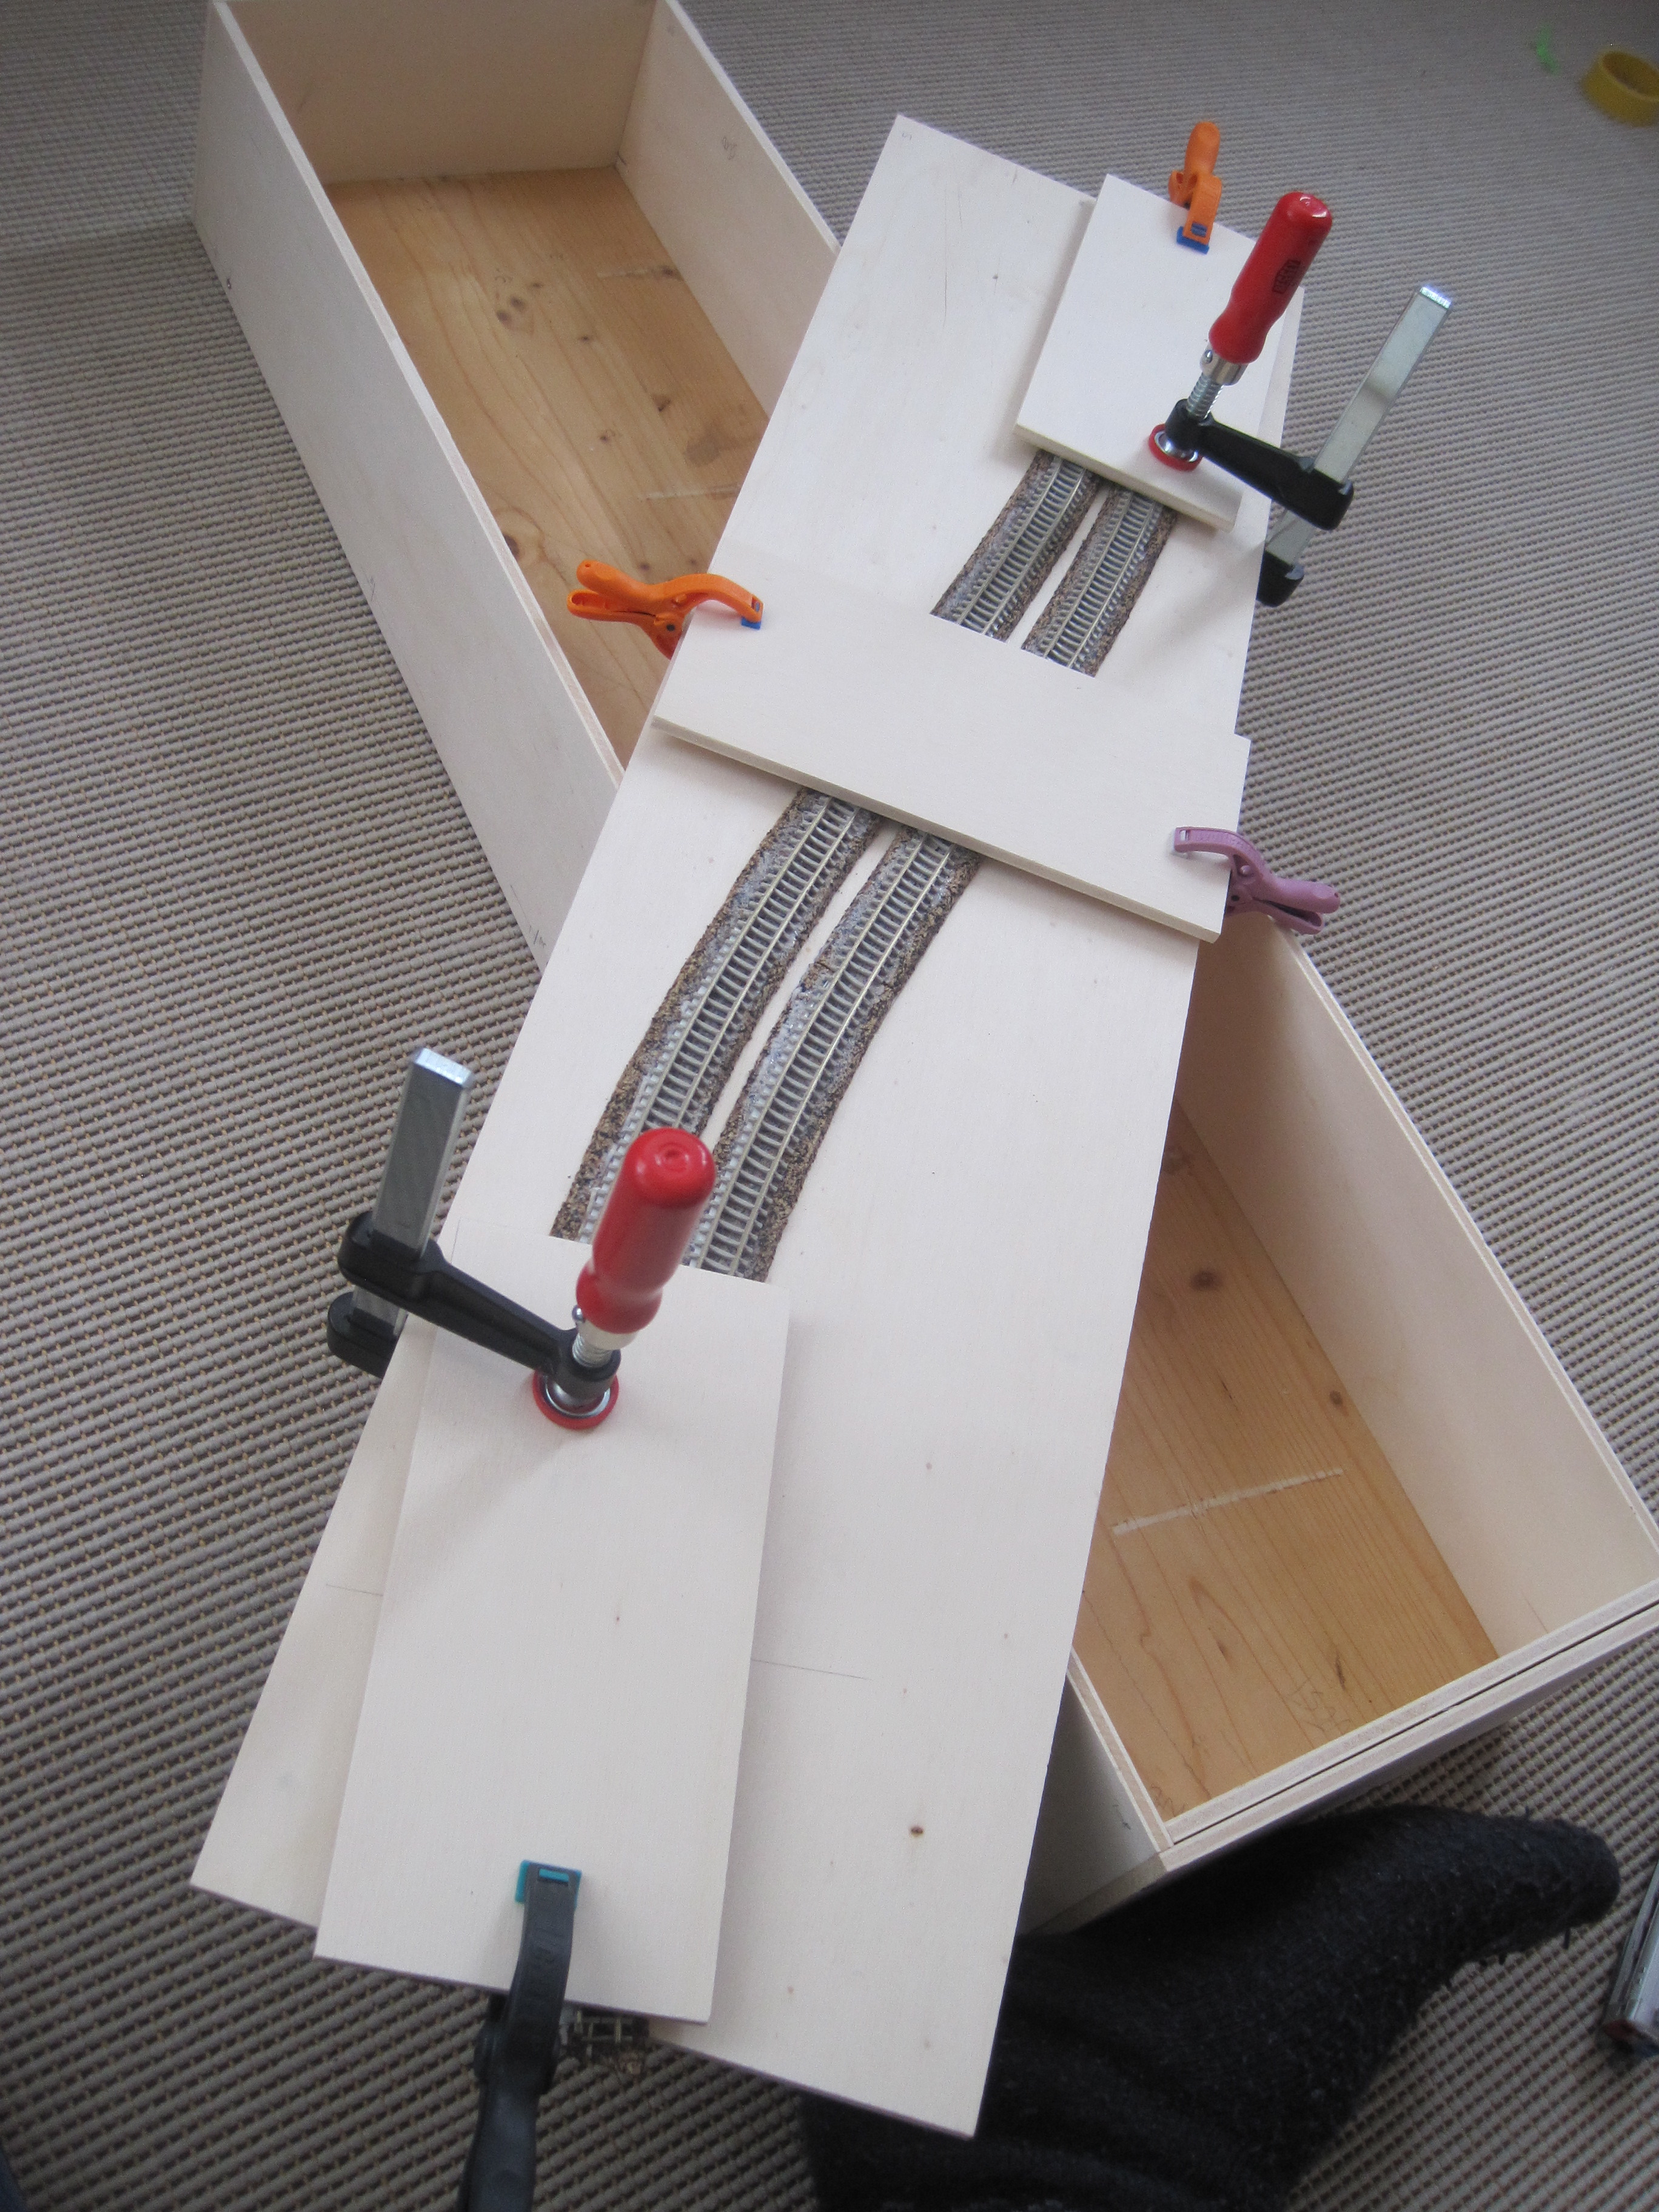
Once I completed adding the styrene strips for superelevation, I start laying them on the cork roadbed. I spread diluted wood glue and follow the track centre that is visible on the cork roadbed and slowly positioned the track on it. I adjusted them to position as I worked from one end to another.
Finally, I used clamps and small plywood sheets to press and hold the tracks down. I will leave them overnight for drying. These little helpers come in handy when you do not have extra pair of hands to help you.
In the end, I am quite pleased with the result.
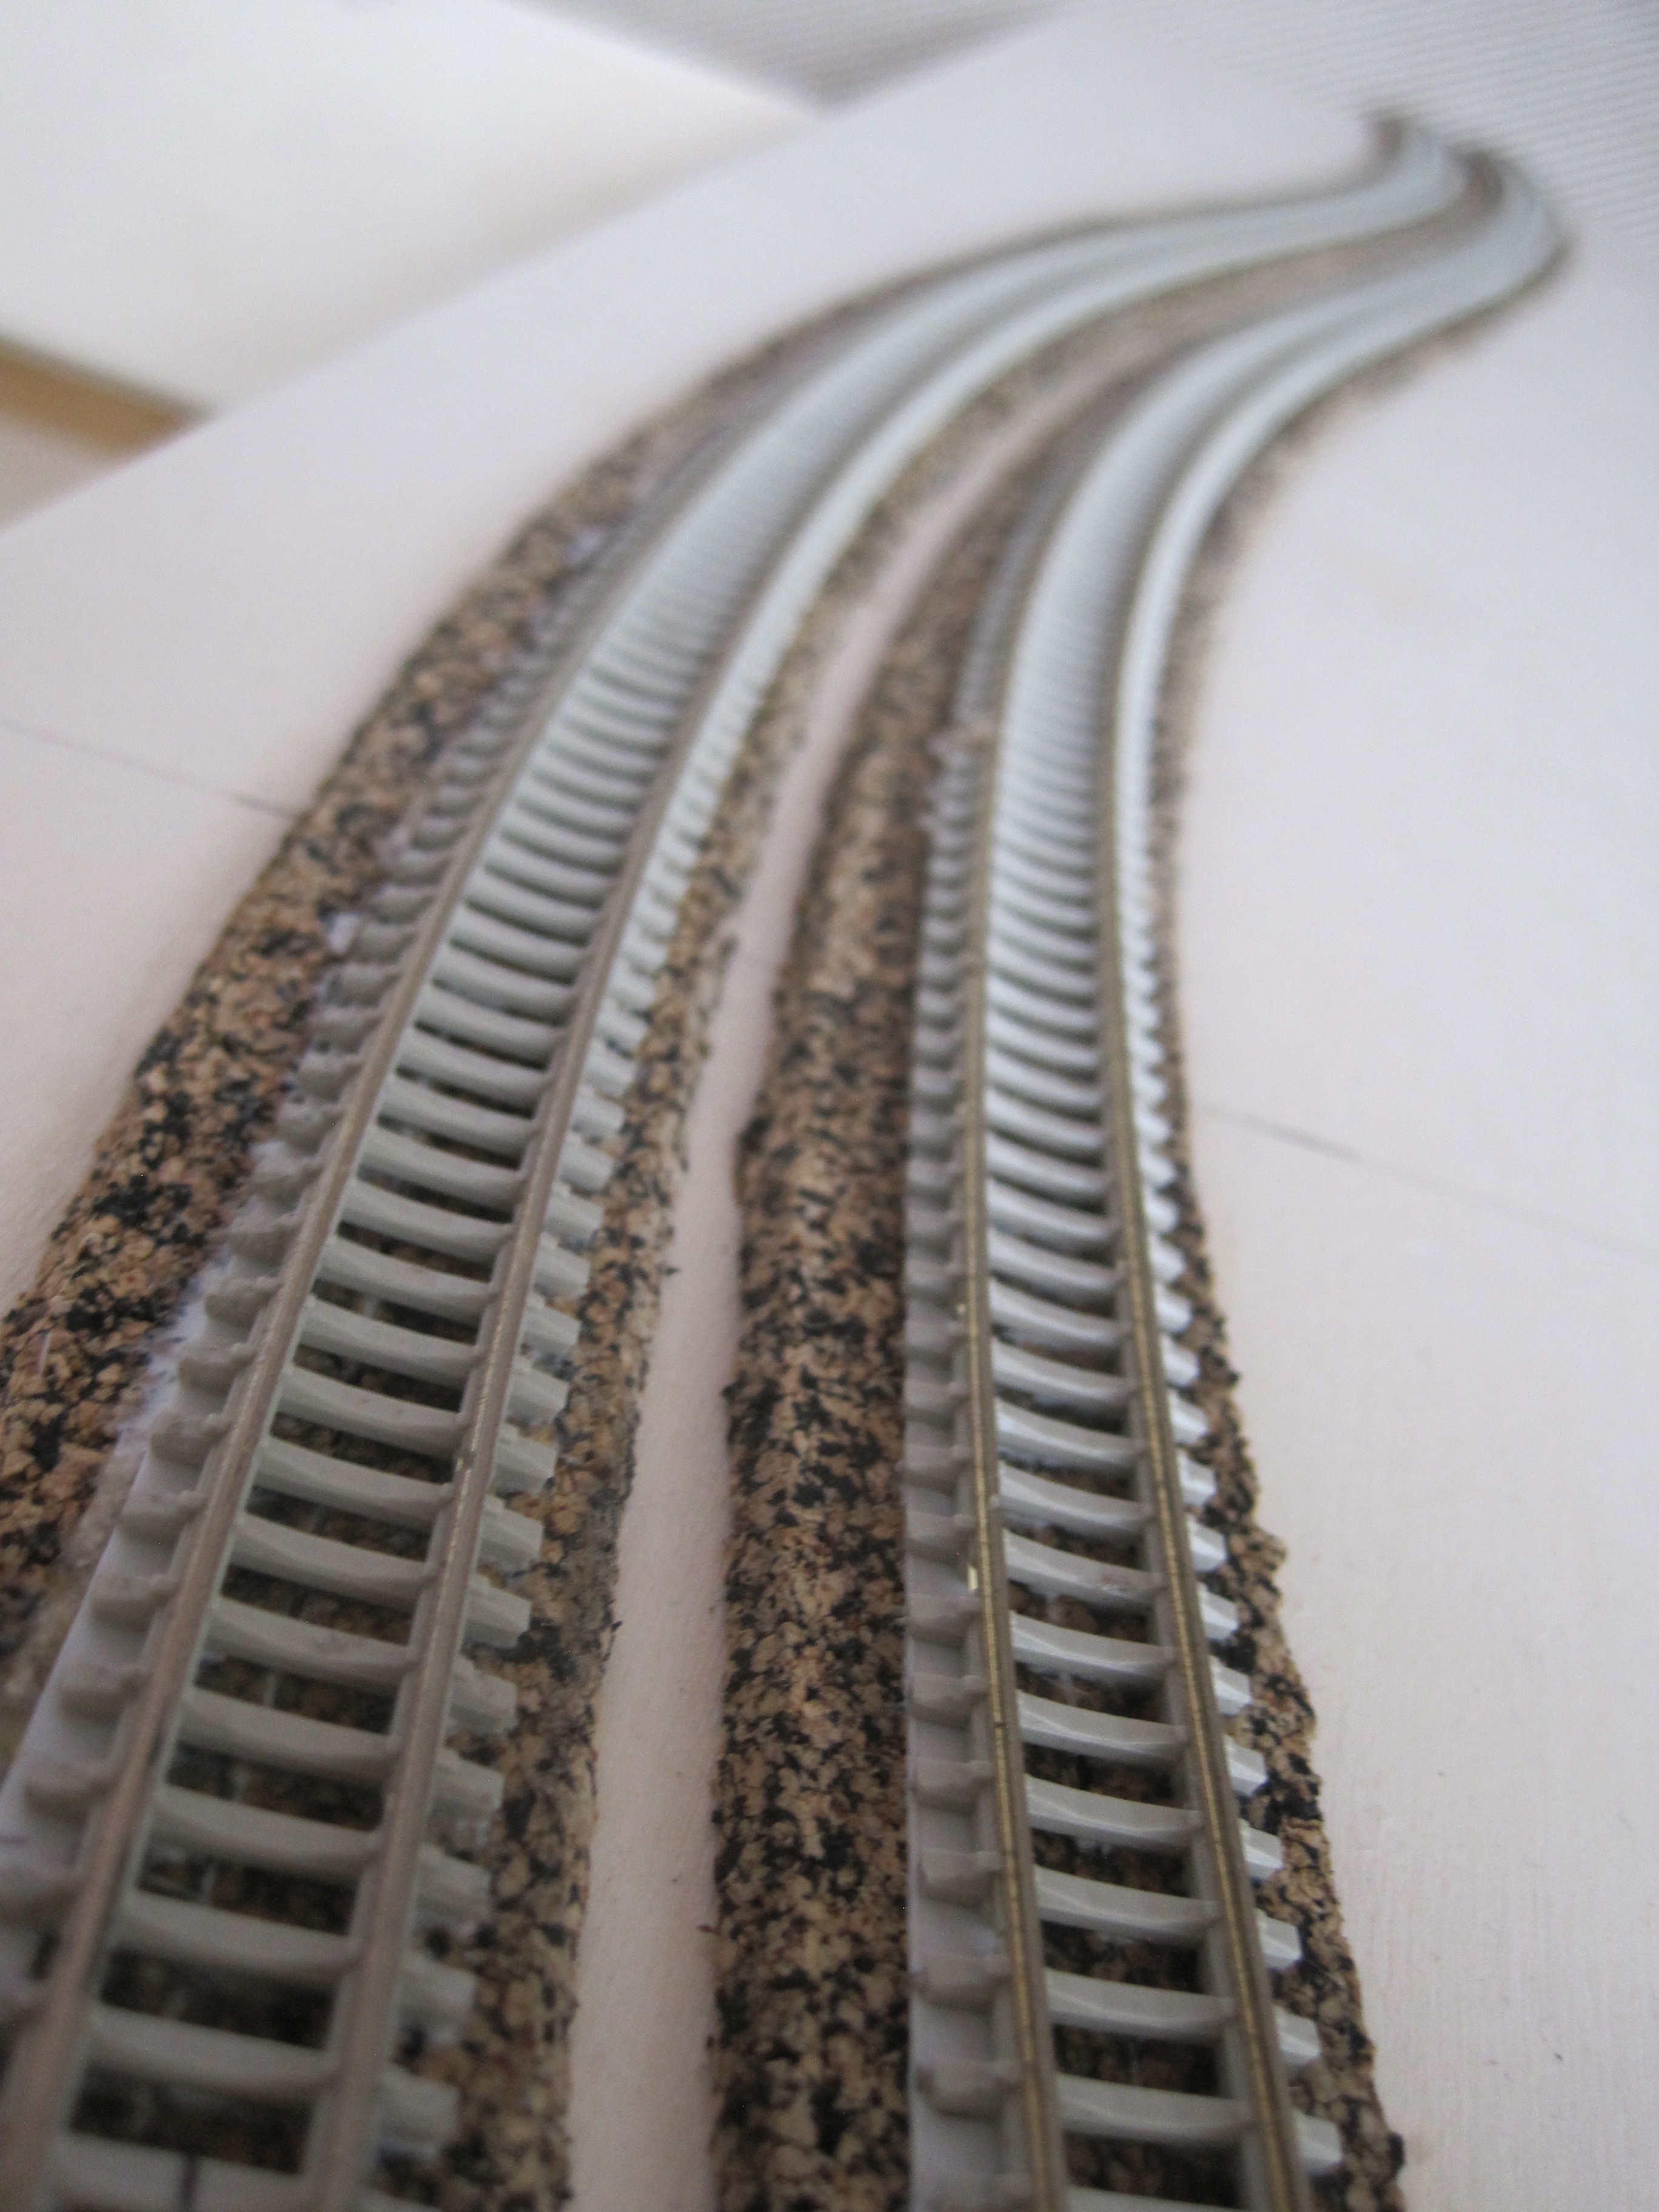
The superelevation goes a visual difference to the track and trains especially at bends. Well, whether the extra effort is worth is up to individual.
So, what have I learned from this diorama rework?
1. A proper workplace: I have all the tools I needed so far but lack of a properly workplace. As I lived in a small apartment, I could not find a proper place but to sit at the balcony. I would consider working in the cellar or get a portable work bench.
2. Plywood thickness: For diorama, 6mm poplar plywood is fine. This wood is light and easy to work with. For my actual modular layout, I would need to consider at least 10mm or 12mm plywood. The thickness of the baseboard for the tracks would remain at 6mm. The module frame needs to be stronger to withstand the moving around.
3. Track distance: The track distance should be between 30mm and 35mm for the radius that I am using. The challenge is the standard tunnel portal from suppliers e.g. the portal from Busch that I am using, calls for a tighter track distance of 28mm or less. This could be tight especially at ends. The solution is to cut the plastic portal half and wide them a little, or use another manufacturer’s, or develop own tunnel according to the specifications and track distance.
4. Carpenter’s Golden Rule: Measure twice (thrice, etc.), Cut ONCE. No matter how careful you are, somehow you will get it wrong just before you want to cut or drill. That happened to me just before I drill. I rechecked the positions of the screws and found out just before I drill that the positions were wrong. I rechecked all the positions. Mistakes made on the diorama is okay before doing on the actual layout.
Thus, it is a good learning lesson (as always) to try on something small before doing on a bigger one, especially for a first timer.
I will not be doing any work on my diorama next weekend as I will be in Stuttgart for Modell Süd, the annual N-scale convention. Till then, I look forward to hearing from you.

Very nice Jimmy love it awaiting for your next update.
Hello Victor,
Thanks. Are you doing your model railway layout too?
Jimmy
Hi Jimmy, I am waiting to do it but still have not decided how it will be as I have no experience in it and knowledge is close to Zero. Support here in Singapore is no good, at the moment we have only 2 shop that is selling trains and 1 is super ex the other is ok but very limited in stock and products so most of the time I have to source from Ebay or internet shop but the freight cost is killing me.
Hi Victor. I am also new, learning as I go. Hence, the diorama is an experiment before I build a larger one. Well there are some modellers in Singapore and in Malaysia. Give me your email address and I add you to a Facebook group – Malaysia Model Train Community
Here is my email Jimmy : chilla18sgsg@yahoo.com I have been to this facebook and if I am not wrong was it started by Funderland as I know Funderland is active in it.
So you are already a member of this group. Yes it was started by one of the staff from Funderland but we discuss everything related to model trains there. If you need help you can ask the members there. Looking forward to hear from you.
Btw, do you have a layout concept or a track plan? It will be a good start to know how much space you allocate for your future layout and what do you want to model – US, Japan, Europe, etc.?