
After 3 weekends and countless back pain, I am glad that all modules for Segment E to H and Segment A were finally completed and ready for assembly. I took them out to the garden to enjoy early spring sun. I am happy how the overall construction turned out.
Turning the Idea
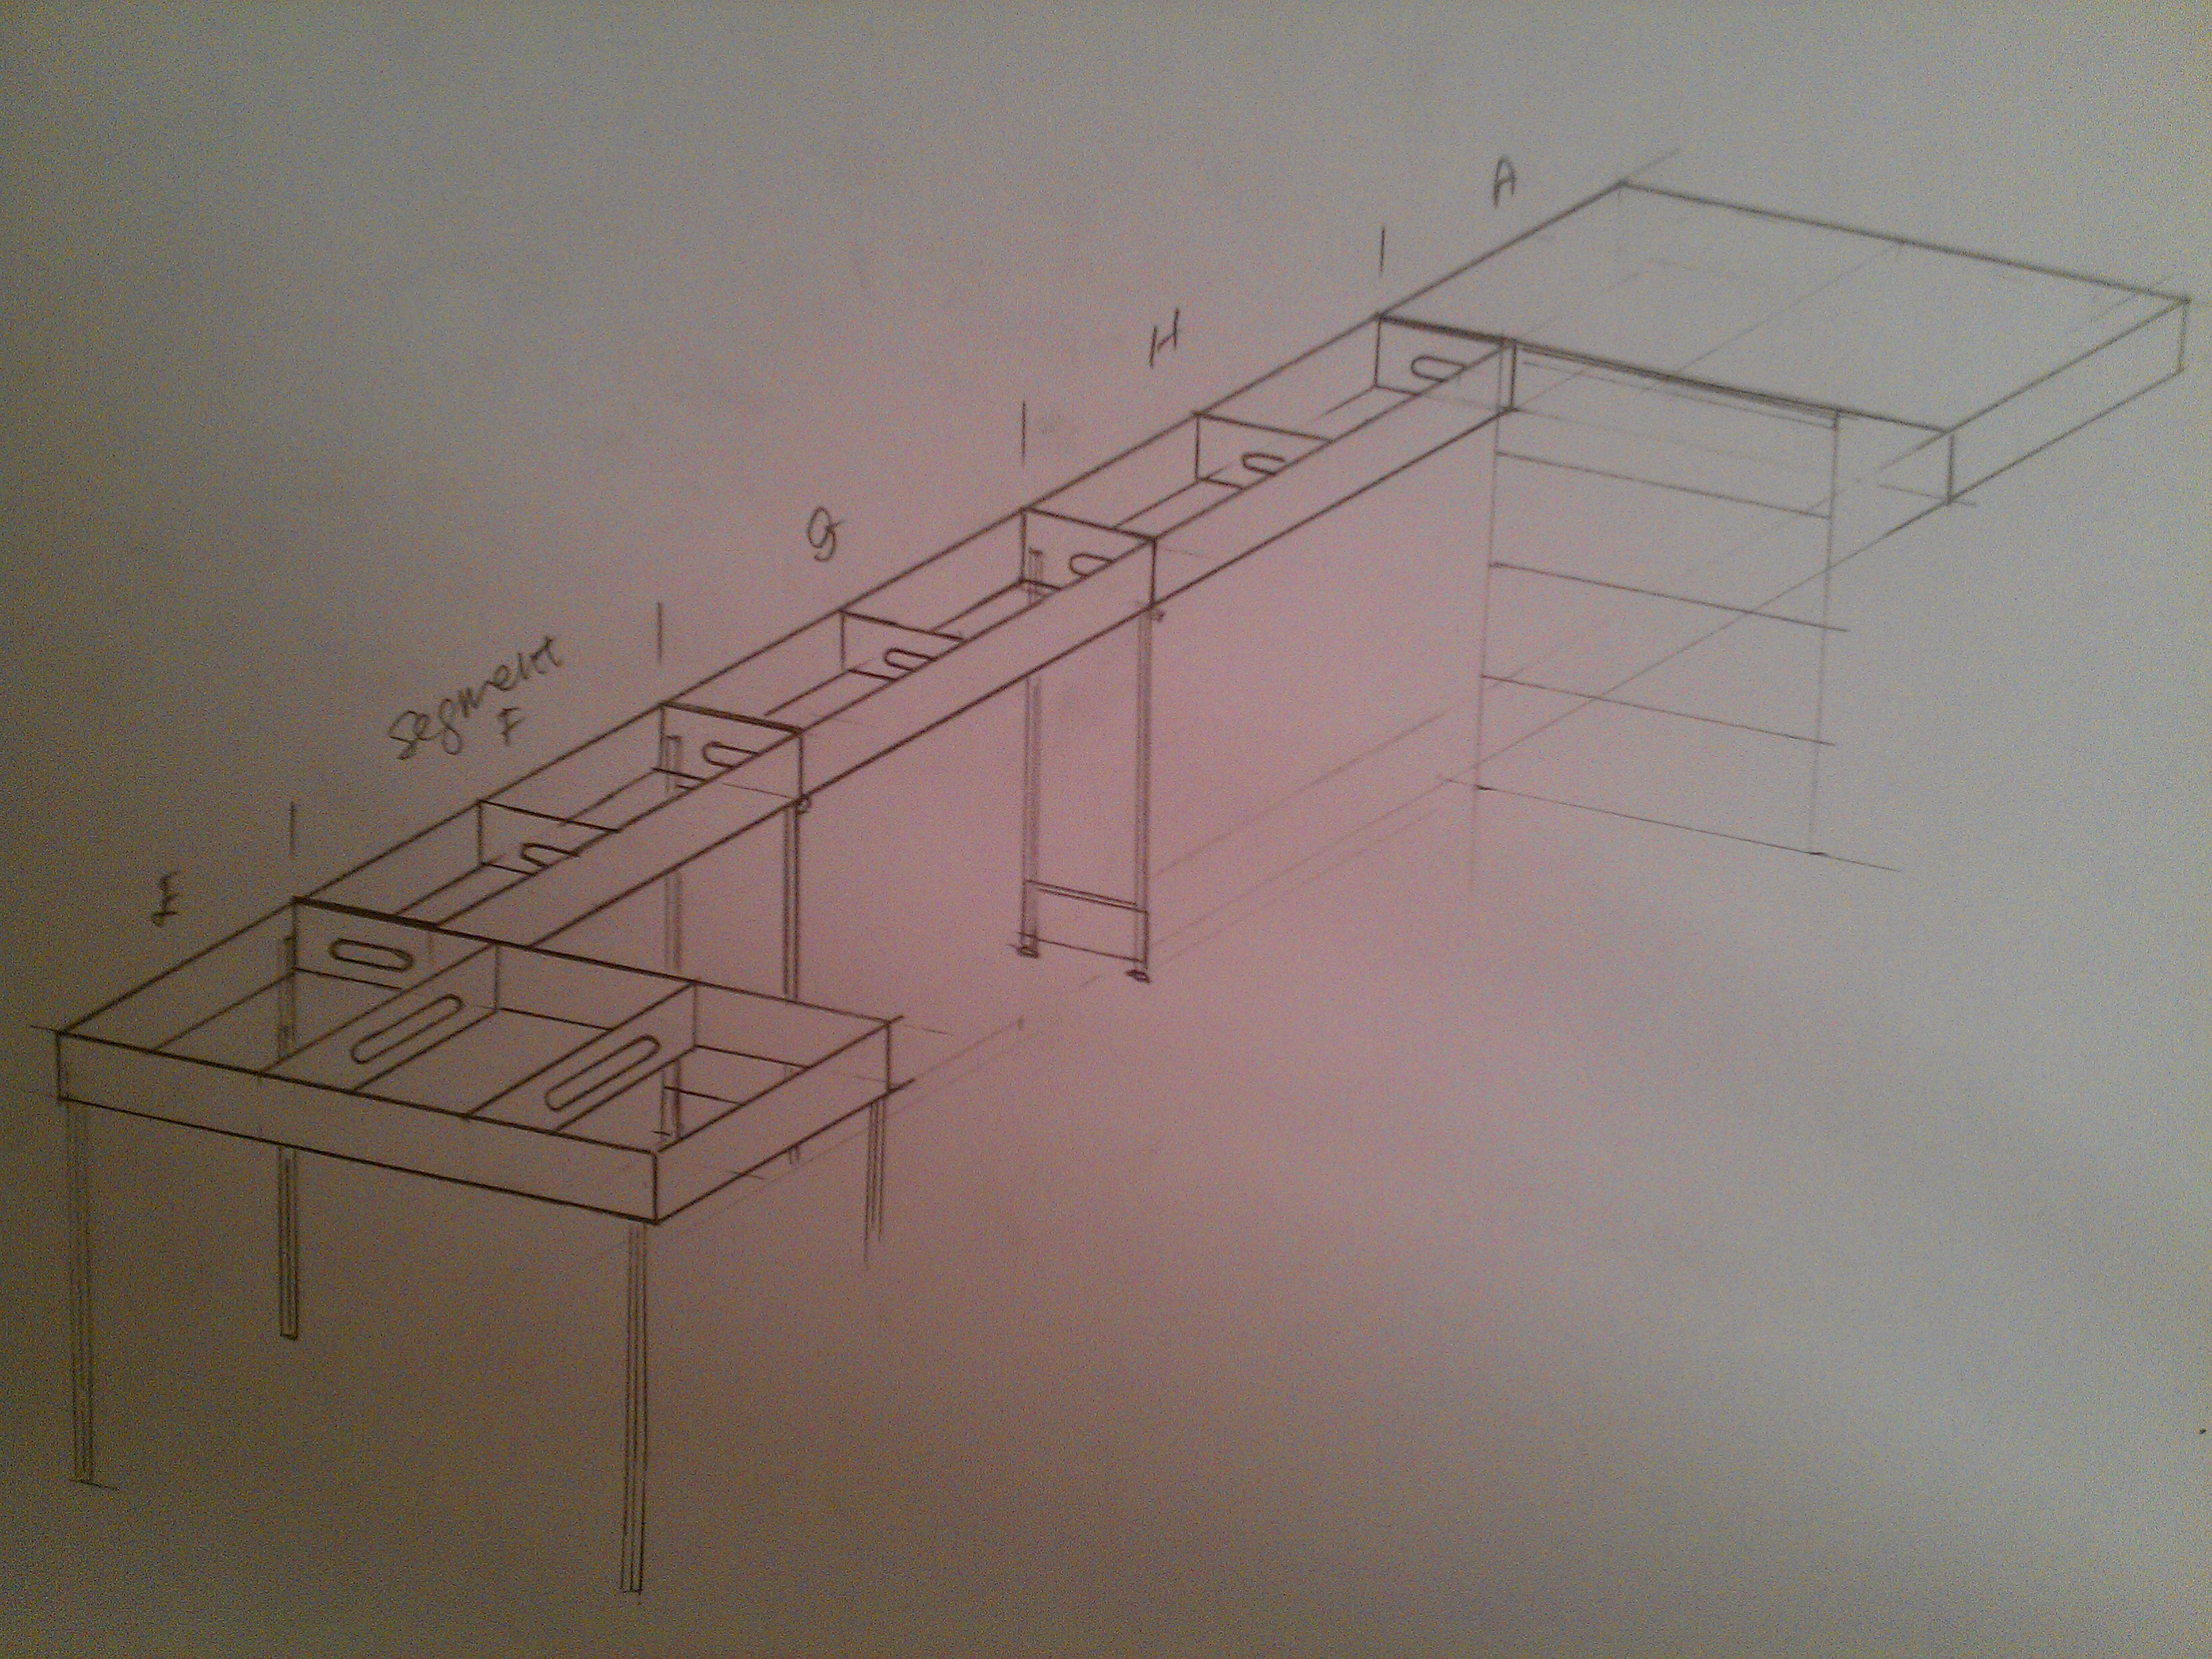
into Reality


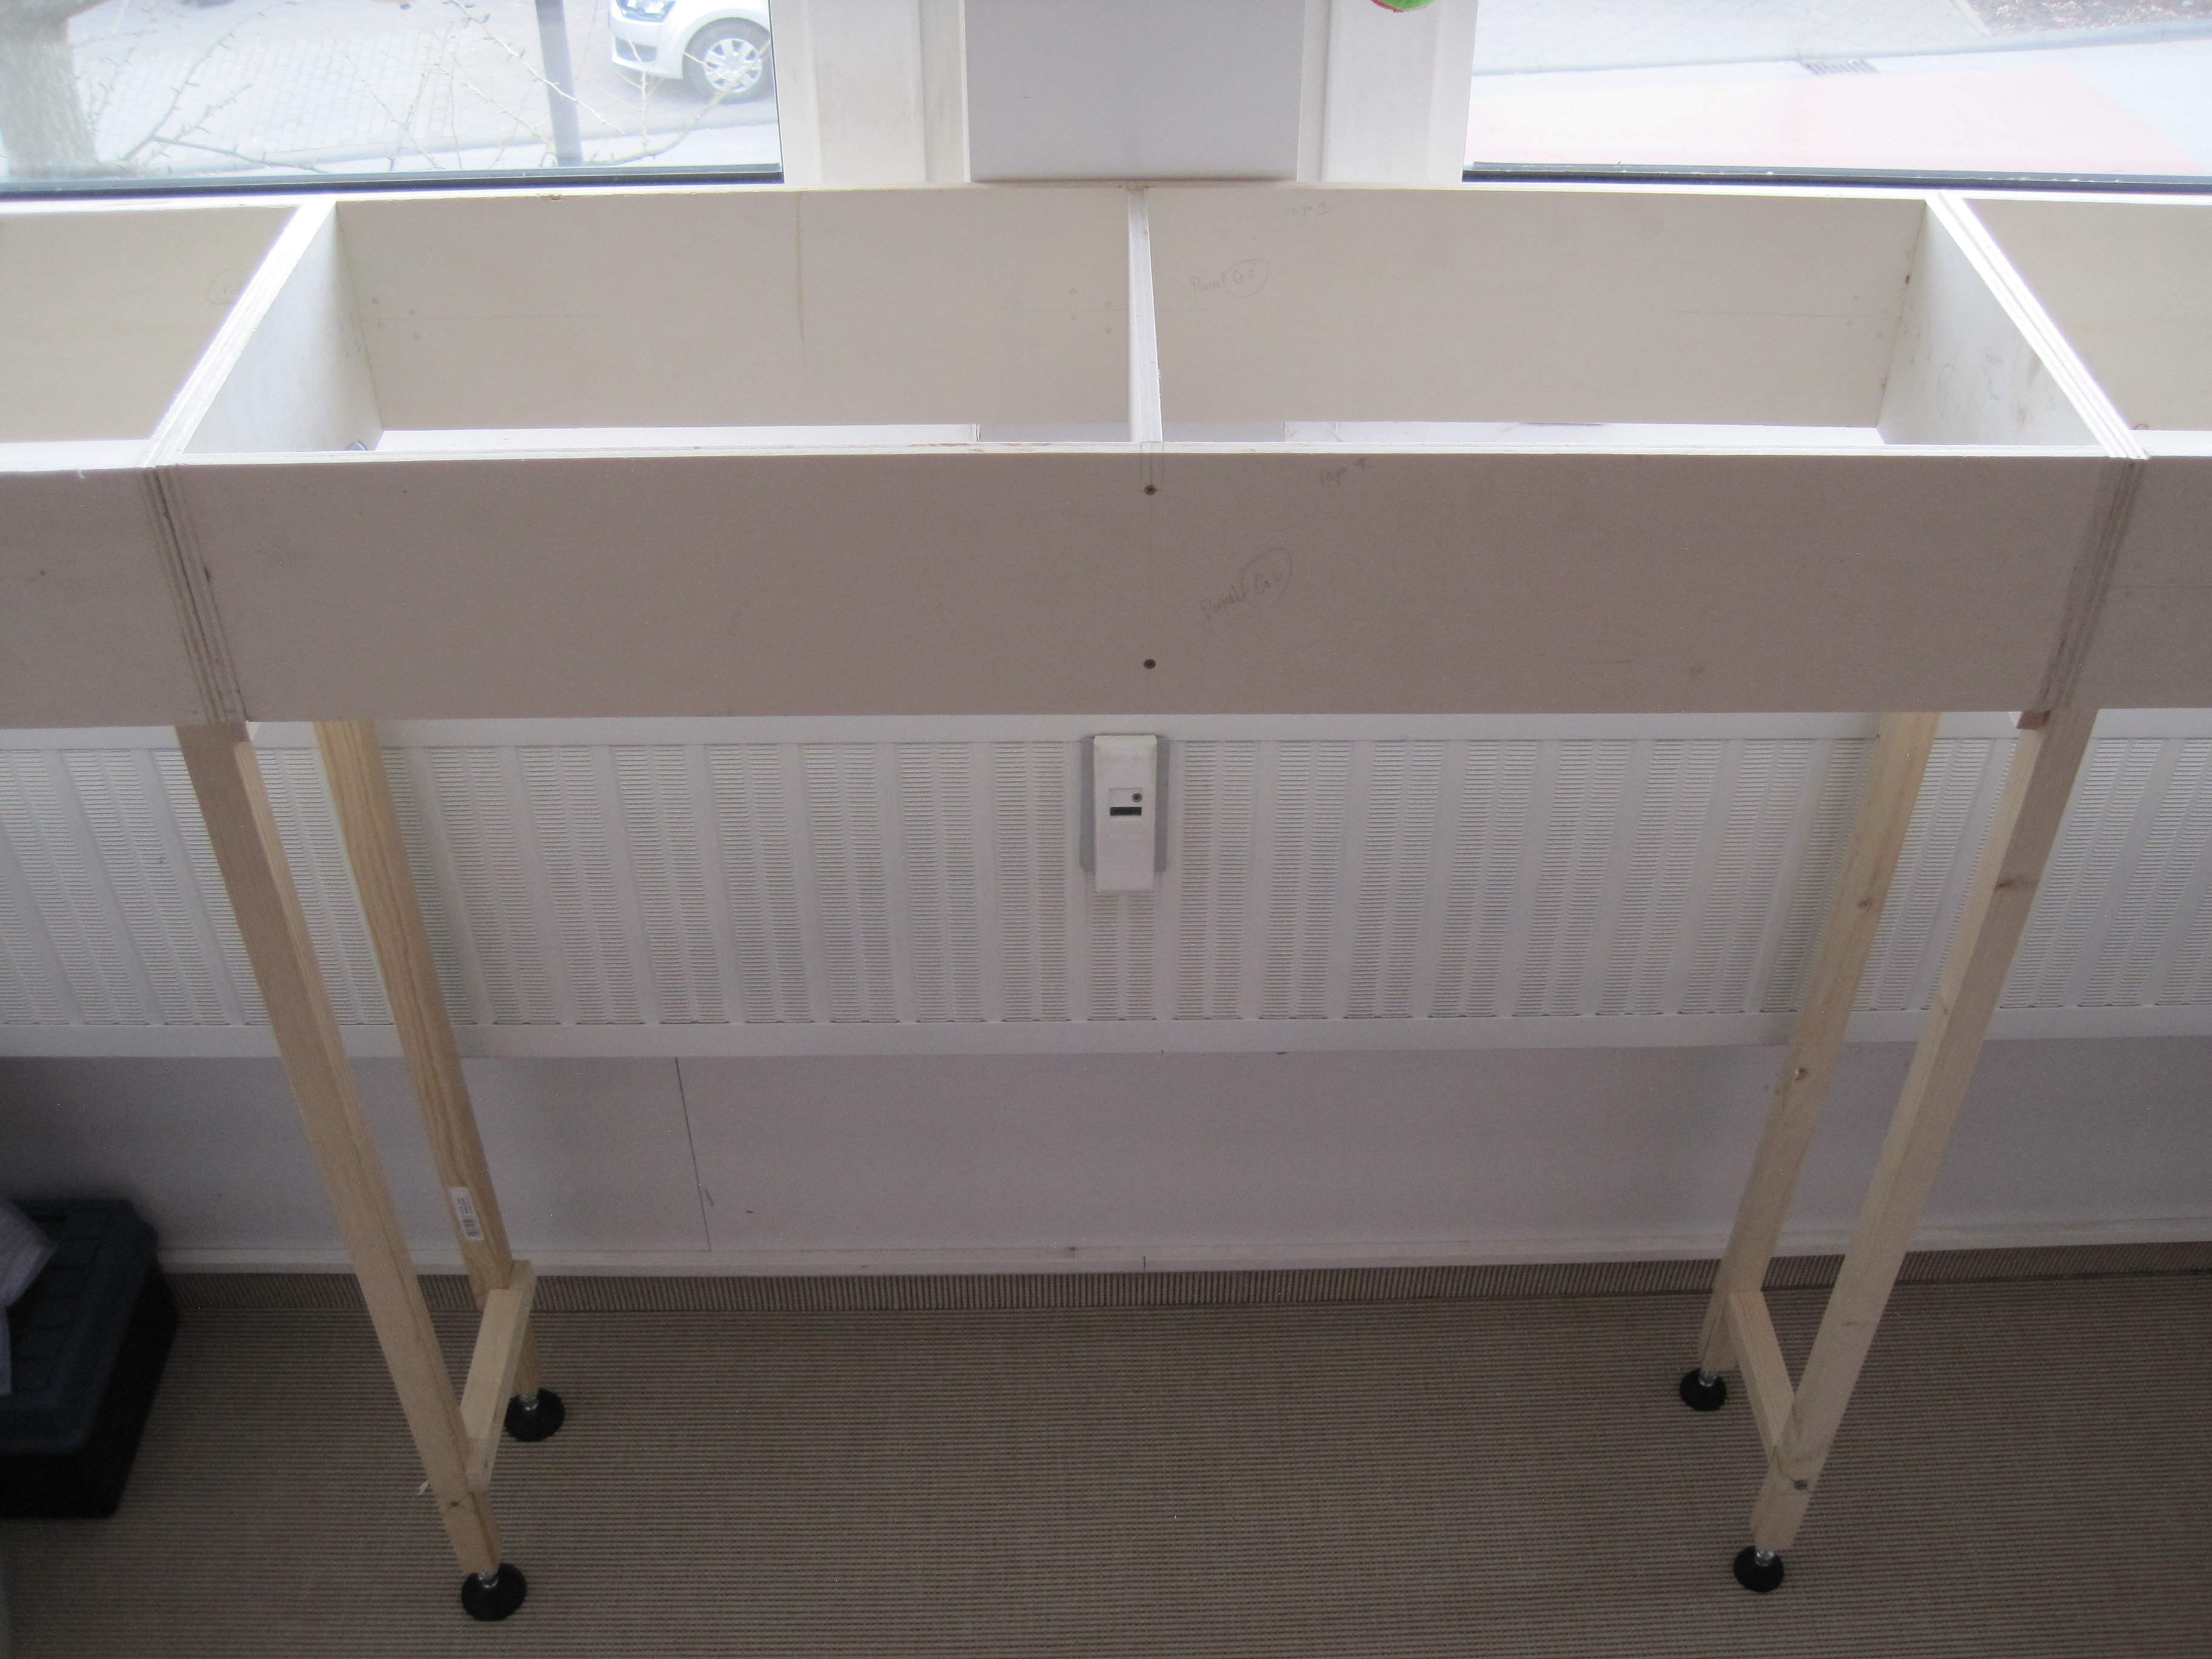
This weekend I built support legs for standard modules. The end modules do not need any support legs (other than Segment E end module, which will have a cross bar for support (see pics below). As I mentioned in my previous post, I was concerned about the stability of the module and support legs and its ability to stand by itself. After some adjustments, I finally got one module to stand stably.


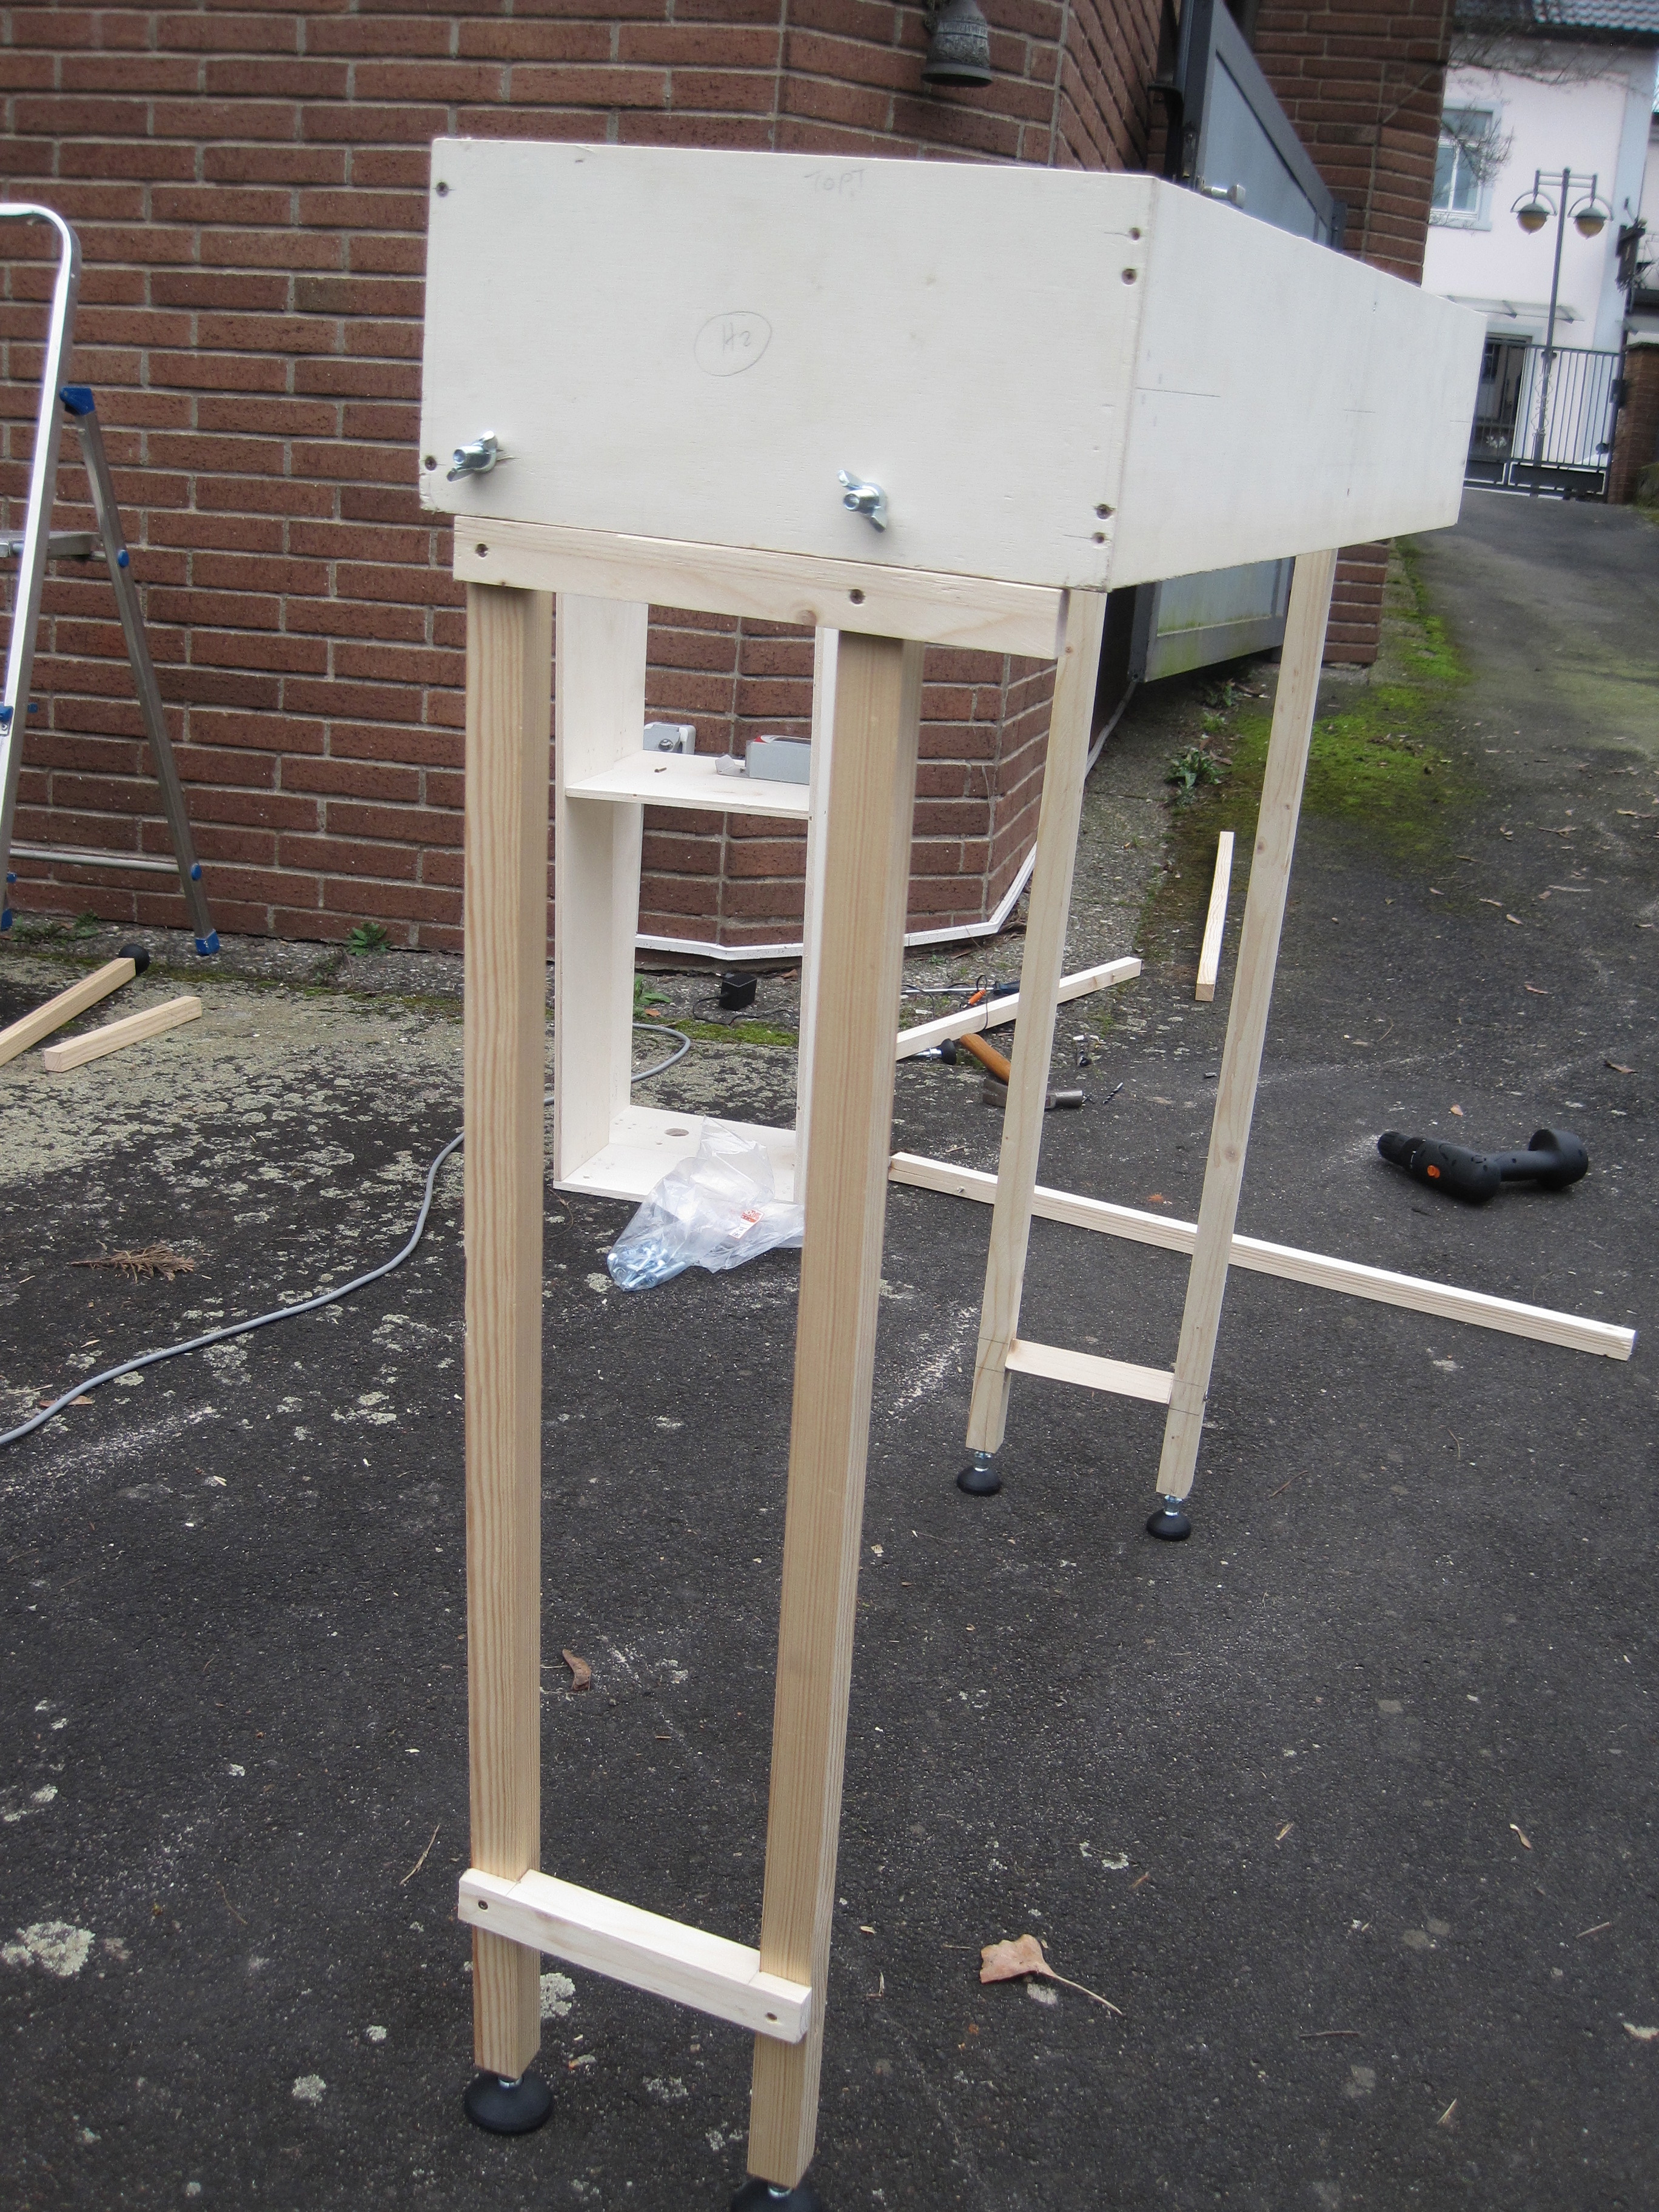
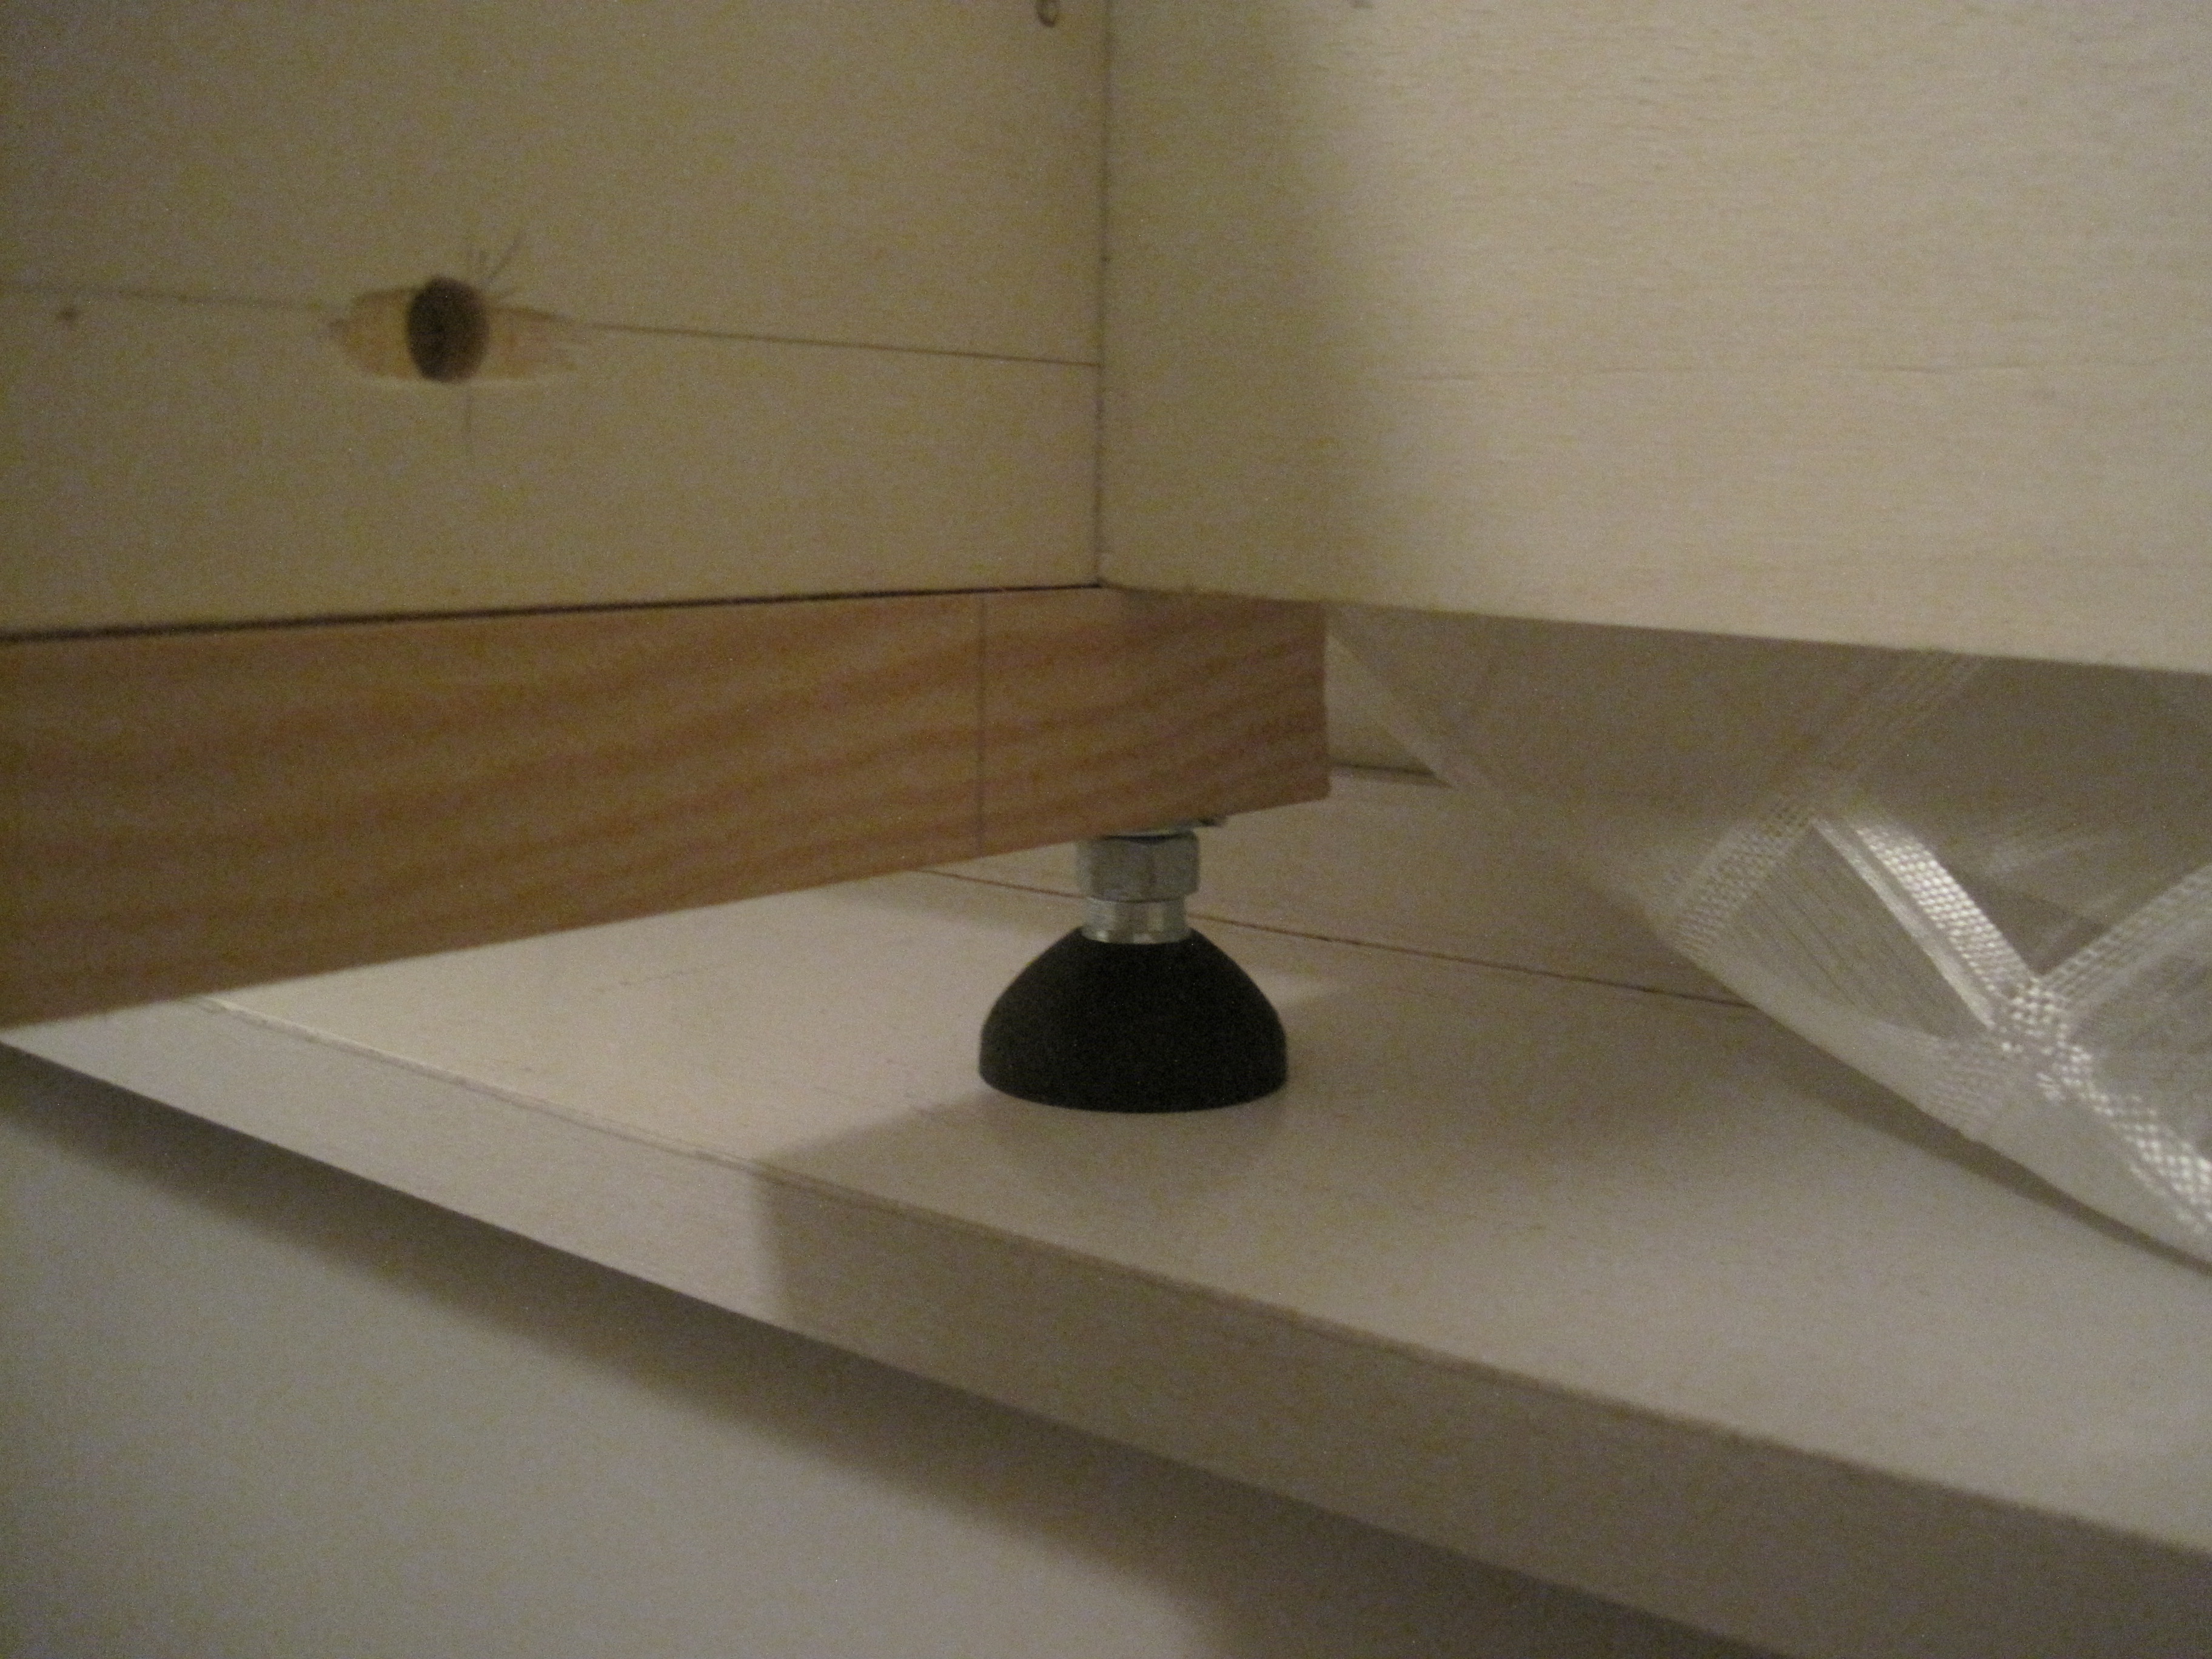
In fact, if you noticed the above picture, I built the support legs in two styles. The front legs have the following cross support (below), which I found to be stronger than the one at the back legs. In addition, underneath each end profile, a cross support, about 26cm long, was added to support the modules.


The structures began to take their positions. Starting with Segment A below, with “elephant ears” end profiles.
End Module for Segment A (below)
Standard Module for Segment H (bel0w)
Standard Module for Segment G (below)
Standard Module for Segment F (below)

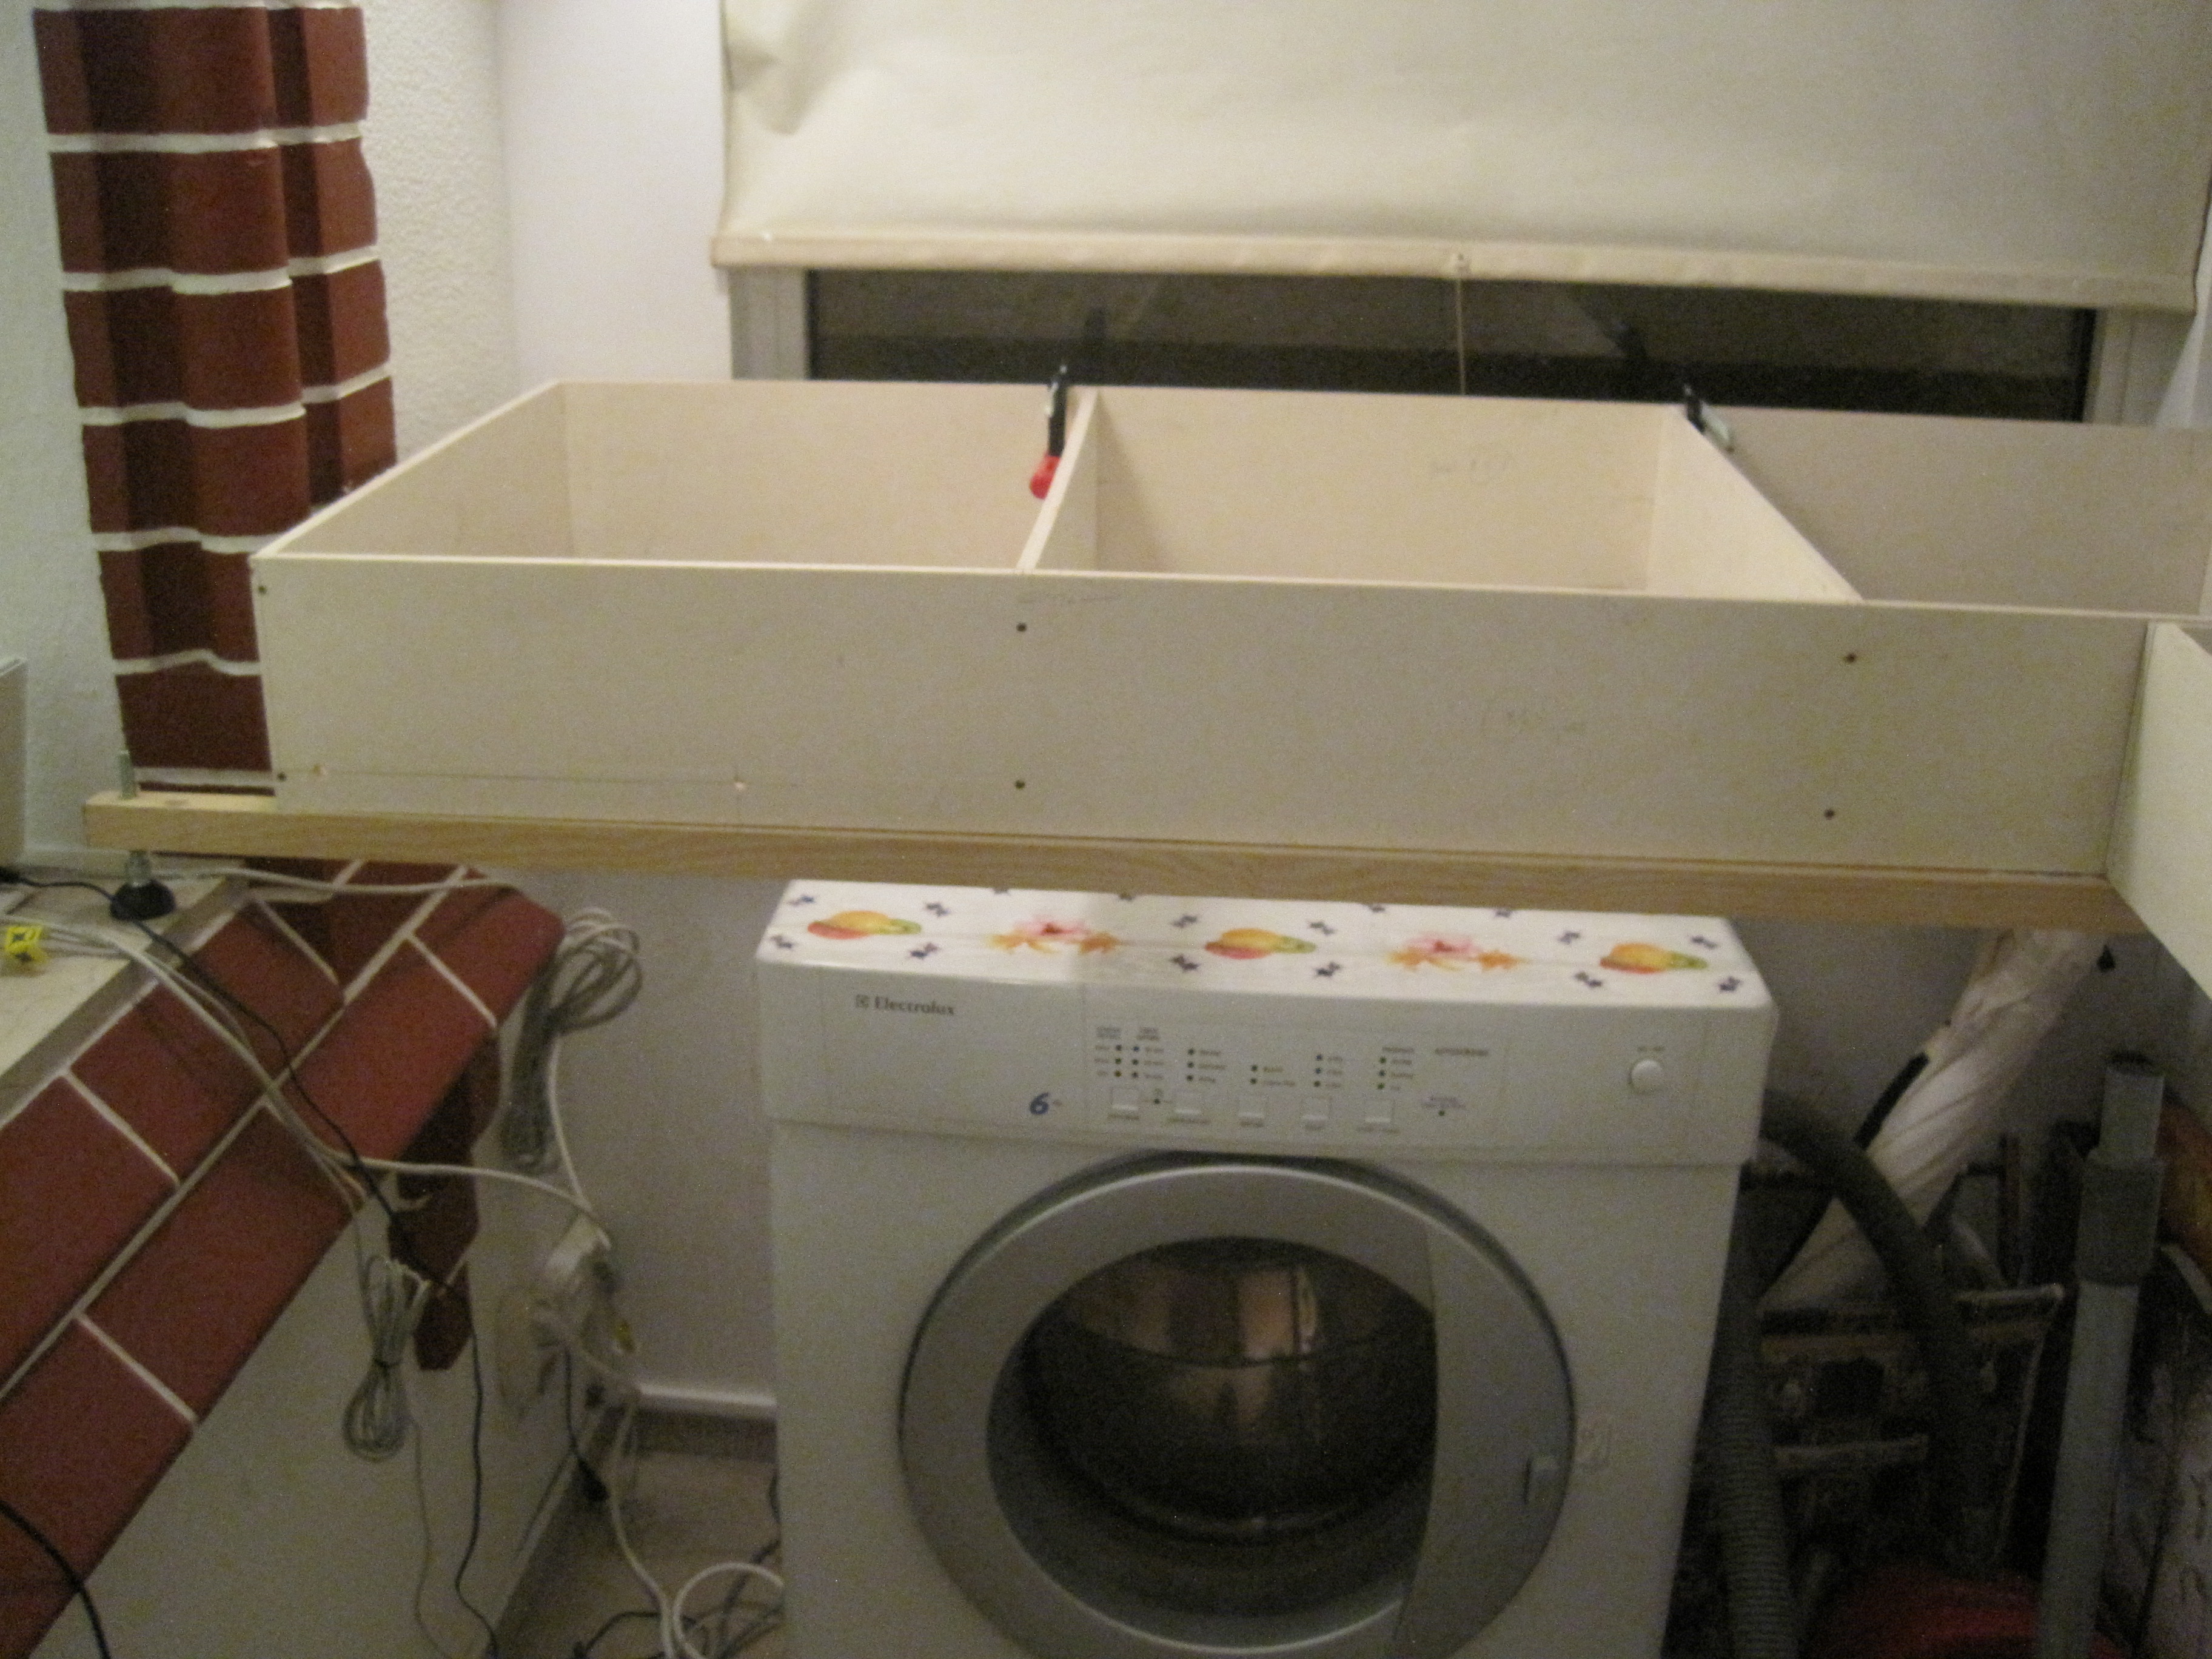
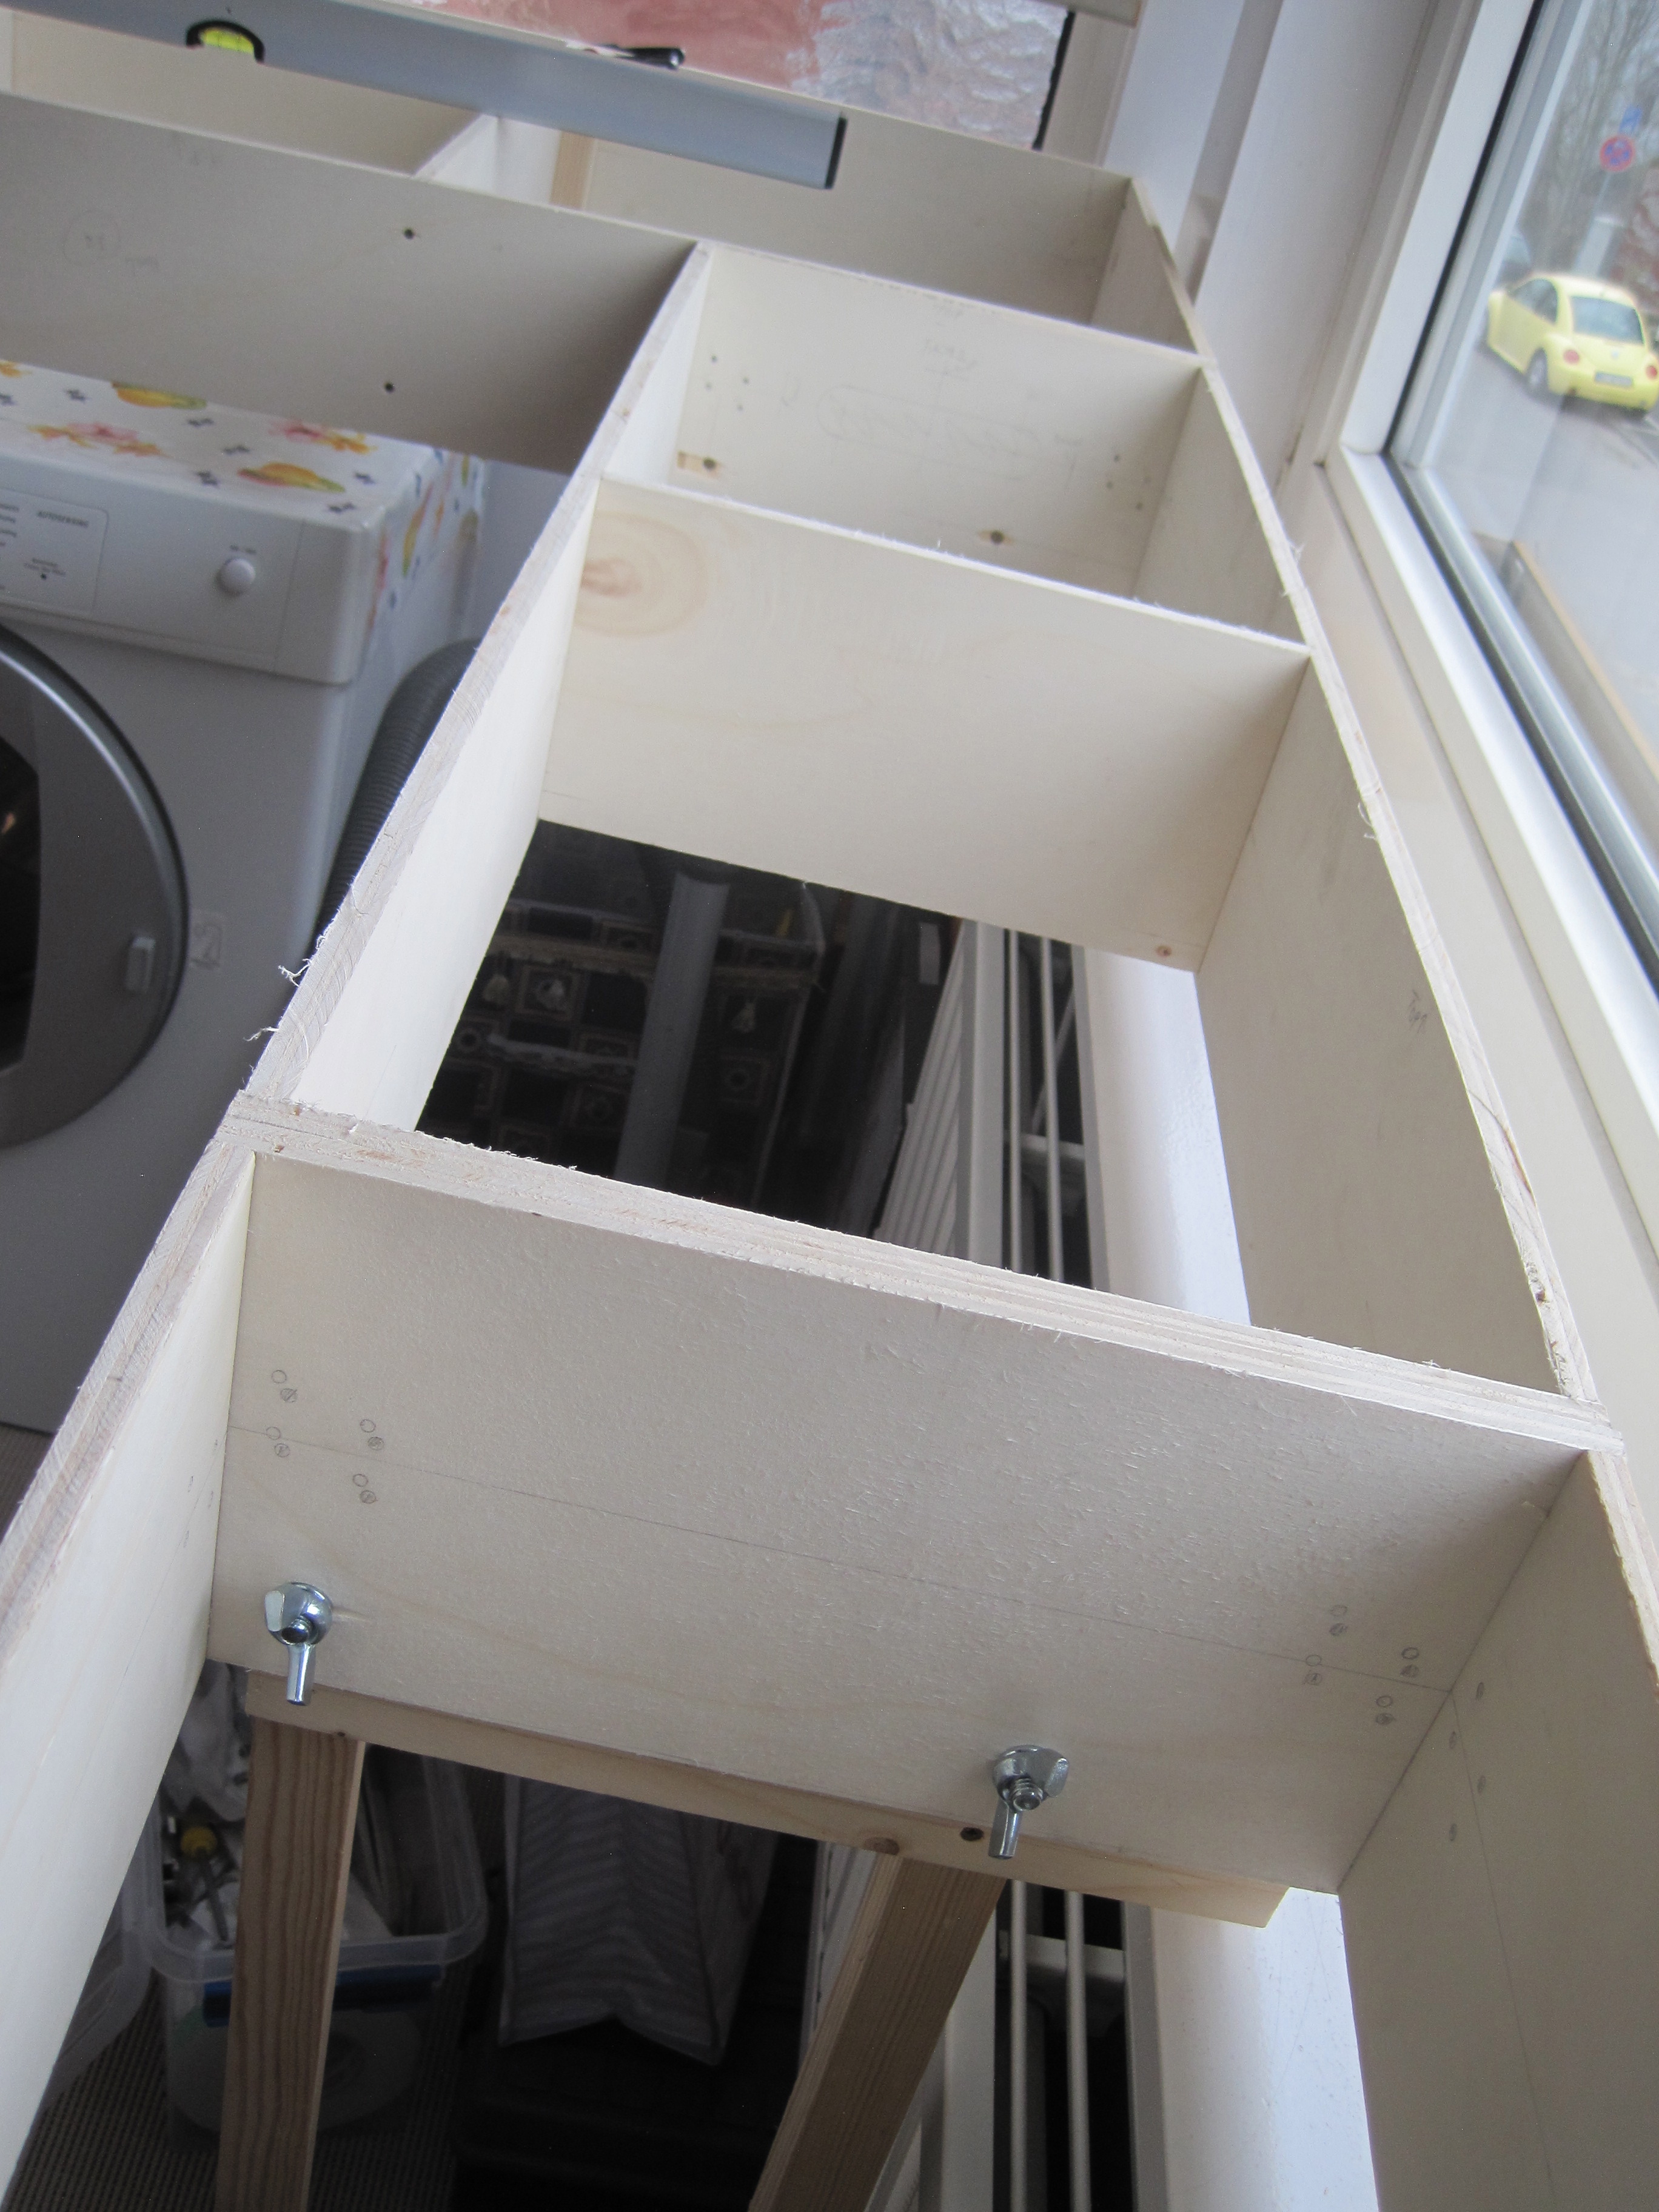
End Module for Segment E (below)
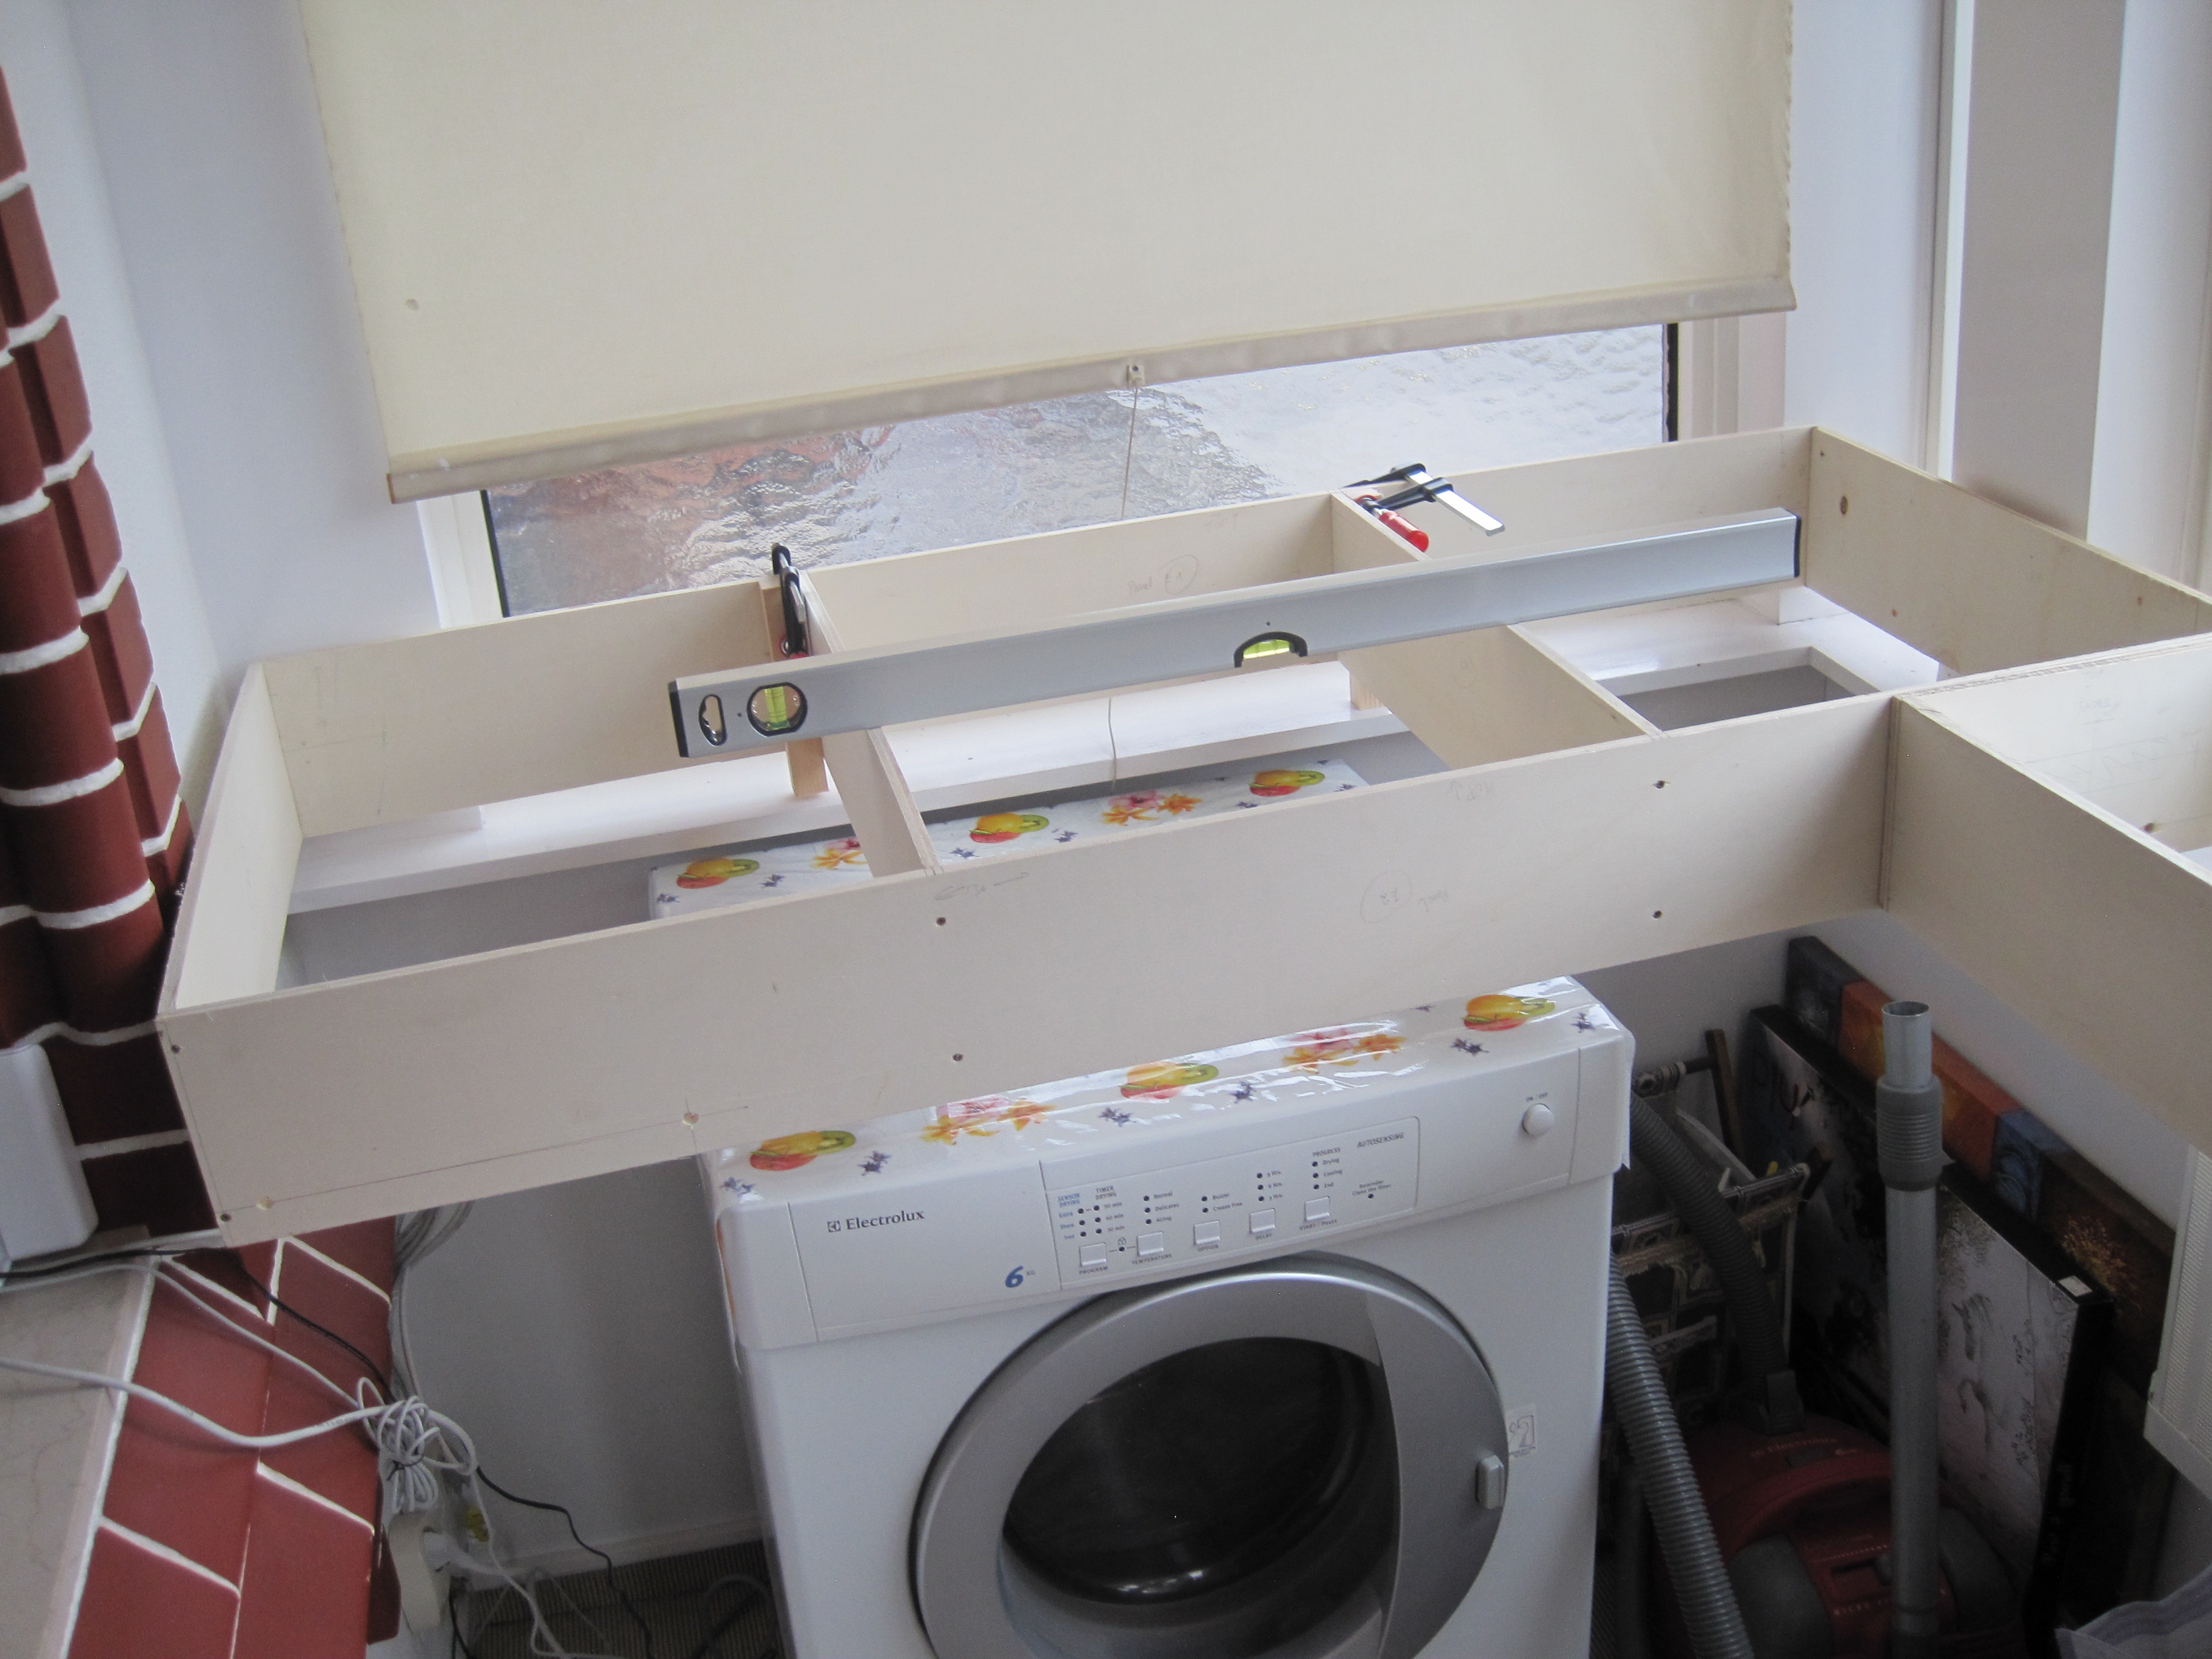
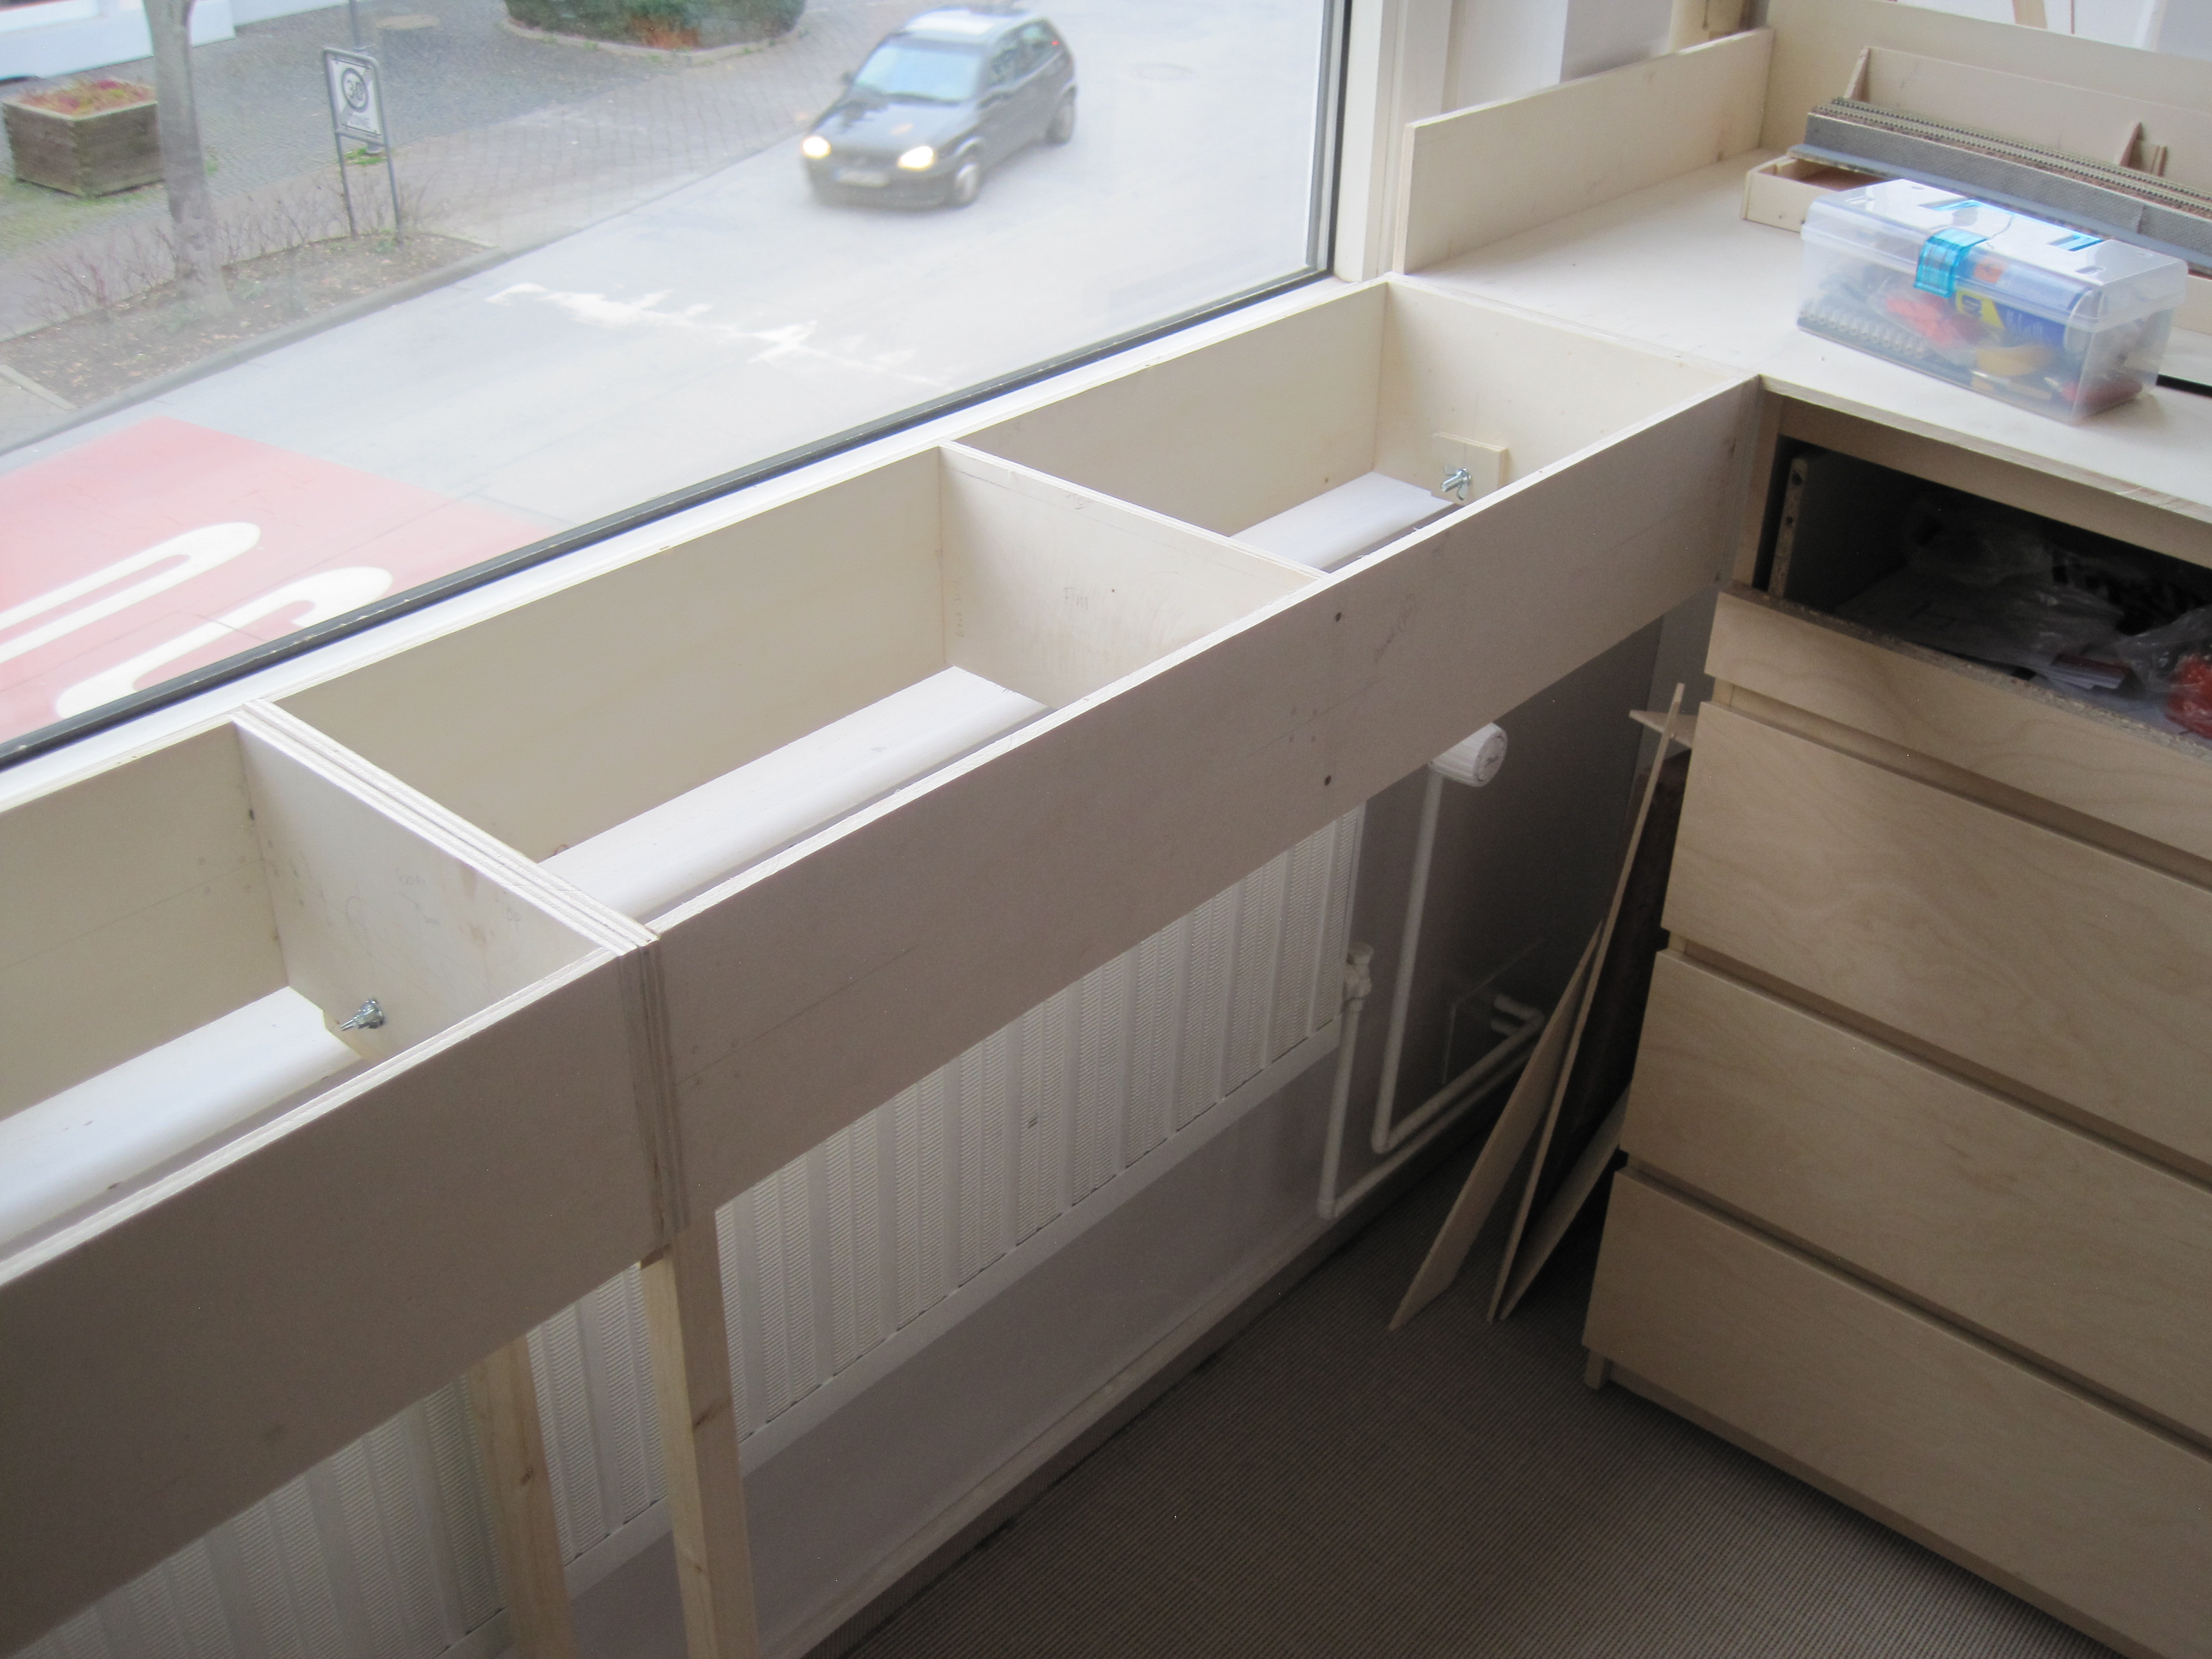
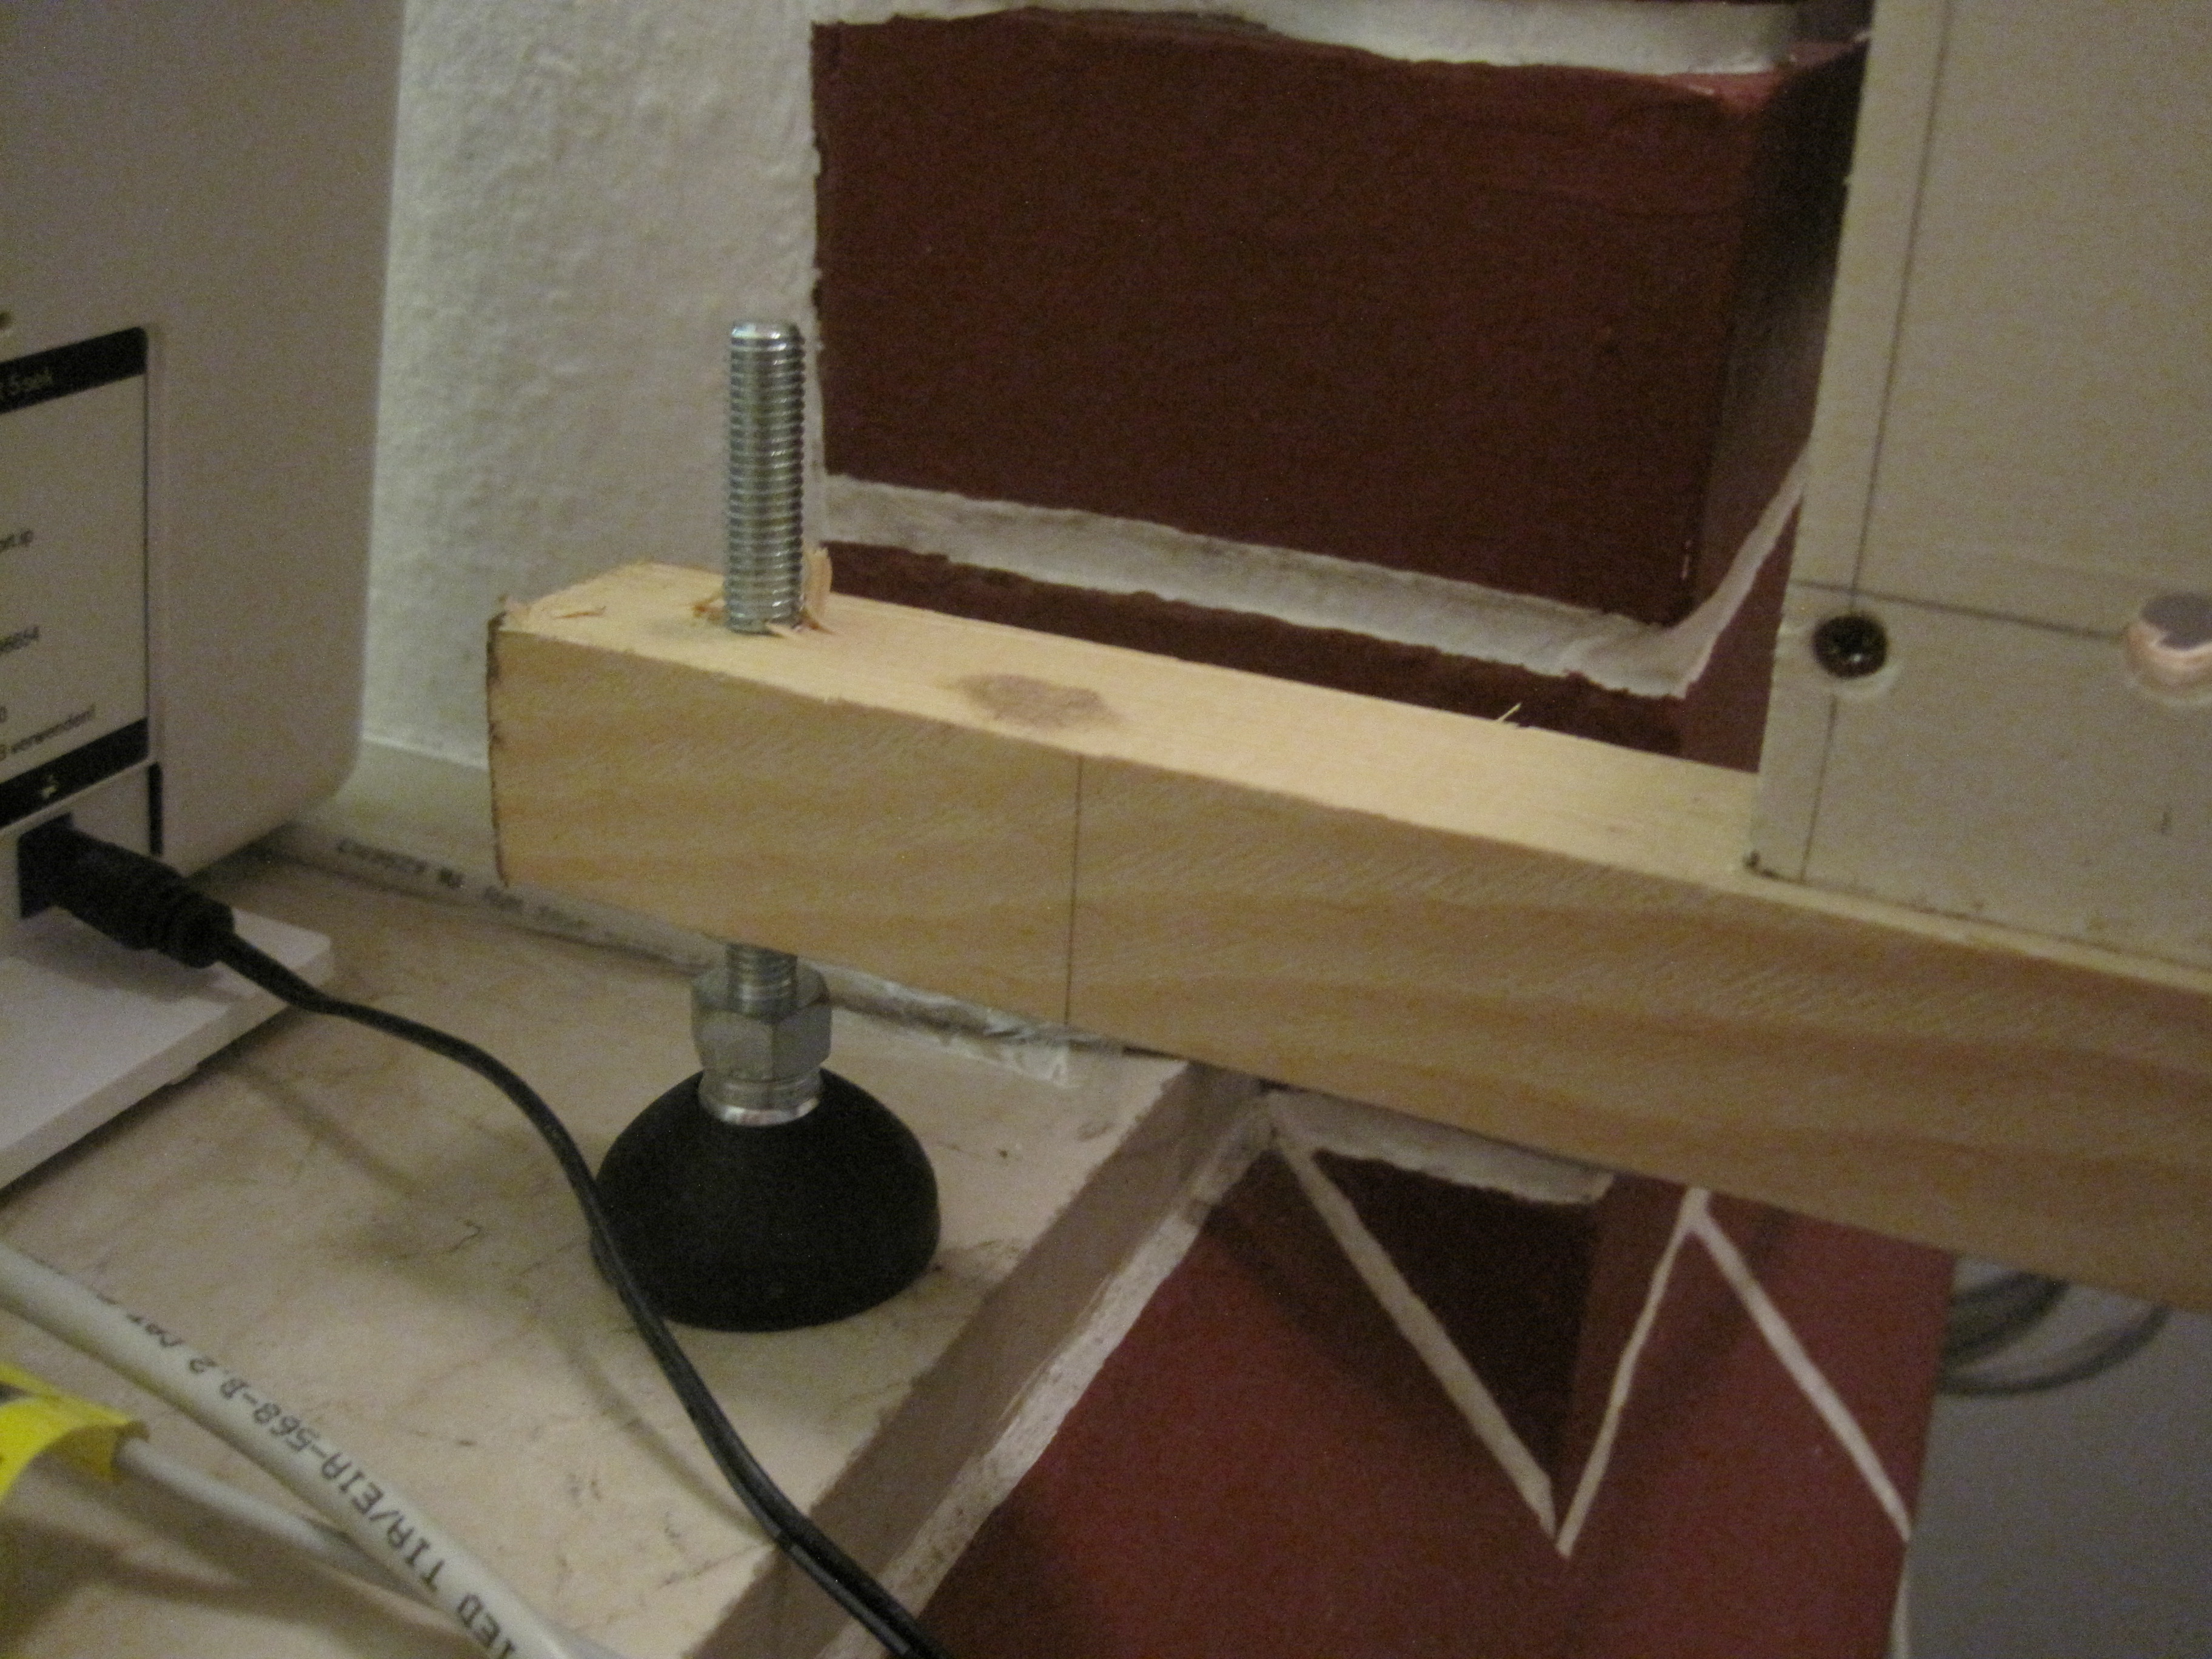
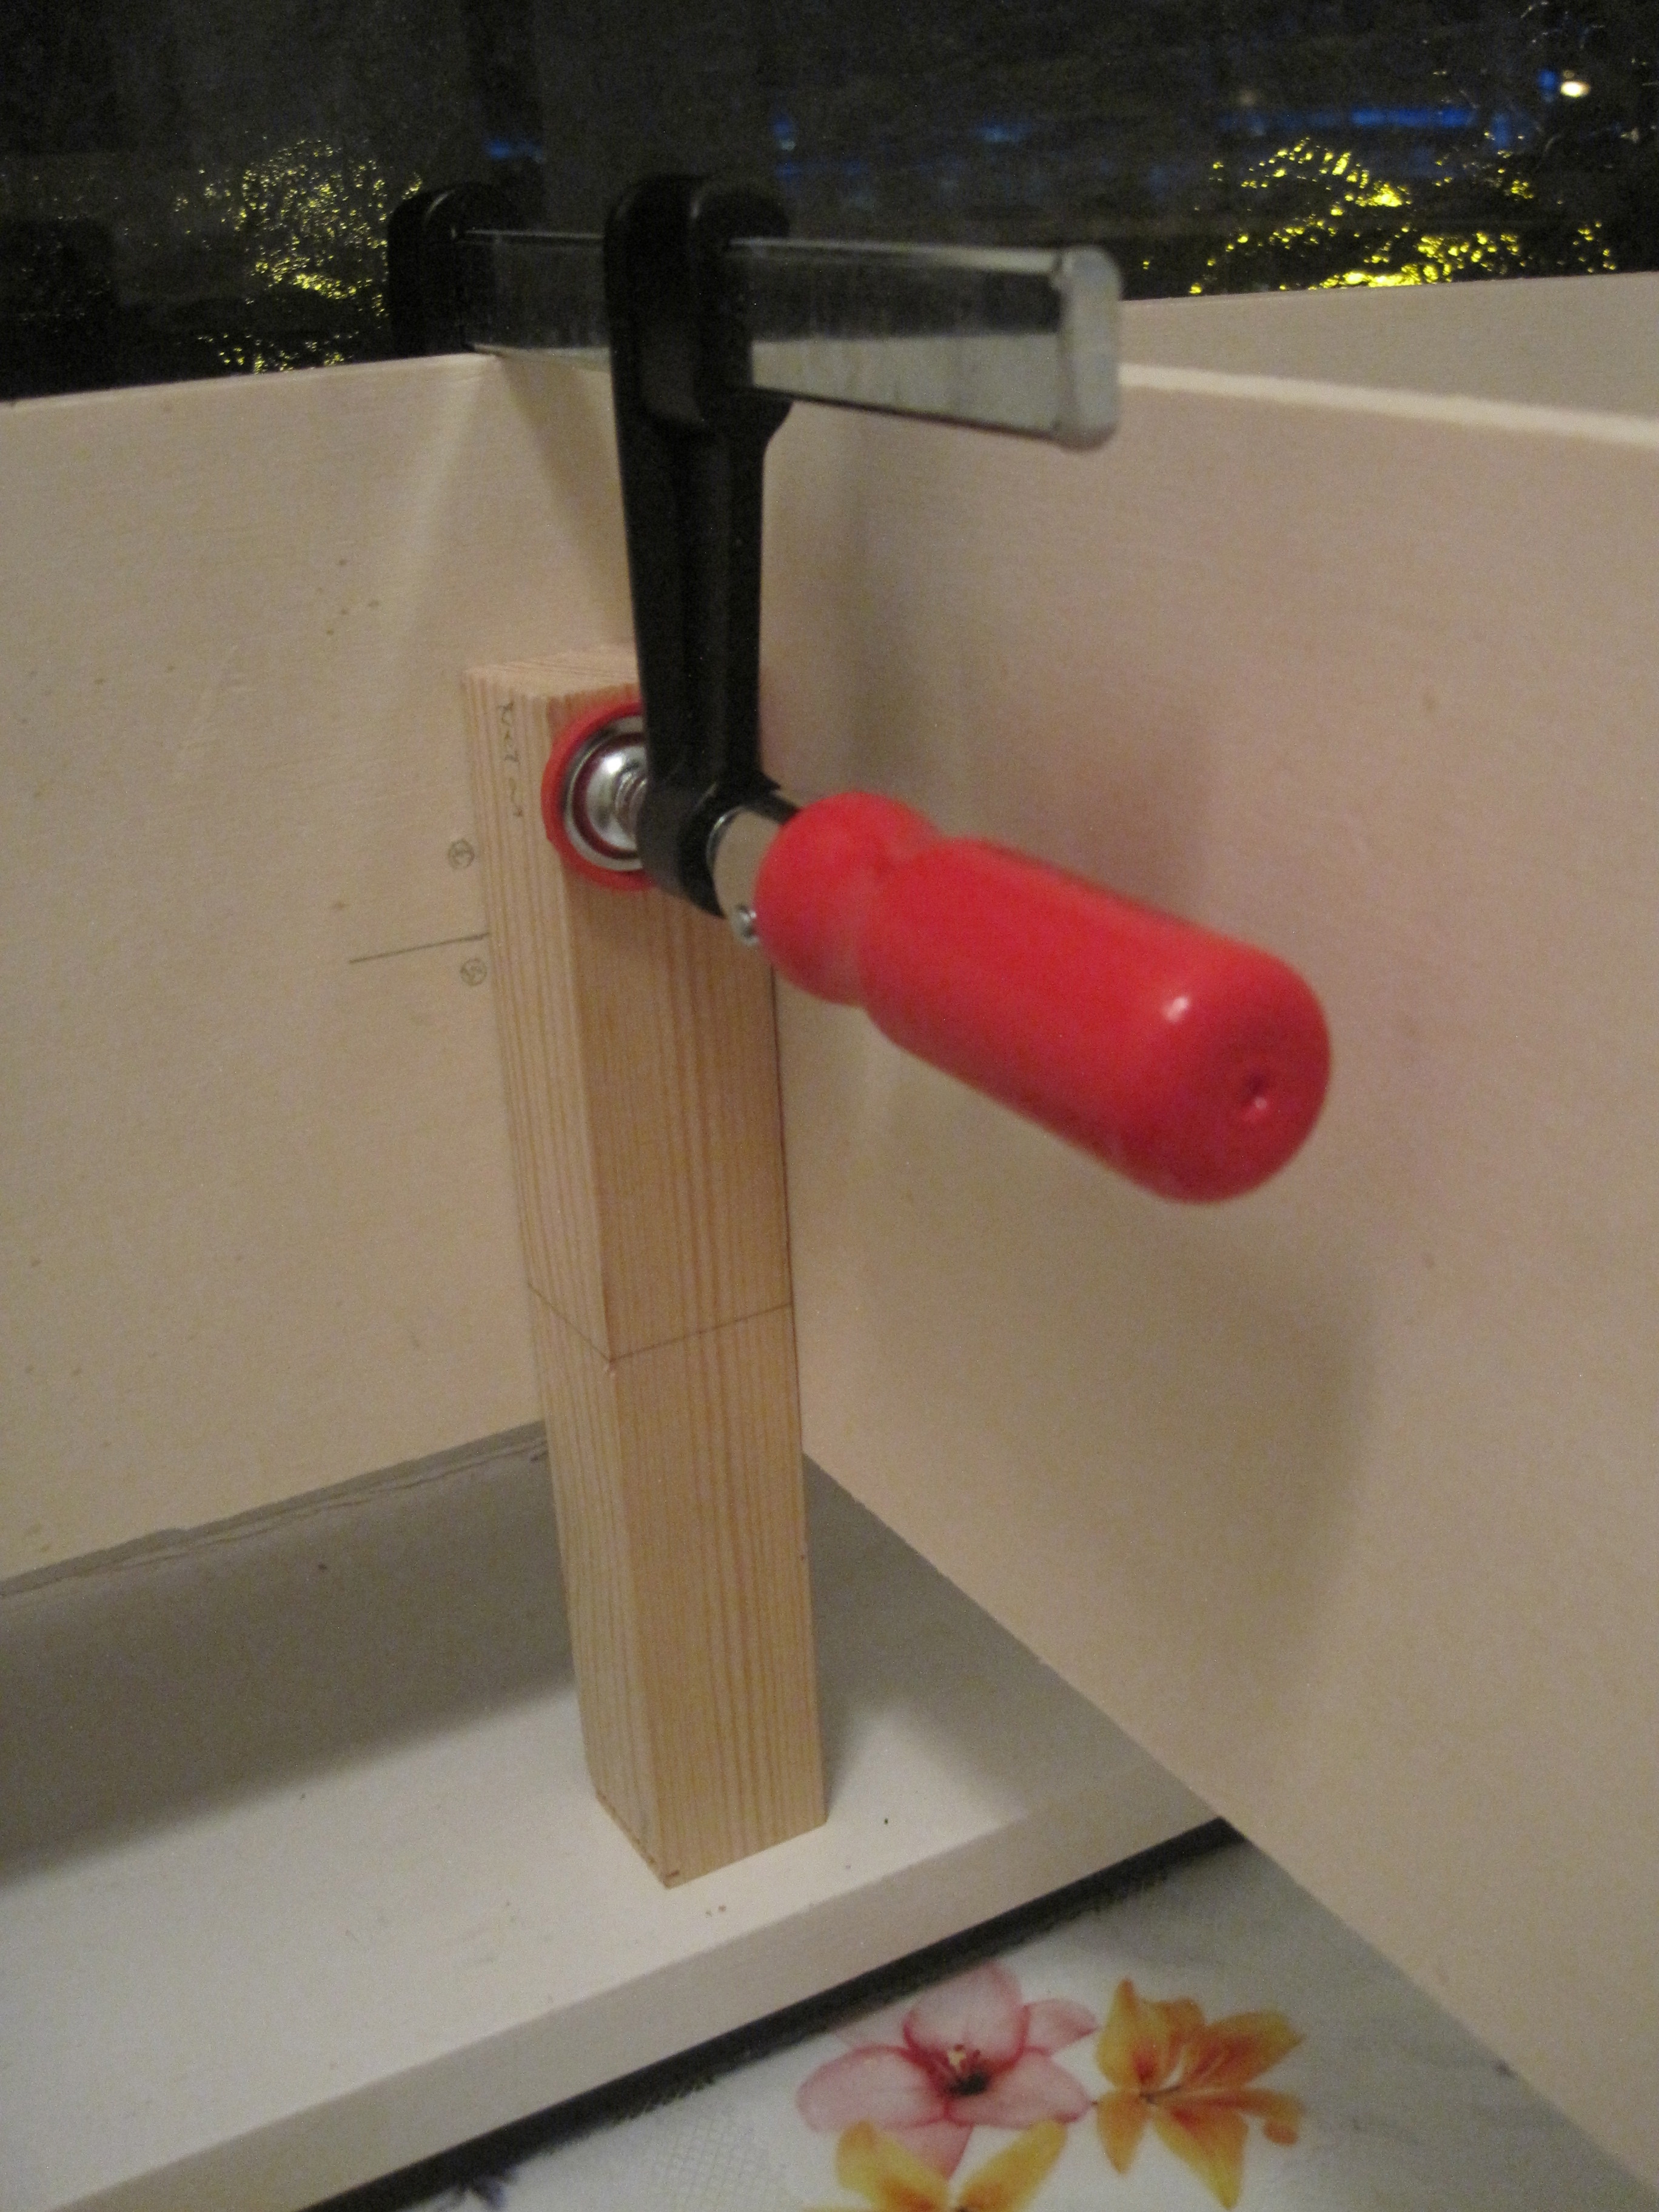
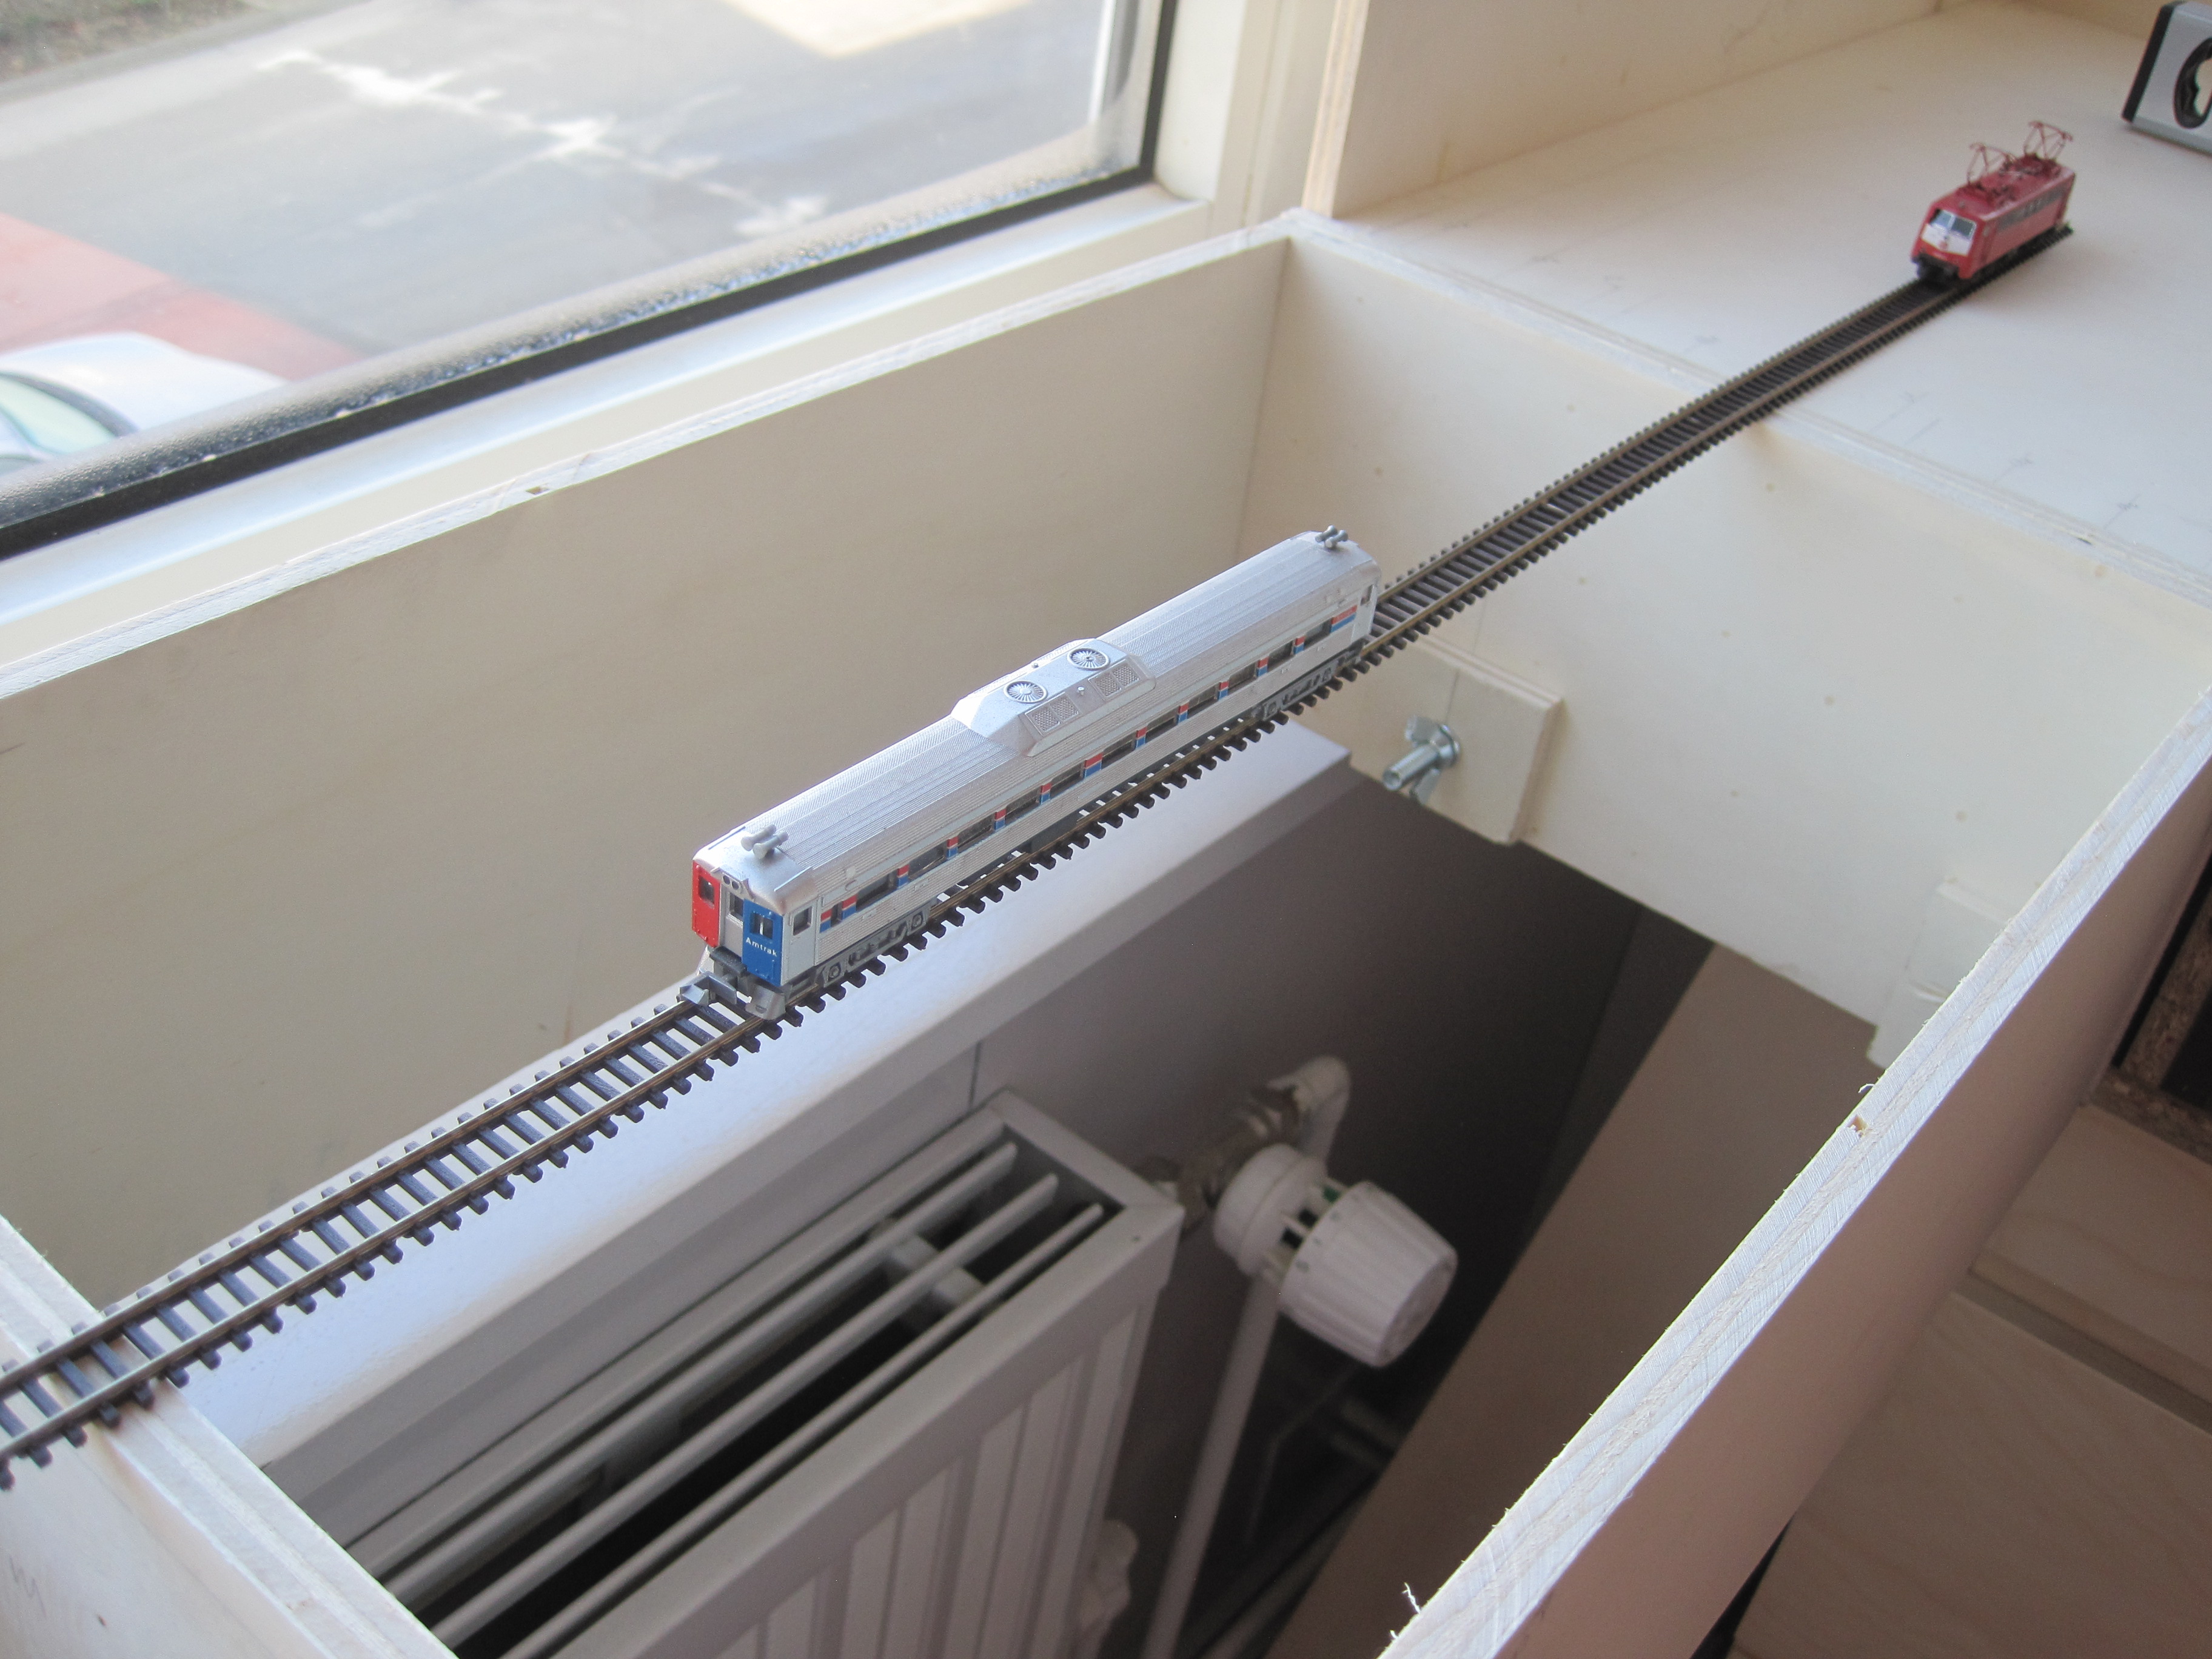
Segment E is just above the dryer. In order to avoid the vibration from the dryer, I placed a 1.5m cross support at the front. This will also raise the module to 110cm level that I needed. These too have adjustable legs. The back were temporarily supported by 2 pieces of wood with clamps. Once the height is determined, I will screw two adjustable legs to the back panel.
The whole structure is now stable and does not sway. The interlocking between modules ensured that all modules were correctly positioned and do not move. The proper legs that I have built just gave additional intermediate support. So, I would say it passed the stress and stability test.


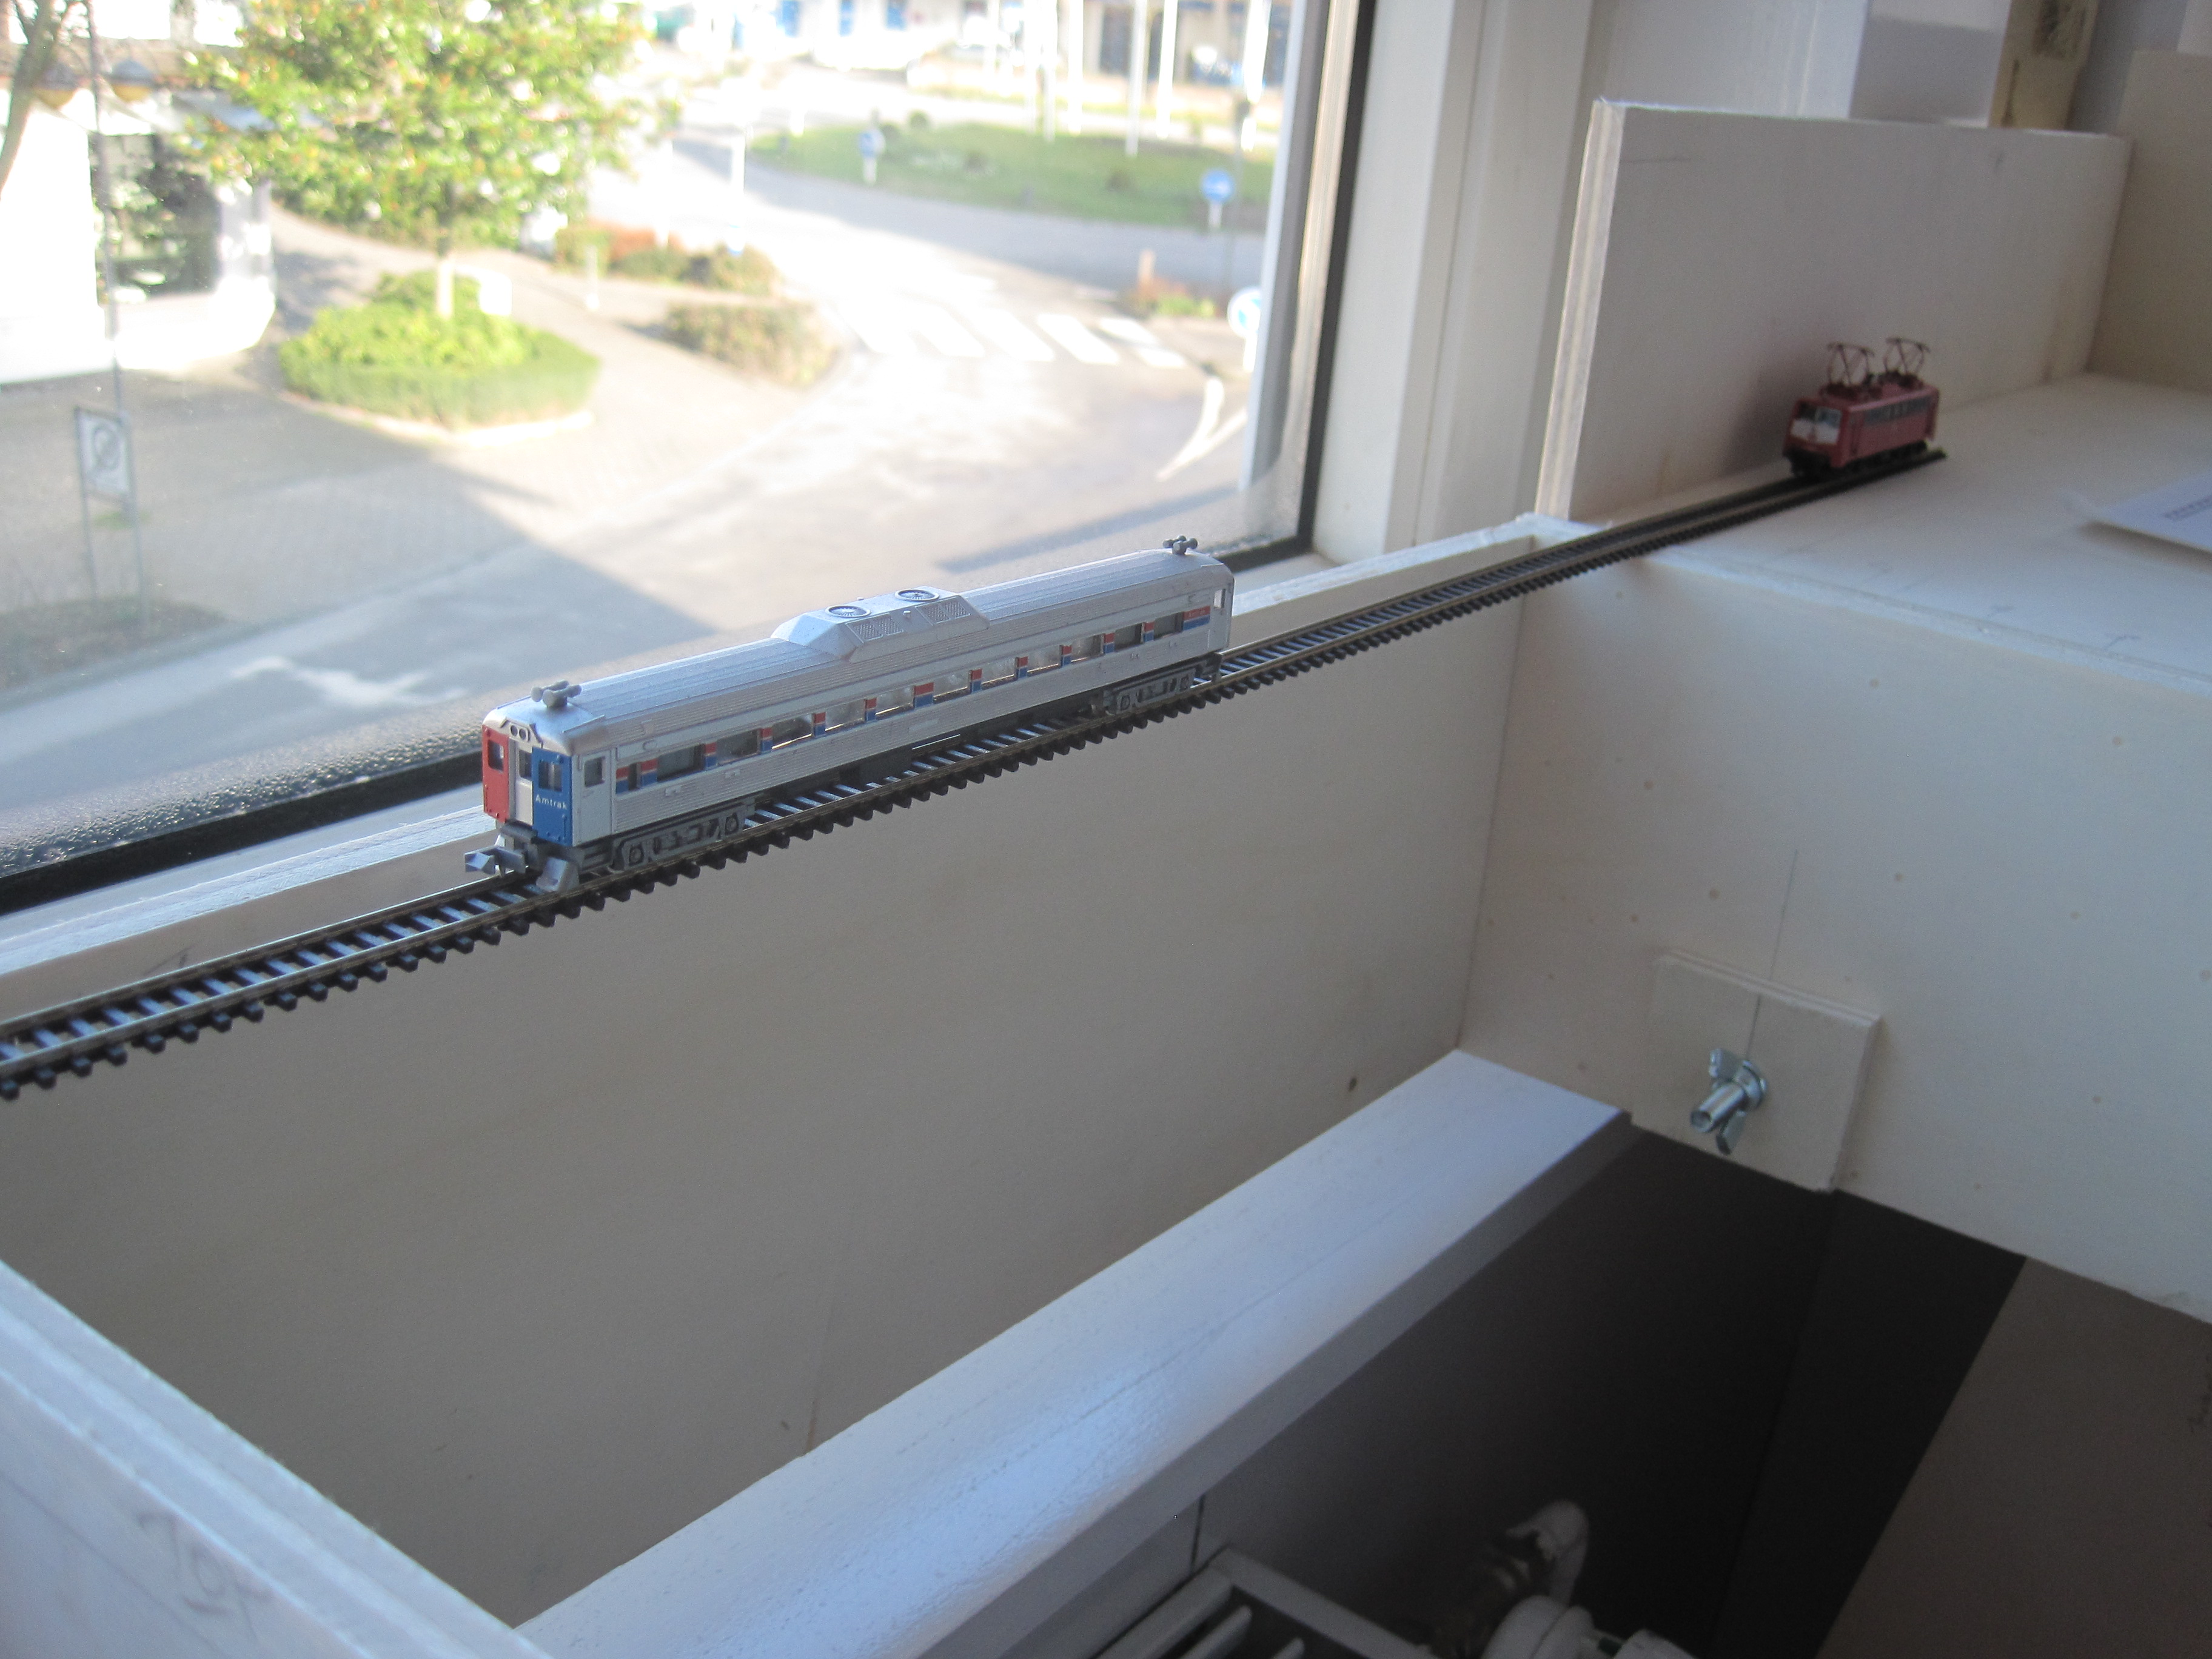
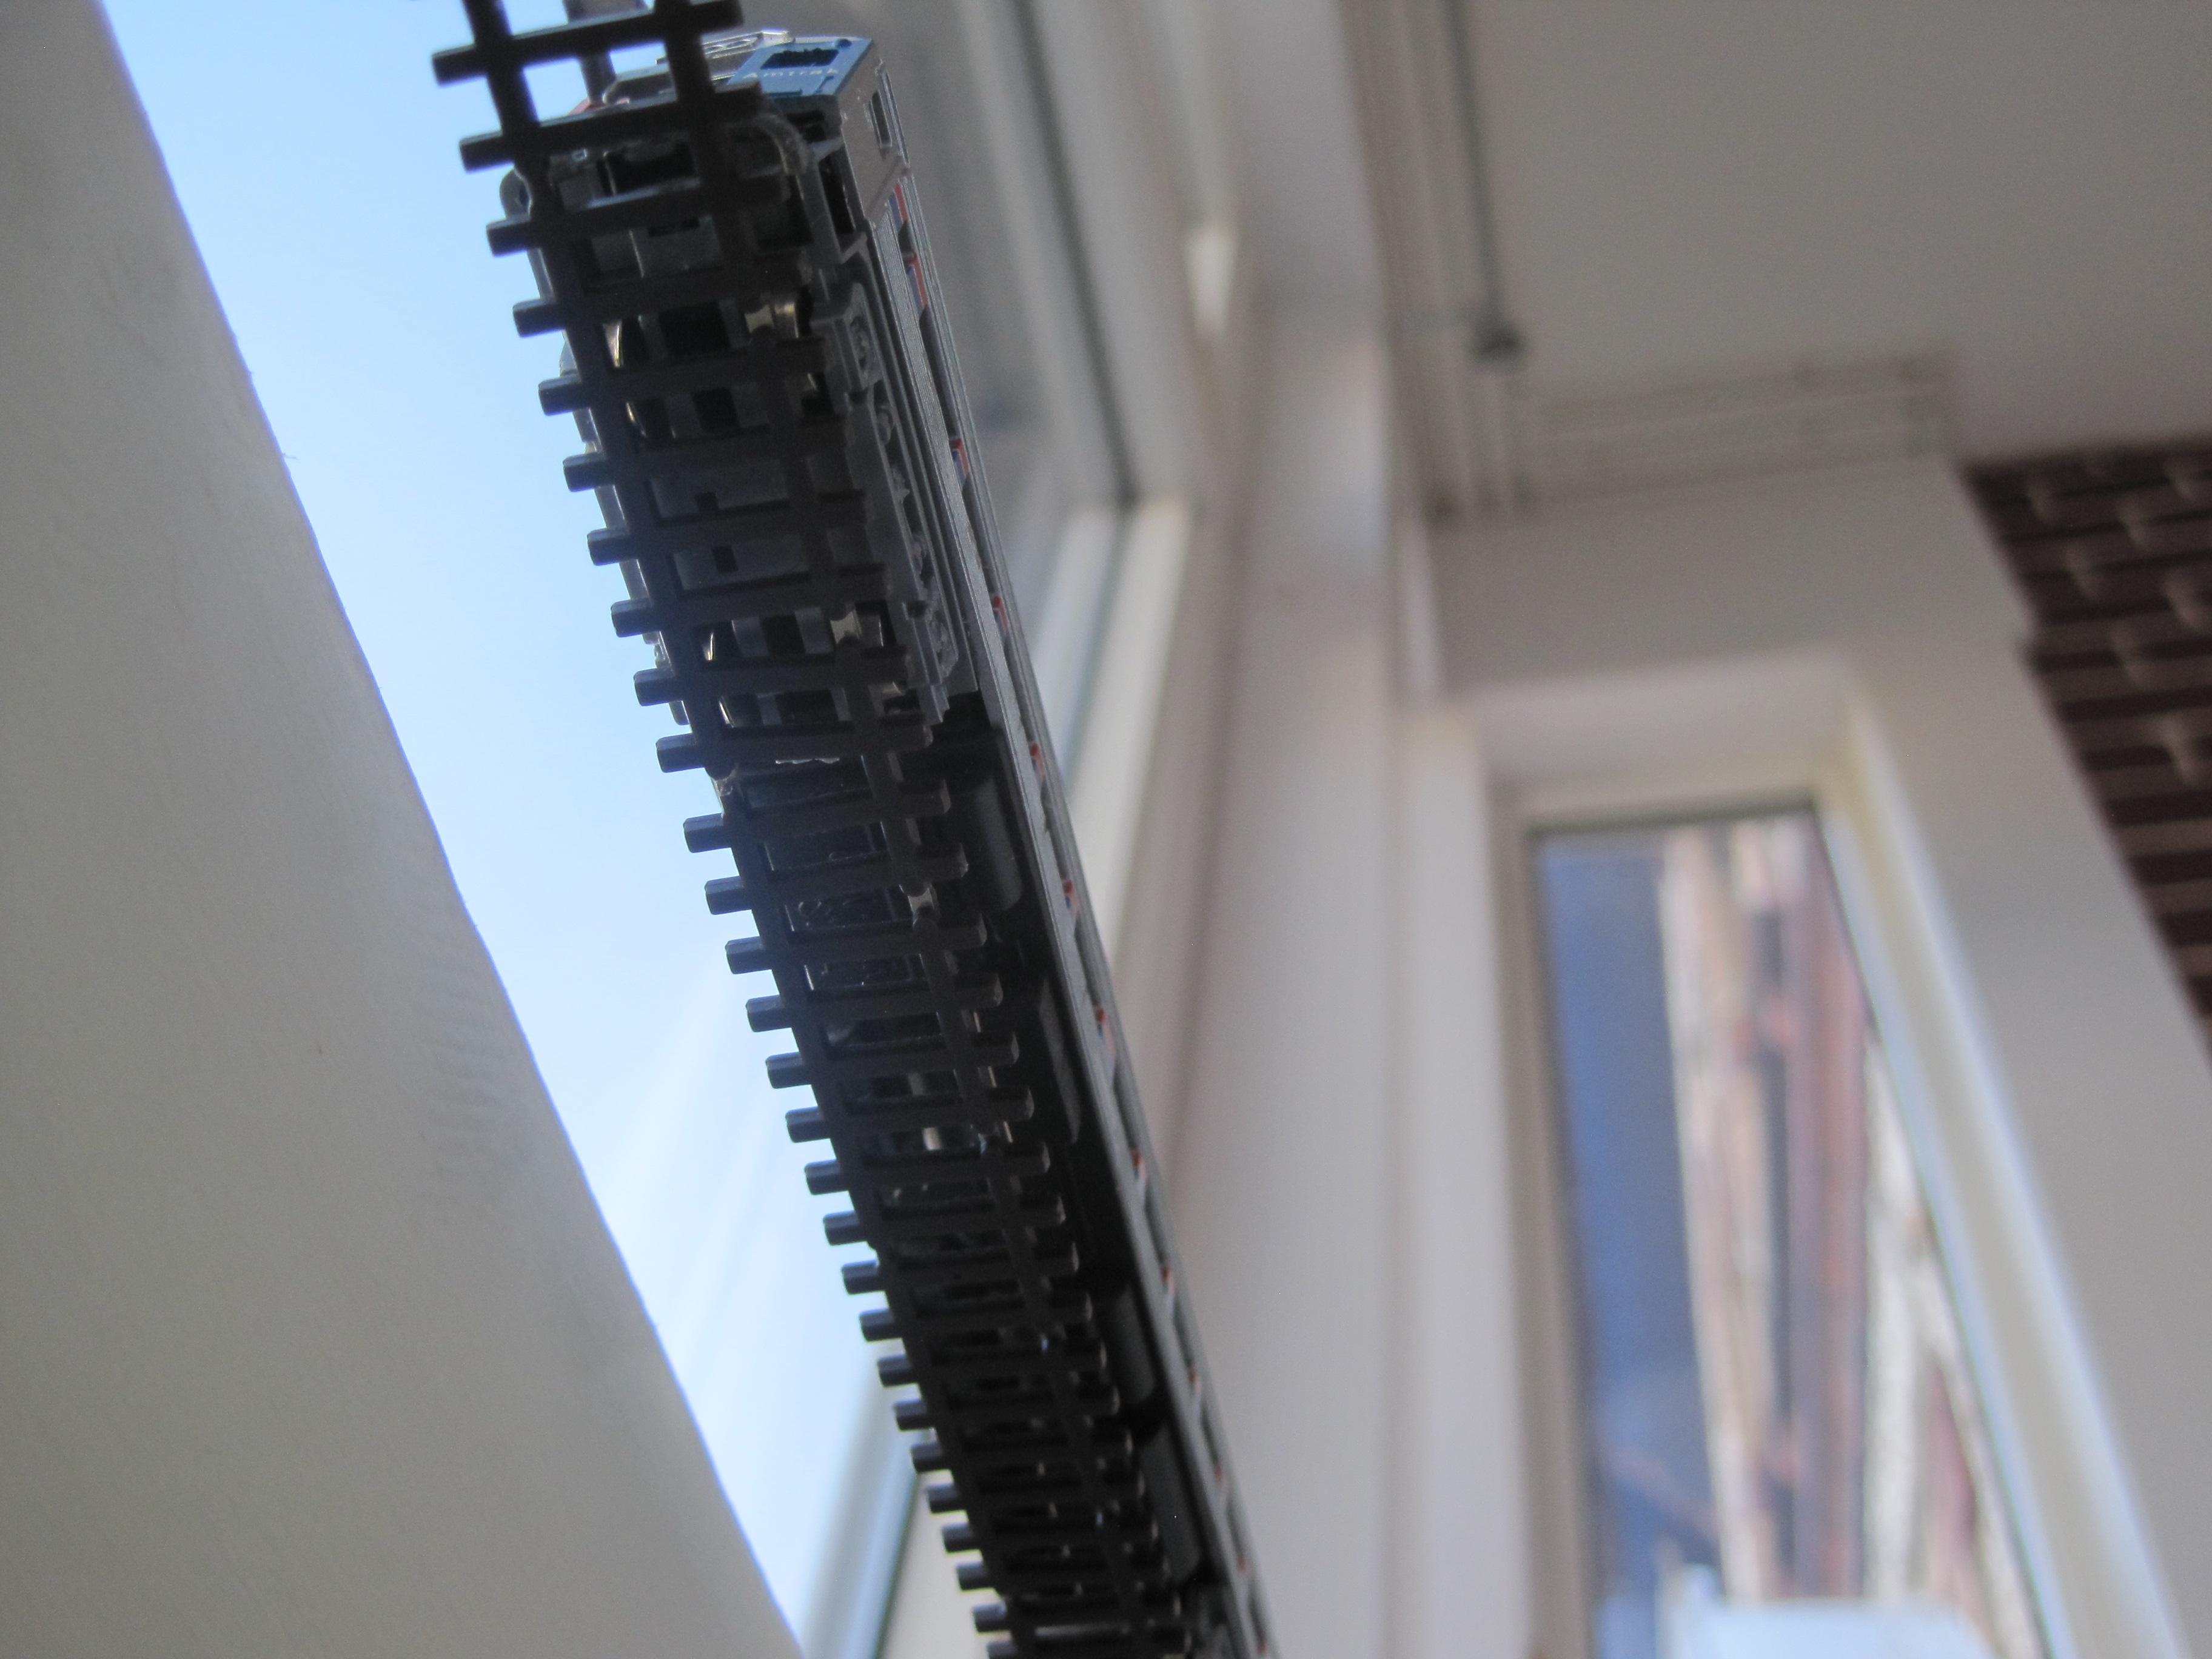
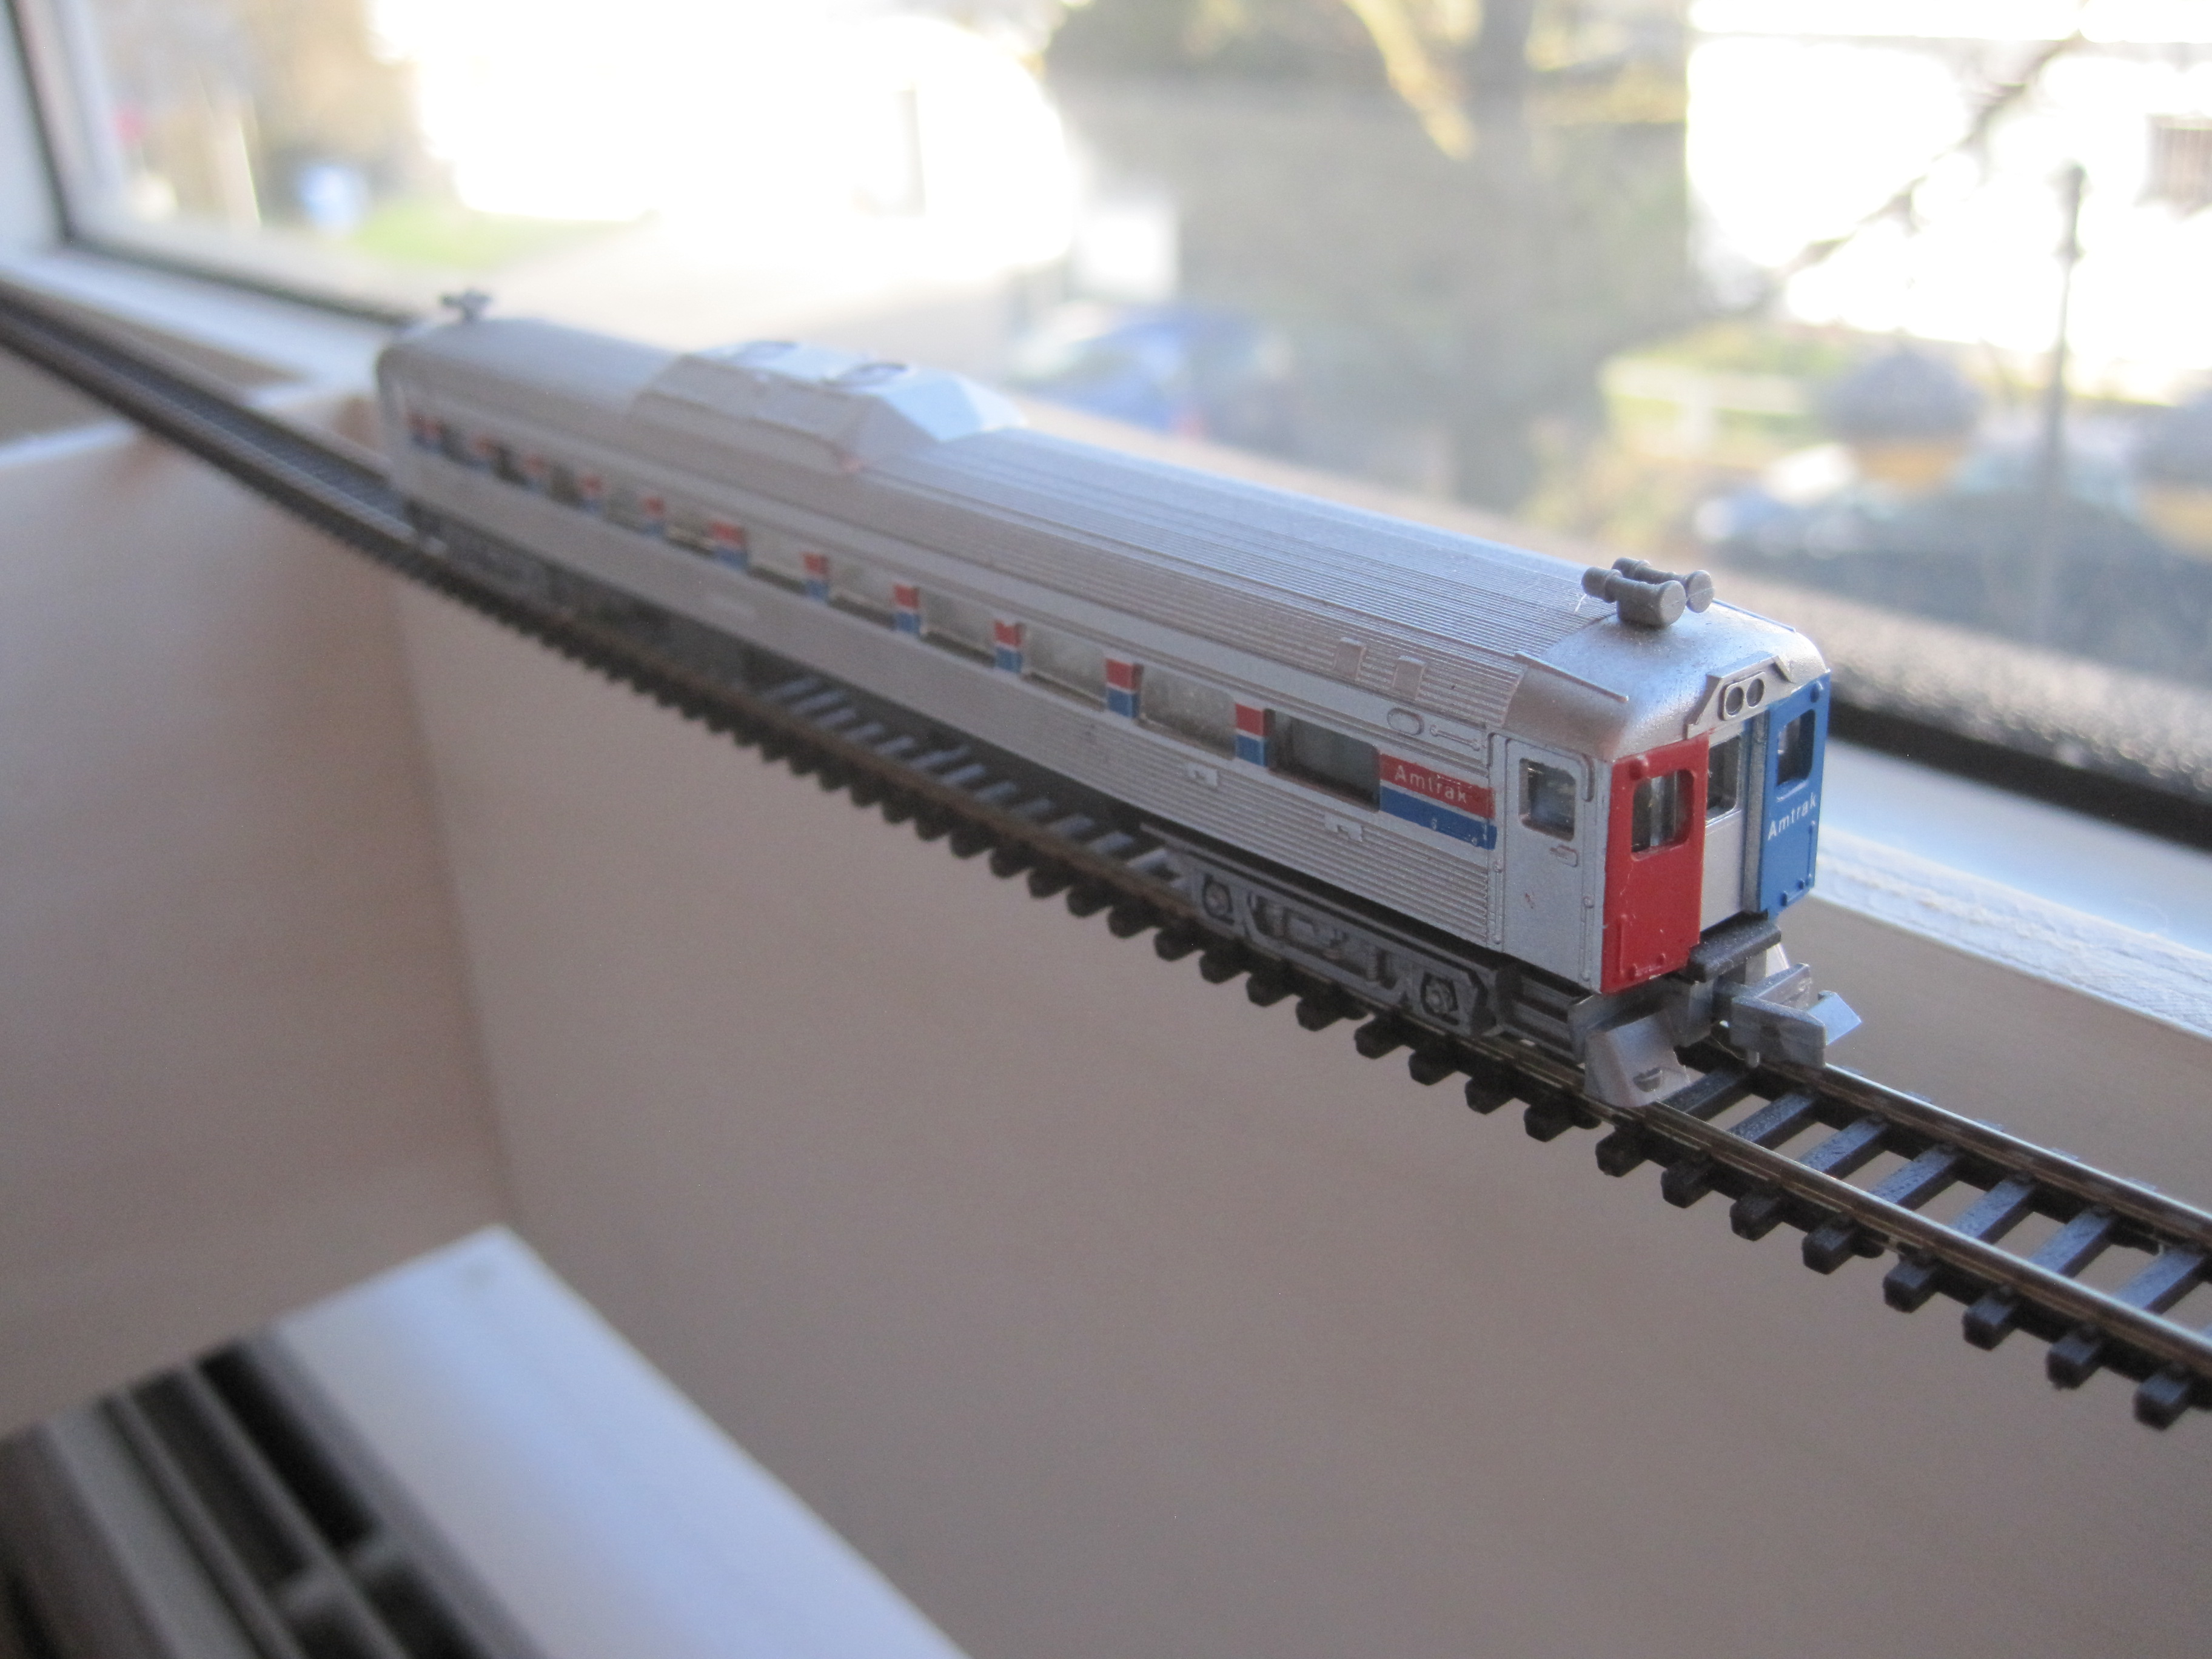
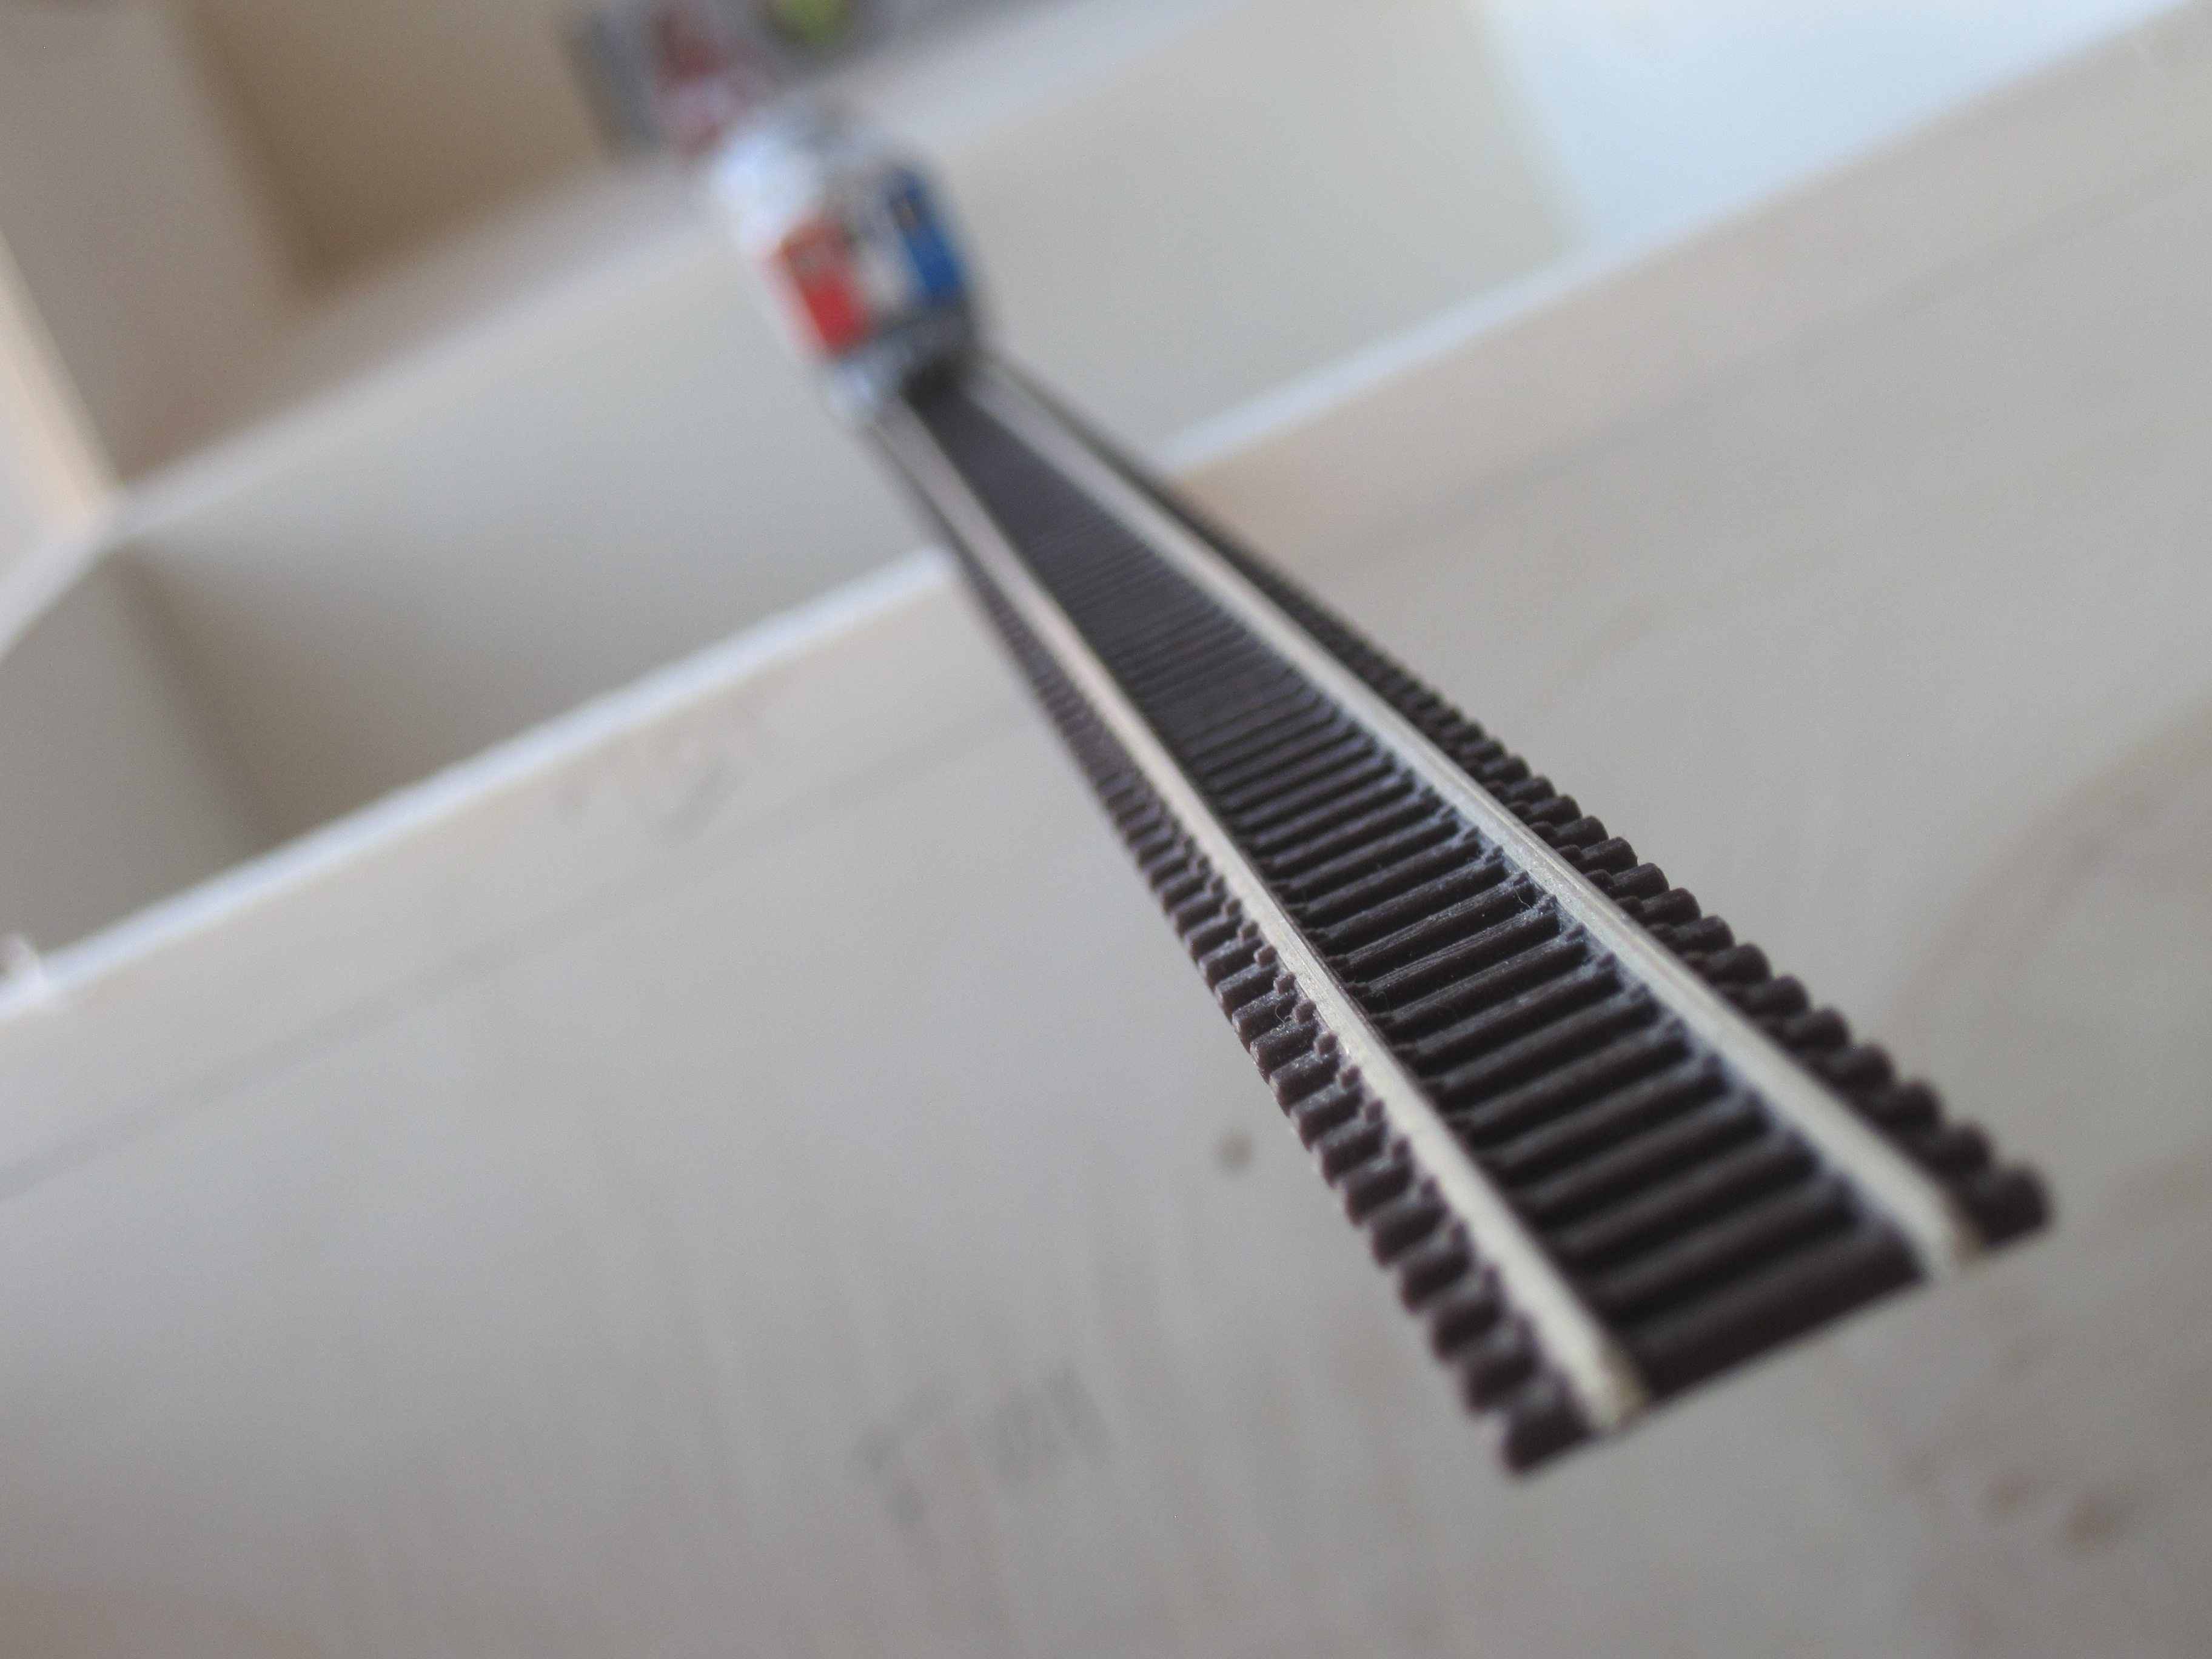
The Budd RDC now rode slightly further, on “high-wire” rail.


I will take a one weekend break from further construction. The next step would be minor adjustments to the modules to make sure all alignments are parallel and no kink. This also gives me time to think about track laying and track bus cabling.
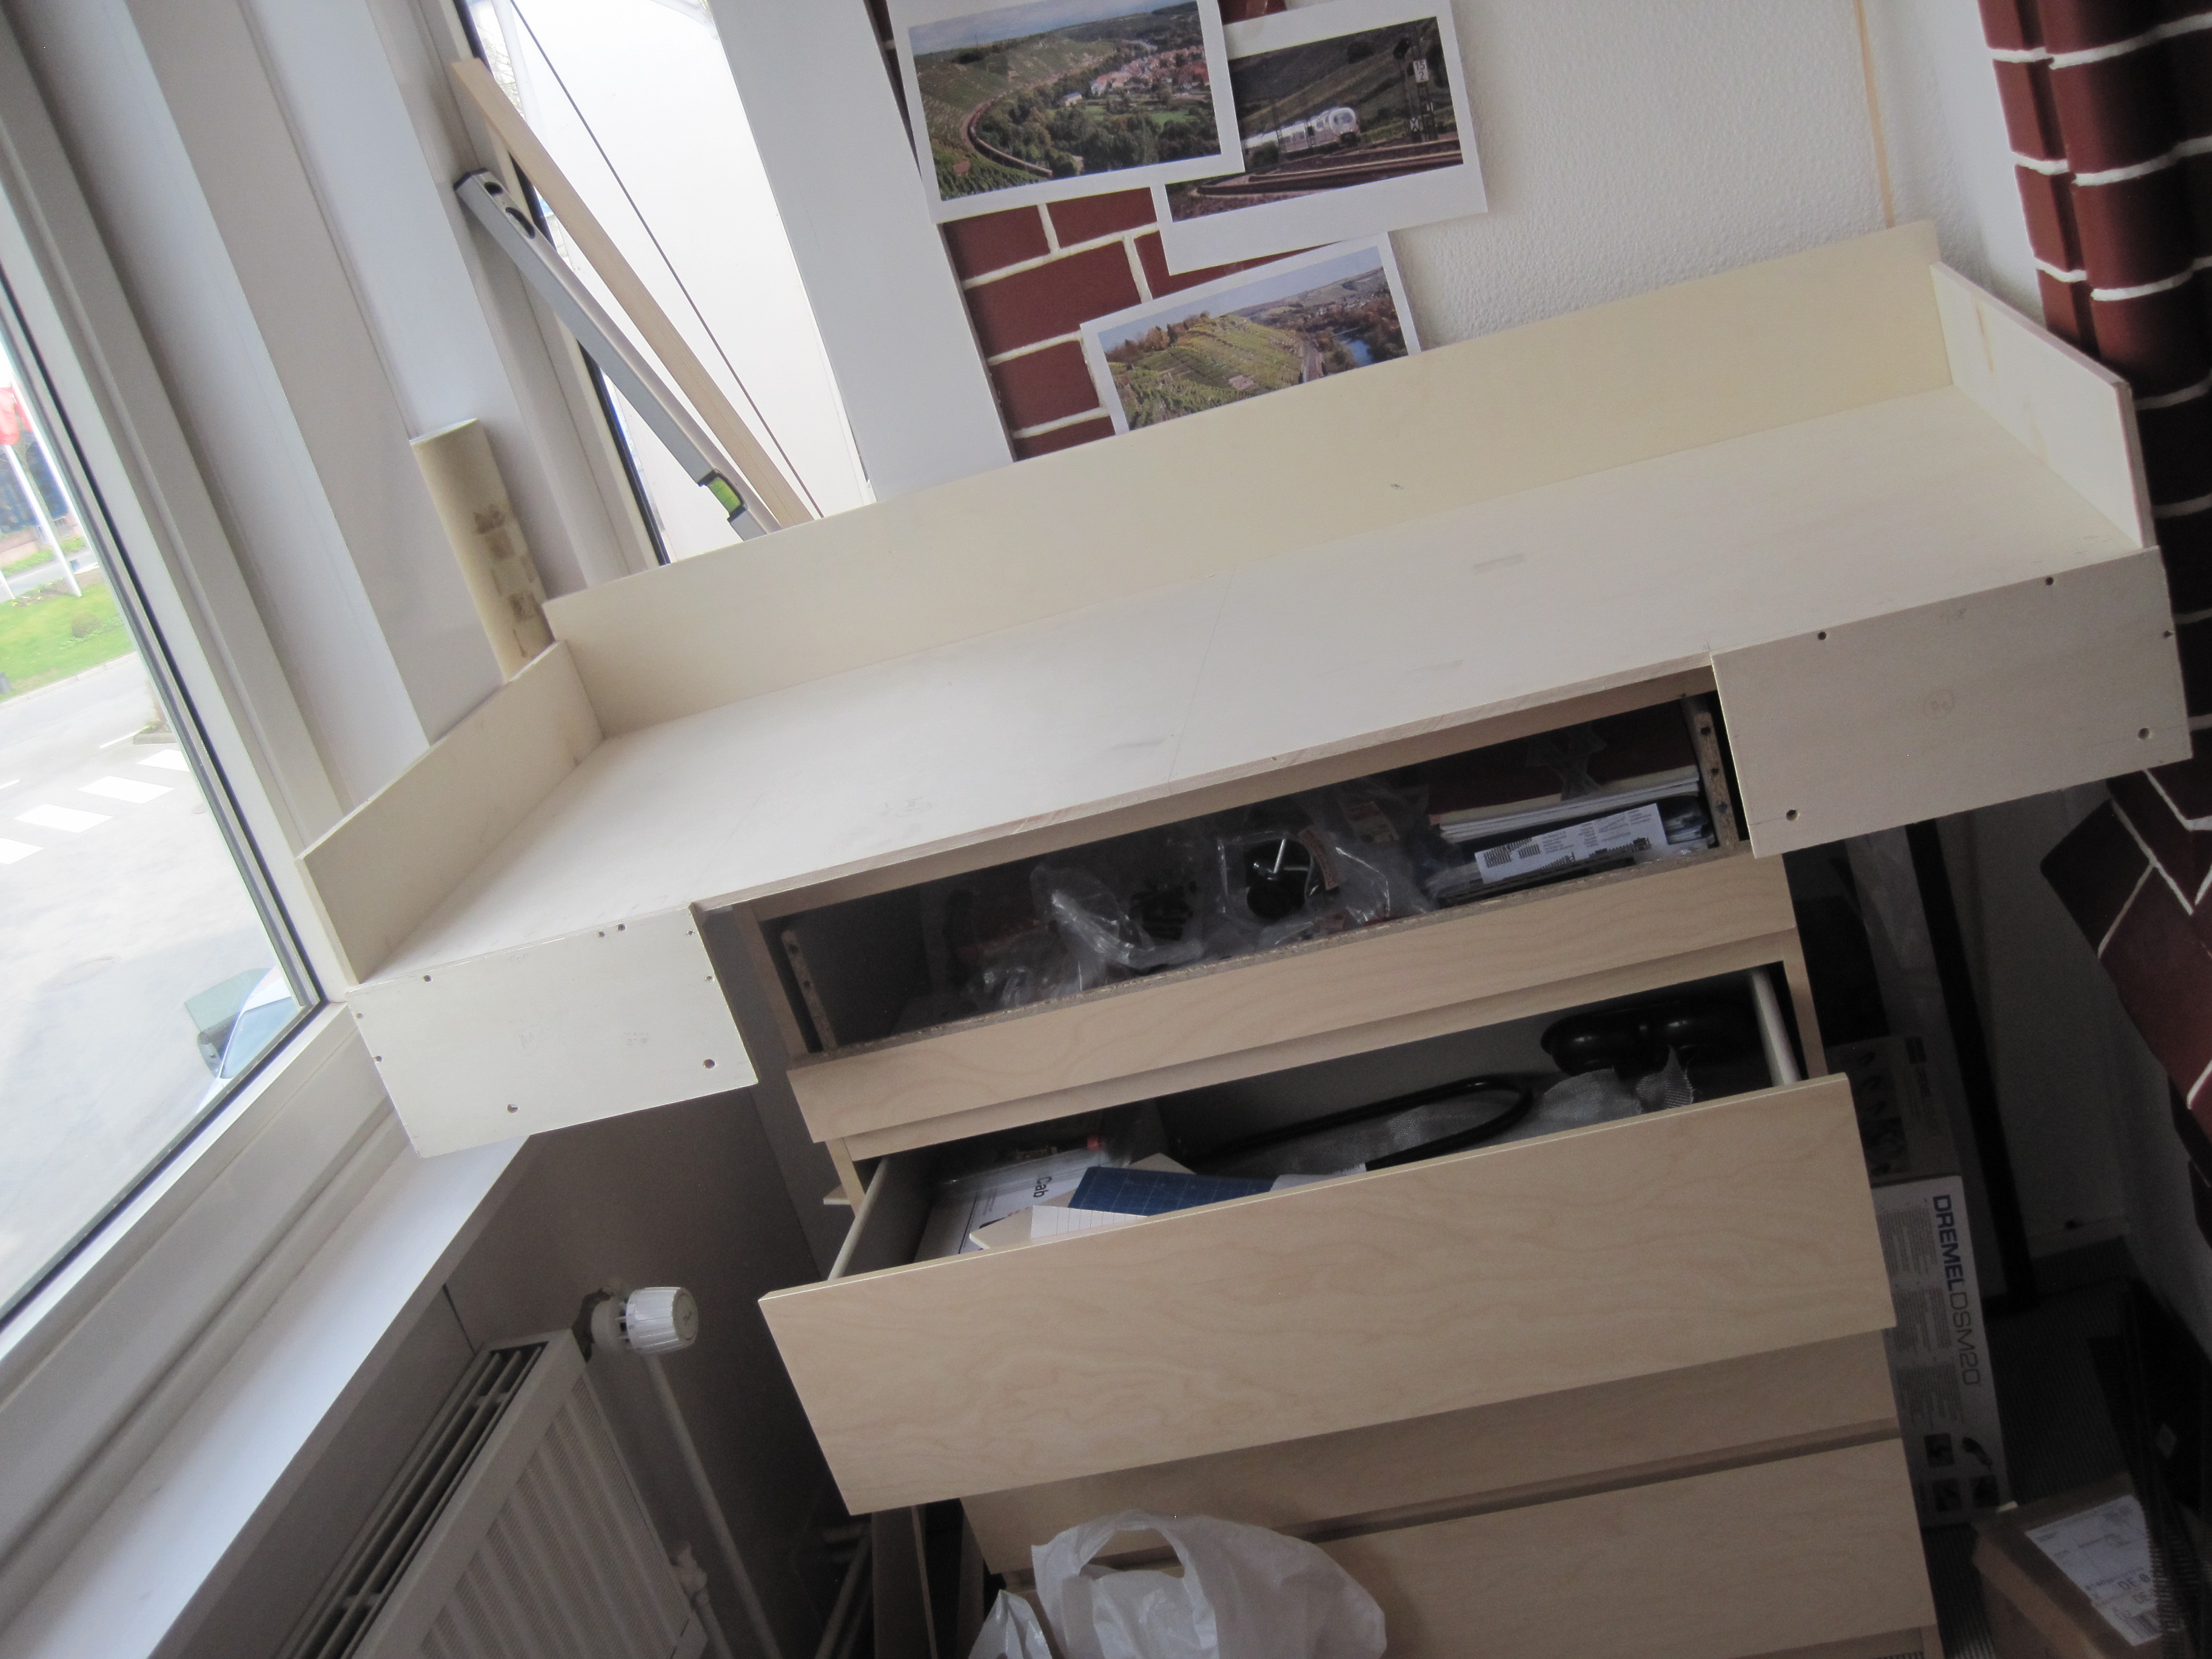
If you have seen my track plan, you might notice that I wanted to have a CTC panel located at the top of the chest of drawers. I still do. As you noticed, I have cut significant part of the front panel of the drawer (compare this with other drawers below). I was praying hard that this top drawer could move in and out easily. Thank God after adjusting the position of the drawer, I could pull out and push in easily. The space is extremely tight but it worked. All the papers and books that were currently in this drawer will be occupied by a panel with cables running to the modules. I am still figuring whether to put my NCE PowerCab UTP here.


Good work Jimmy and your work is very neat! Suddenly it starts to look like a railway 🙂 Just one question how do you think the washing machine will effect the humidity? but looks like you will have some track down soon.
Honestly Tom, I have no idea how to address the humidity issue. For the radiator, I could turn down the heating to 1 or off it completely but for the dryer, hmmm … One way is perhaps to use the heater to remove the humidity, open windows etc.
Advice welcomed
Well given it is a small space you could look at a number of options, dehumidifier, vent out of room with ducting and or window opening 😉 Post a question on MRR and see what other advice you get? other forums are available 🙂
Jimmy, maybe get some washers for the nuts / wing nuts.
Thomas, I have added washers for all the nuts. Some of the photos were taken without washers as I was too eager to set them up and take some pictures. All modules and legs have washers. Thks for reminding.
Thomas, I understand now what you meant by the washers. I bought the smaller ones but I now need to change them to these type http://www.turnbolt.co.za/assets/images/Stainless_1.JPG
Thanks for the hint again